s’mores

S’mores Dip for One

image

Danger, Will Robinson!

S’mores in dip form? The thought had never occurred to me, but when someone posted it on my Facebook page I thought it sounded brilliant. This recipe has been bookmarked on my phone for awhile now, and I finally decided to make them this afternoon.

image

Because I have no willpower, I adapted it to a single serving. This recipe is easily scaleable for a group, whether you keep it in single-serving dishes or make it in a larger pan. This would also be easy to make in a toaster oven, if you have one.

Don’t let it sit too long, or the marshmallows will fall in and crust over, which is tougher to dig out without breaking the crackers.

image

S’mores Dip for One
Adapted from hungrybrownie.com

1/3 cup semisweet chocolate chips
3 marshmallows, cut in half
8 graham crackers (2 sheets)

Preheat oven to 450 degrees. Pour chocolate chips into an 1-cup ramekin. Arrange marshmallow halves on top. Place in the oven. Bake until marshmallows are golden-brown, about 6-7 minutes.

Remove from oven. Let cool slightly. Serve with graham crackers for dipping.

Advertisement

Homemade Marshmallows

20140729_161912

100 posts! And what better way to celebrate than to share one of my favorite recipes: homemade marshmallows.

If you’ve never had a homemade marshmallow, it might not occur to you that this is something you can make. I know I had never thought about it until I had one at a neighborhood coffee shop circa 2009 and ohmygawd I had to have them. Once you’ve eaten homemade marshmallows,

I found a few recipes online, but I didn’t own a stationary (stand) mixer. Womp womp. Big problem. It’s dangerous to make this with a hand mixer. You’re mixing boiling sugar at high speed. Plus, using a hand mixer on high speed for this long with hot contents will most likely burn out the motor.

20140727_212247

I saved up my money and bought a Kitchen Aid on a Black Friday sale that year. This was the first thing I made with it. Not even joking.

20140727_212832

Once you’ve mastered the basic technique, play around! Substitute another flavoring, like peppermint, or try cocoa powder or vanilla bean paste. You can also mix in a few drops of food coloring. For fun shapes, generously coat small cookie cutters in powdered sugar. Basic shapes, like circles or hearts, are best. You can even add toasted coconut or nuts, or dip set marshmallows in chocolate. Endless combinations!

20140728_235205

My favorite ways to eat homemade marshmallows are in a cup of hot cocoa, in s’mores (of course), or straight up. I made these for my farewell party at my last job, and they were a hit.  I know you’ll love them.

IMG_20140729_163306004_HDR~2

Happy cooking!

Homemade Marshmallows

3/4 cup cold water
4 envelopes unflavored gelatin (such as Knox)
3 cups sugar
1 1/4 cups light corn syrup
3/4 cup water
1/2 teaspoon salt
2 1/2 teaspoons vanilla
Powdered sugar

Special equipment: stationary electric mixer with whisk attachment; candy/fry thermometer

Line a 9 x 13 pan with parchment paper; grease. (Note: pans with square edges are easier to work with.) Put 3/4 cup cold water into the bowl of the electric mixer; sprinkle gelatin on top. Let soften for 5 minutes.

Meanwhile, affix candy/fry thermometer to a heavy-bottomed saucepan. Heat sugar, corn syrup, remaining 3/4 cup water, and salt in saucepan. Heat to a rolling boil over high heat, stirring to dissolve sugar. Boil for one full minute, until mixture reaches 238 degrees.

Turn the mixer on low speed and carefully pour boiling sugar into the mixing bowl. Gradually raise the speed to high. Beat on high for 6 minutes.

Add vanilla and continue to beat on high for another 5-6 minutes, until very stiff peaks form. Pour and spread into prepared pan. Let sit for 3 hours or overnight to firm up.

Sprinkle powdered sugar onto a work surface. Turn marshmallow slab onto the powdered sugar. Using a chef’s knife (or other non-serrated blade), cut marshmallows into squares. Roll each marshmallow in additional powdered sugar. Store in an air-tight container up to one week.

S’mores Cake

???????????????????????????????

I’m a sucker for s’mores. Marshmallows, chocolate, graham crackers… so good. Gourmet chocolate and homemade marshmallows, or Hersheys at Jet-Puffed, doesn’t matter. I have been known to try pretty much anything on a menu or in a grocery store tied into s’mores. I have also been known to eat them for breakfast.

Stop judging.

Anyway, no matter how much I plan — or don’t plan — the month of June, it’s always busy and never long enough. But, we had four birthdays in my office group in June, including my own, and I wasn’t going to let the month go by without a happy hour. I remembered seeing Smitten Kitchen’s recipe, and that it involved a blow torch, and my Thursday night was sealed.

This is a fairly heavy cake, so keep the servings small. I think it would also work well as cupcakes, with the milk chocolate as filling.

???????????????????????????????

???????????????????????????????

???????????????????????????????

???????????????????????????????

20130628_152656

S’mores Cake

From The Smitten Kitchen Cookbook, by Deb Perelman

Makes one two-layer cake, serving 16

Cake:
1 cup (2 sticks) unsalted butter, softened, plus more from pans
2 cups (250 grams) all-purpose flour
2 cups (170 grams) finely processed honey graham crackers (about 14 sheets)
2 tsp baking powder
3/4 tsp baking soda
3/4 tsp salt
1/2 tsp cinnamon
2/3 cup granulated sugar
1 cup dark brown sugar
4 large eggs, room temperature
2 cups buttermilk, well-shaken

Filling:
8 oz. milk chocolate, chopped
3/4 cup heavy cream
2 pinches salt

Frosting:
4 large egg whites
1 cup granulated sugar
1/4 tsp cream of tartar
1 tsp pure vanilla extract

Special equipment: Kitchen torch

Make the cake: Preheat your oven to 350 degrees. Butter two 9″ round cake pans, line them with circles of parchment paper, then butter or coat with nonstick cooking spray.

In a medium bowl, whisk together flour, graham cracker crumbs, baking powder, baking soda, salt, and cinnamon. Set aside.

In a large mixing bowl, cream butter and sugars together until light and fluffy. Add eggs one at a time, scraping the bowl down after each addition. Add one-third of the dry ingredients, half the buttermilk, and continue alternating, mixing between each addition until combined. Scrape down bowl and mix again if needed.

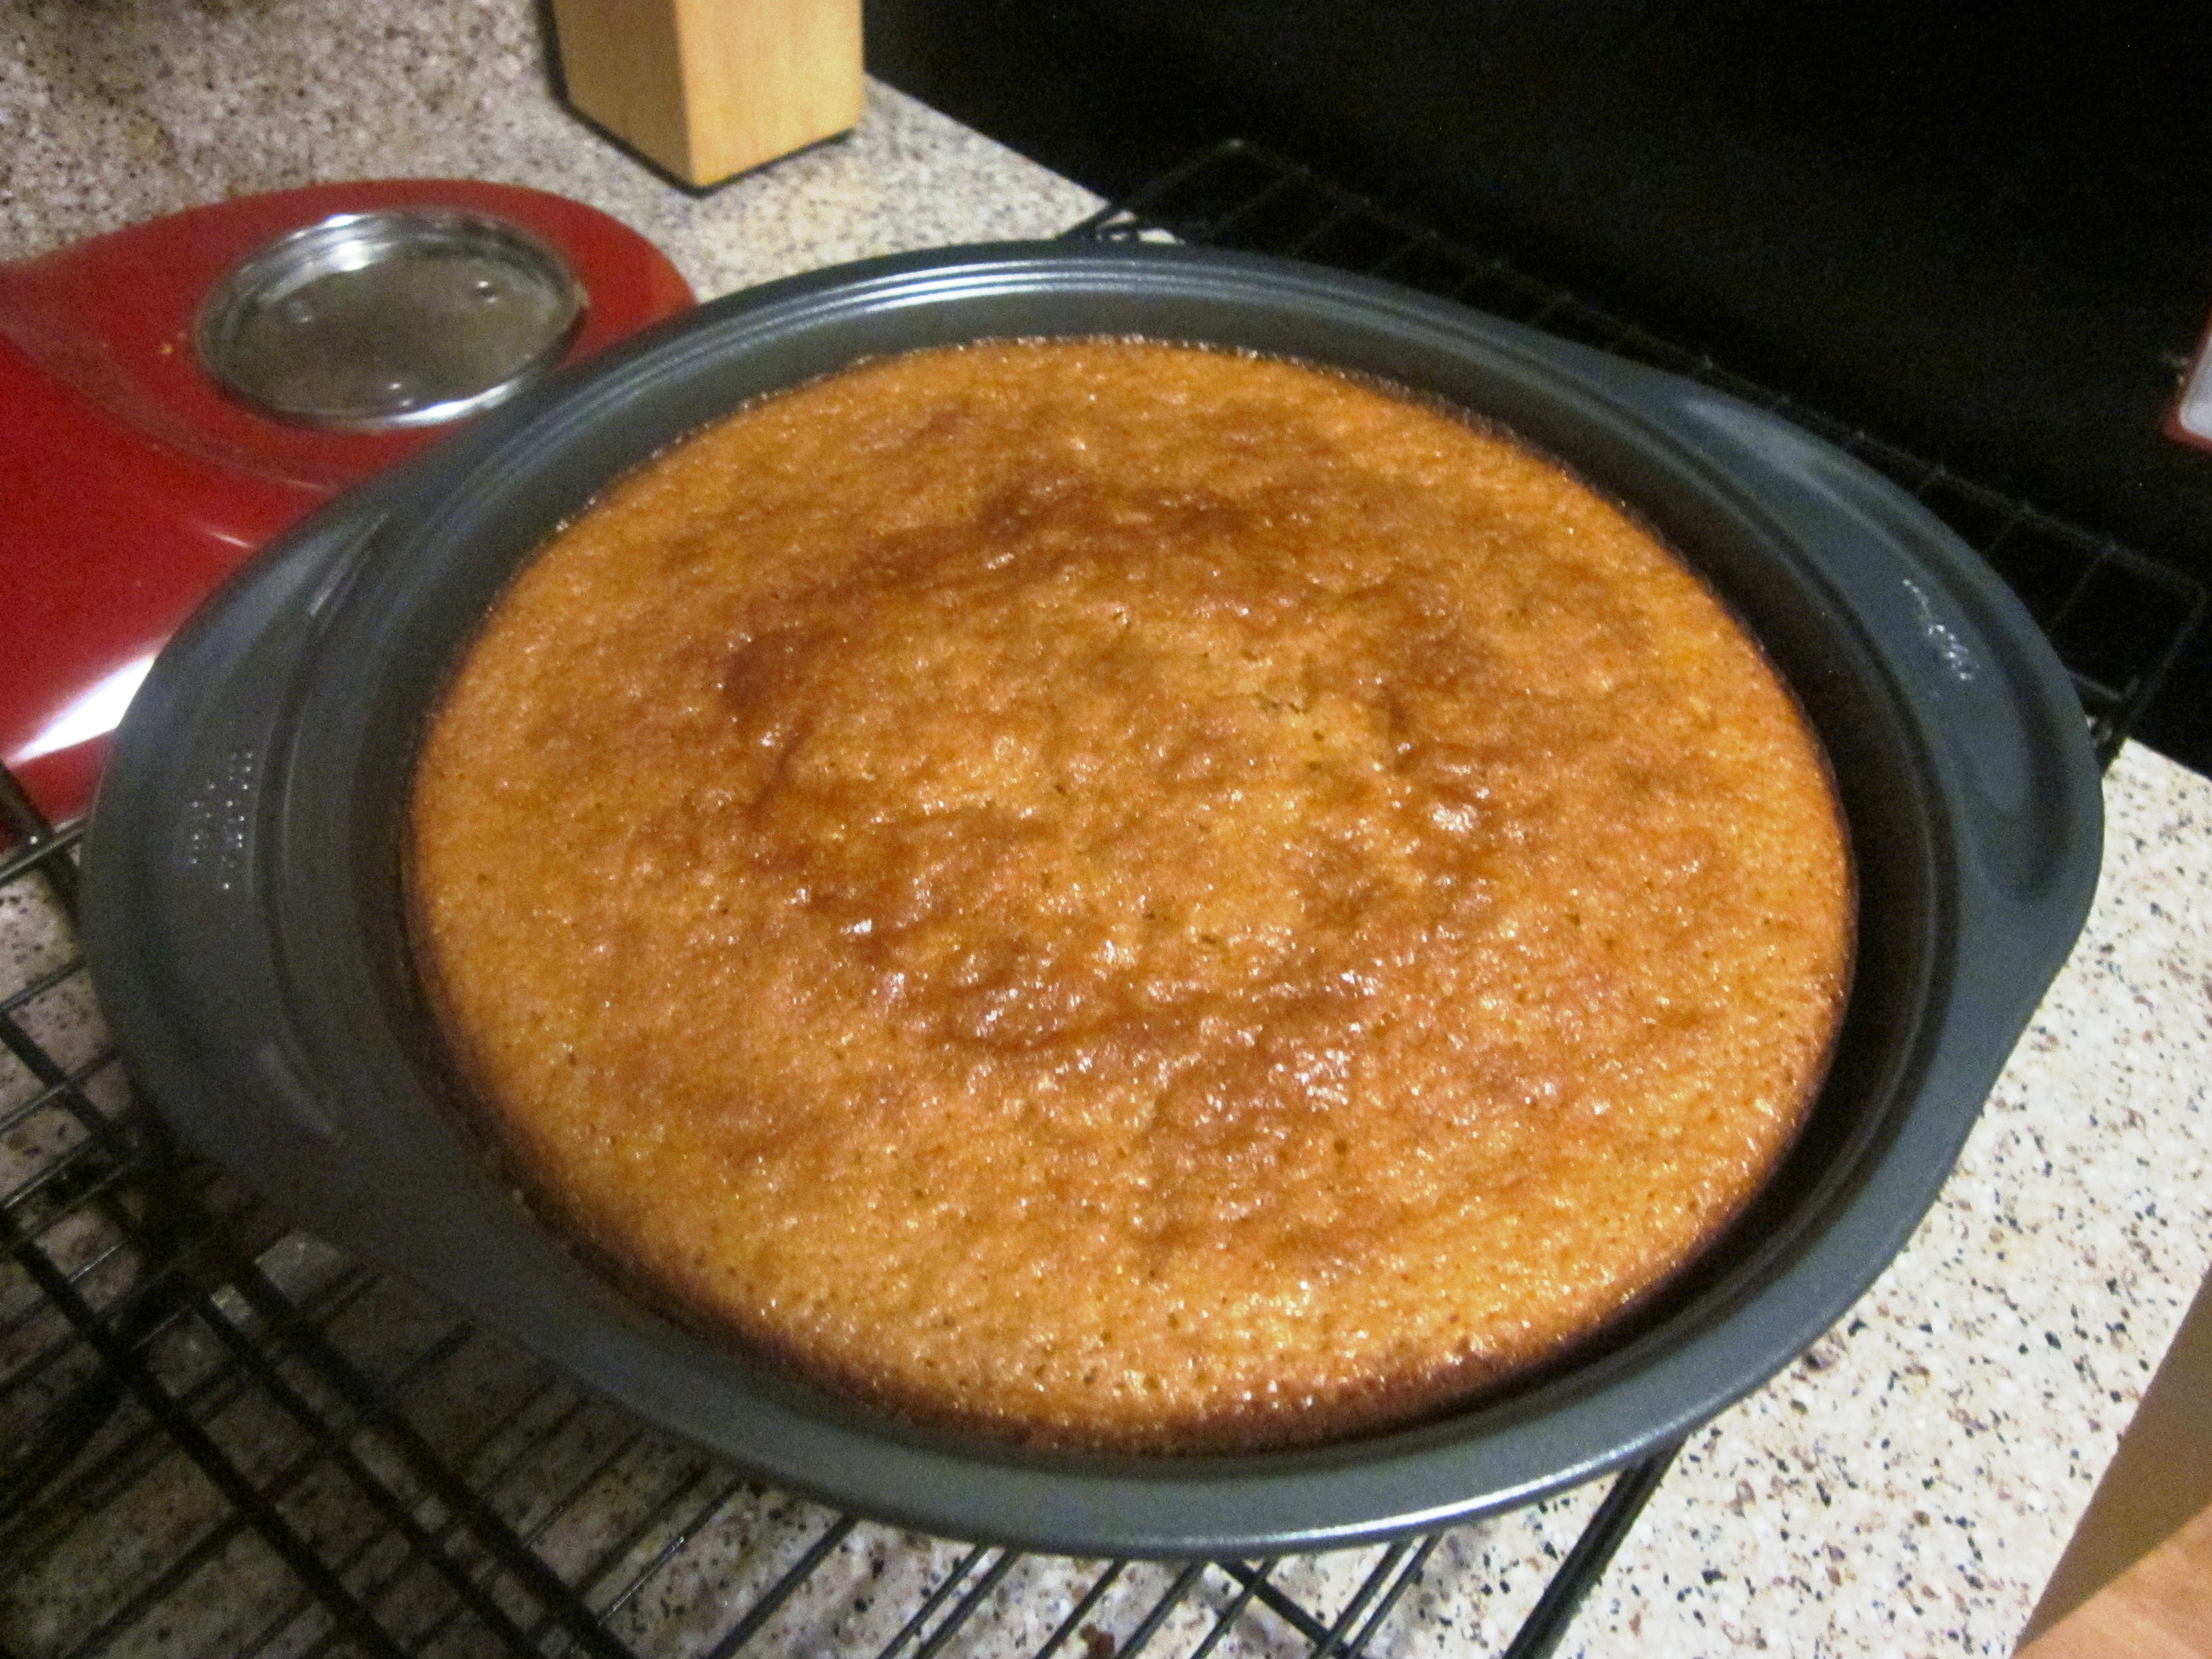
Divide batter between prepared cake pans, smoothing tops. Bake until a toothpick inserted into the center comes out clean, about 30-35 minutes. Cool in pan on racks for 10 minutes. Run a knife around the outer edges and transfer cakes to cooling racks, discarding parchment paper. Let cool completely.

Make the filling: Place chocolate in a heatproof bowl. Combine heavy cream and salt in a small saucepan and bring to a simmer. Pour over chocolate and let sit for 1 minute. Whisk until smooth. Set over another bowl filled with ice water, and stir it until it firms up to a spreadable consistency. (To slow down cooling, cool in the refrigerator, stirring occasionally to ensure even thickening)

Arrange one cake layer on a serving platter or cake stand. If desired, use a long serrated knife to level the top of the cake; discard scraps. Spread chocolate thickly over bottom layer, then top with second cake layer. Level the top of the cake if desired.

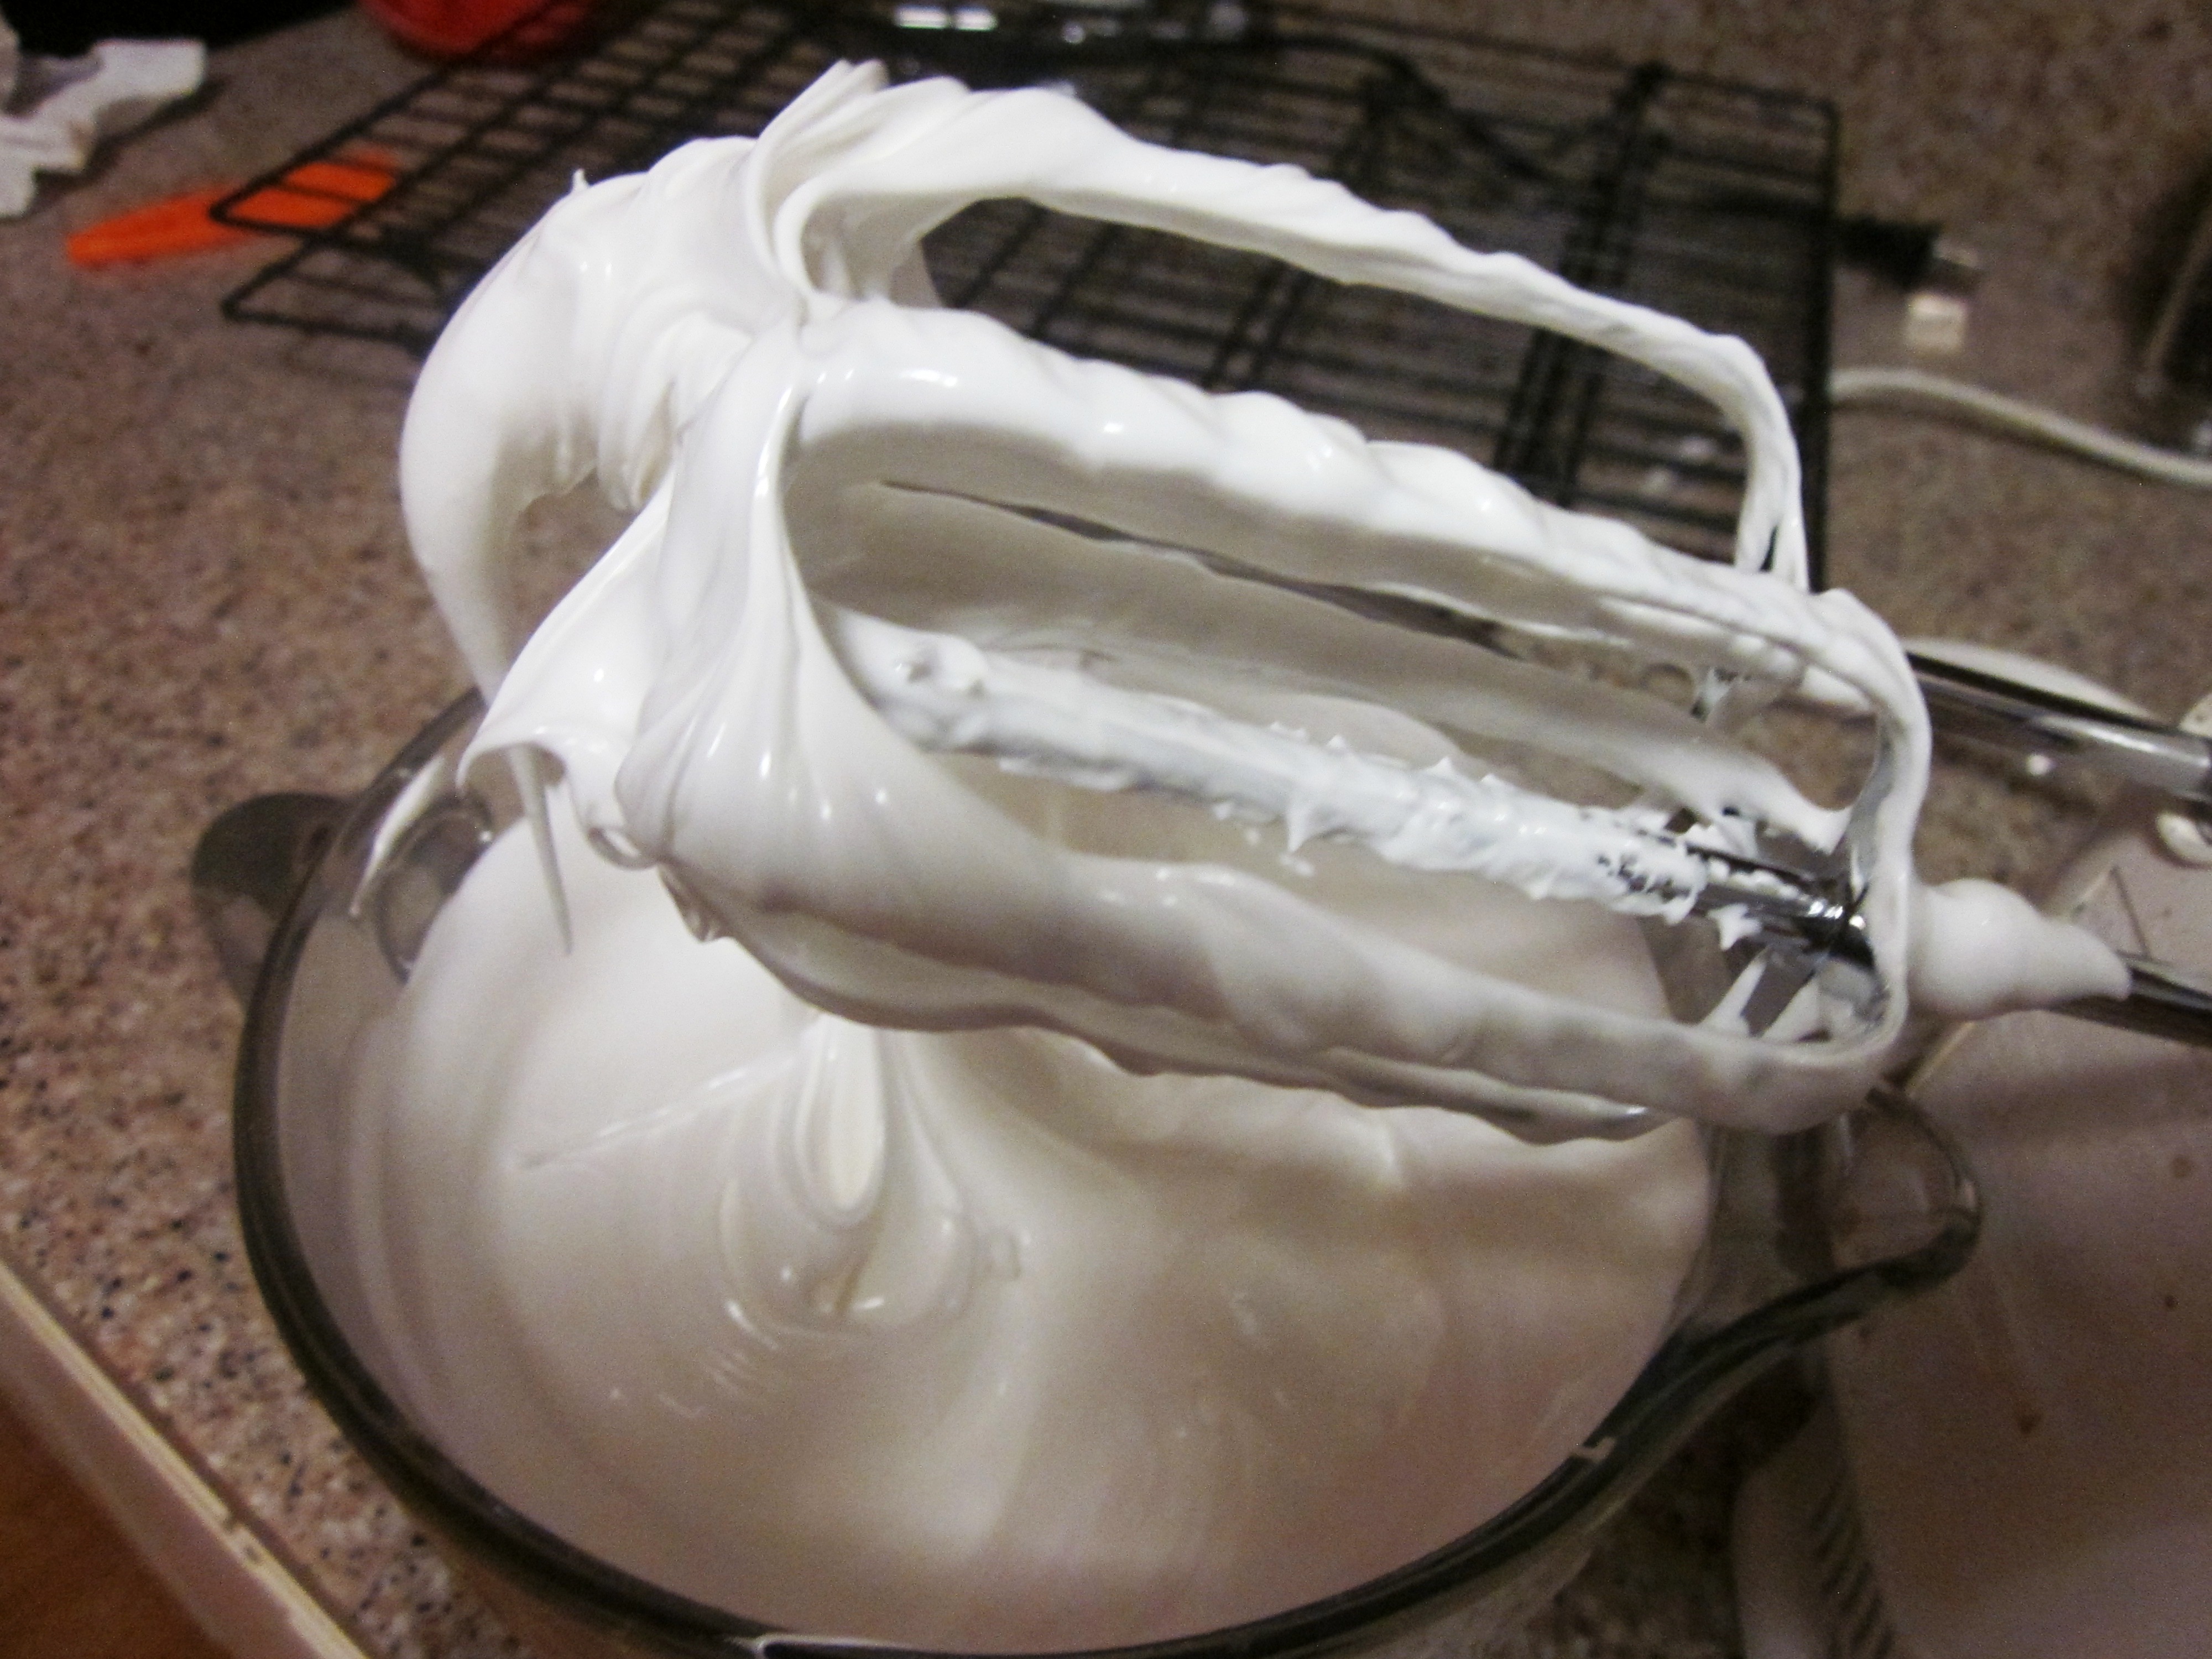
Make the frosting: You’ll need to use the frosting immediately. Place egg whites, sugar and cream of tartar in a heatproof bowl. Set over a saucepan with simmering water. Whisk constantly until sugar is dissolved and whites are warm to the touch, about 3 minutes. Beat with an electric mixer (if using a stand mixer, use the whisk attachment), starting at low speed and gradually increasing to high, until stiff, glossy peaks form, 4 to 7 minutes. Add vanilla, and mix until combined. Use immediately.

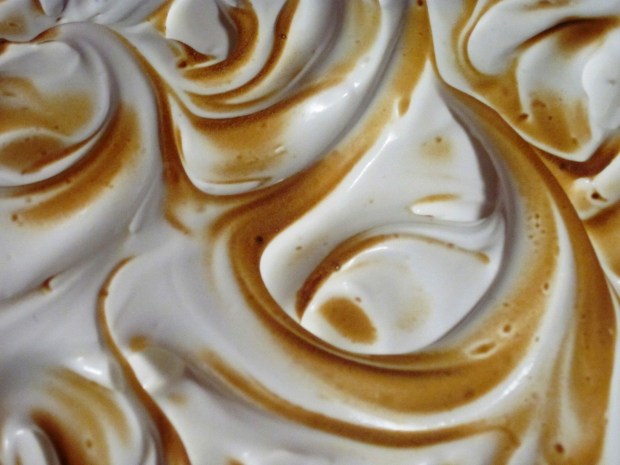
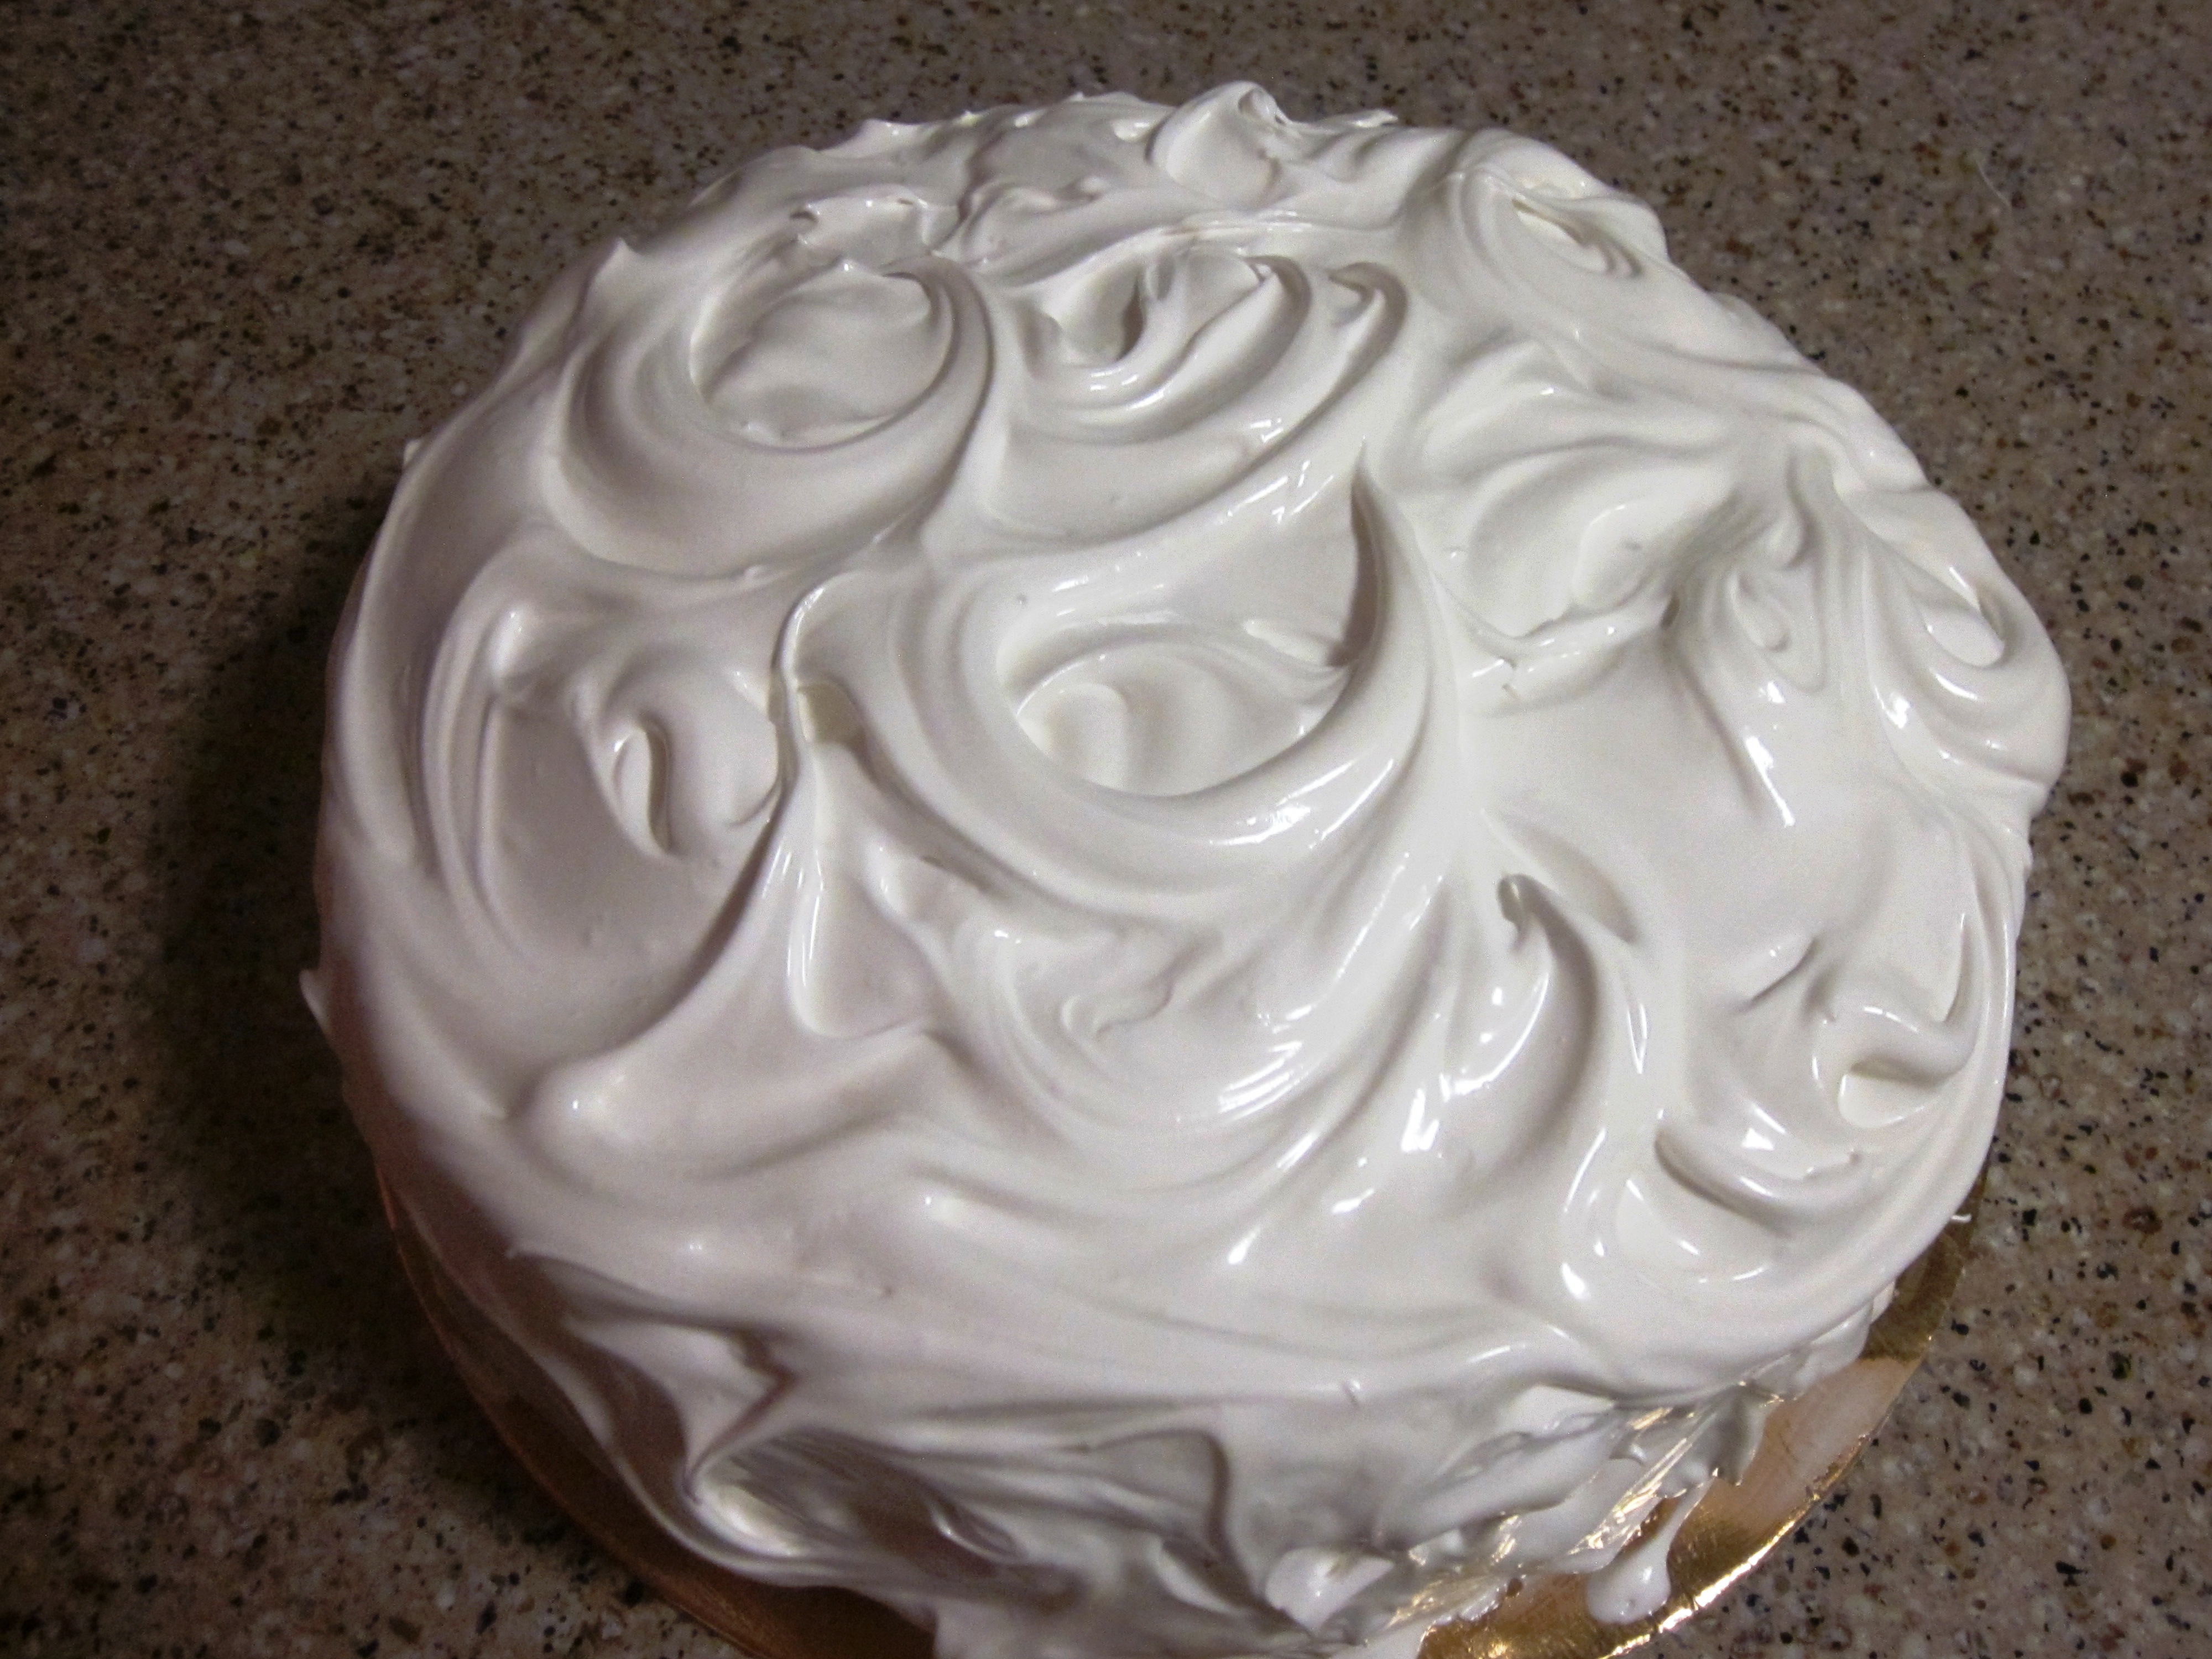
Frost the cake: Spread a thin layer of the frosting over the top and sides, binding the crumbs to the cake. Transfer the cake to the fridge for 5 minutes, then generously coat the top and sides with frosting. If you like, decorate the cake by piping additional frosting into big marshmallow-like dollops, or swirl it with your knife. Make sure there is nothing flammable around you. Using a kitchen torch on a low setting, lightly brown the frosting to create a toasted marshmallow effect.