 Buzzfeed recently declared cake as one of fifteen signs it’s going to be a great day. (And btw, big shout-out to my college town, Lincoln, Nebraska, for making the list at #2. Whoever is responsible for your marketing is pretty fantastic).
And you know what, Buzzfeed? You’re totally right.
Cupcakes and cake pops may be the “it” treats, but there’s something special about a whole cake.
Maybe it’s just me, but it seems like people treat cupcakes as a grab-and-go, individual treat. Or maybe it’s just that cupcakes have become so commonplace, they’ve lost their charm. After all, if every sandwich shop, bakery, and food truck within a mile of your office sells cupcakes, what’s the big deal?
With cake, people linger. They grab another beer, share another joke. Magically, the cake becomes the focal point of the gathering.
(Who me, melodramatic? No way.) And good cake disappears faster than any cupcake I’ve ever made.
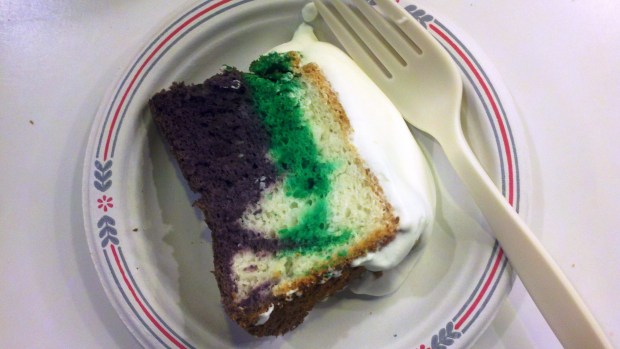
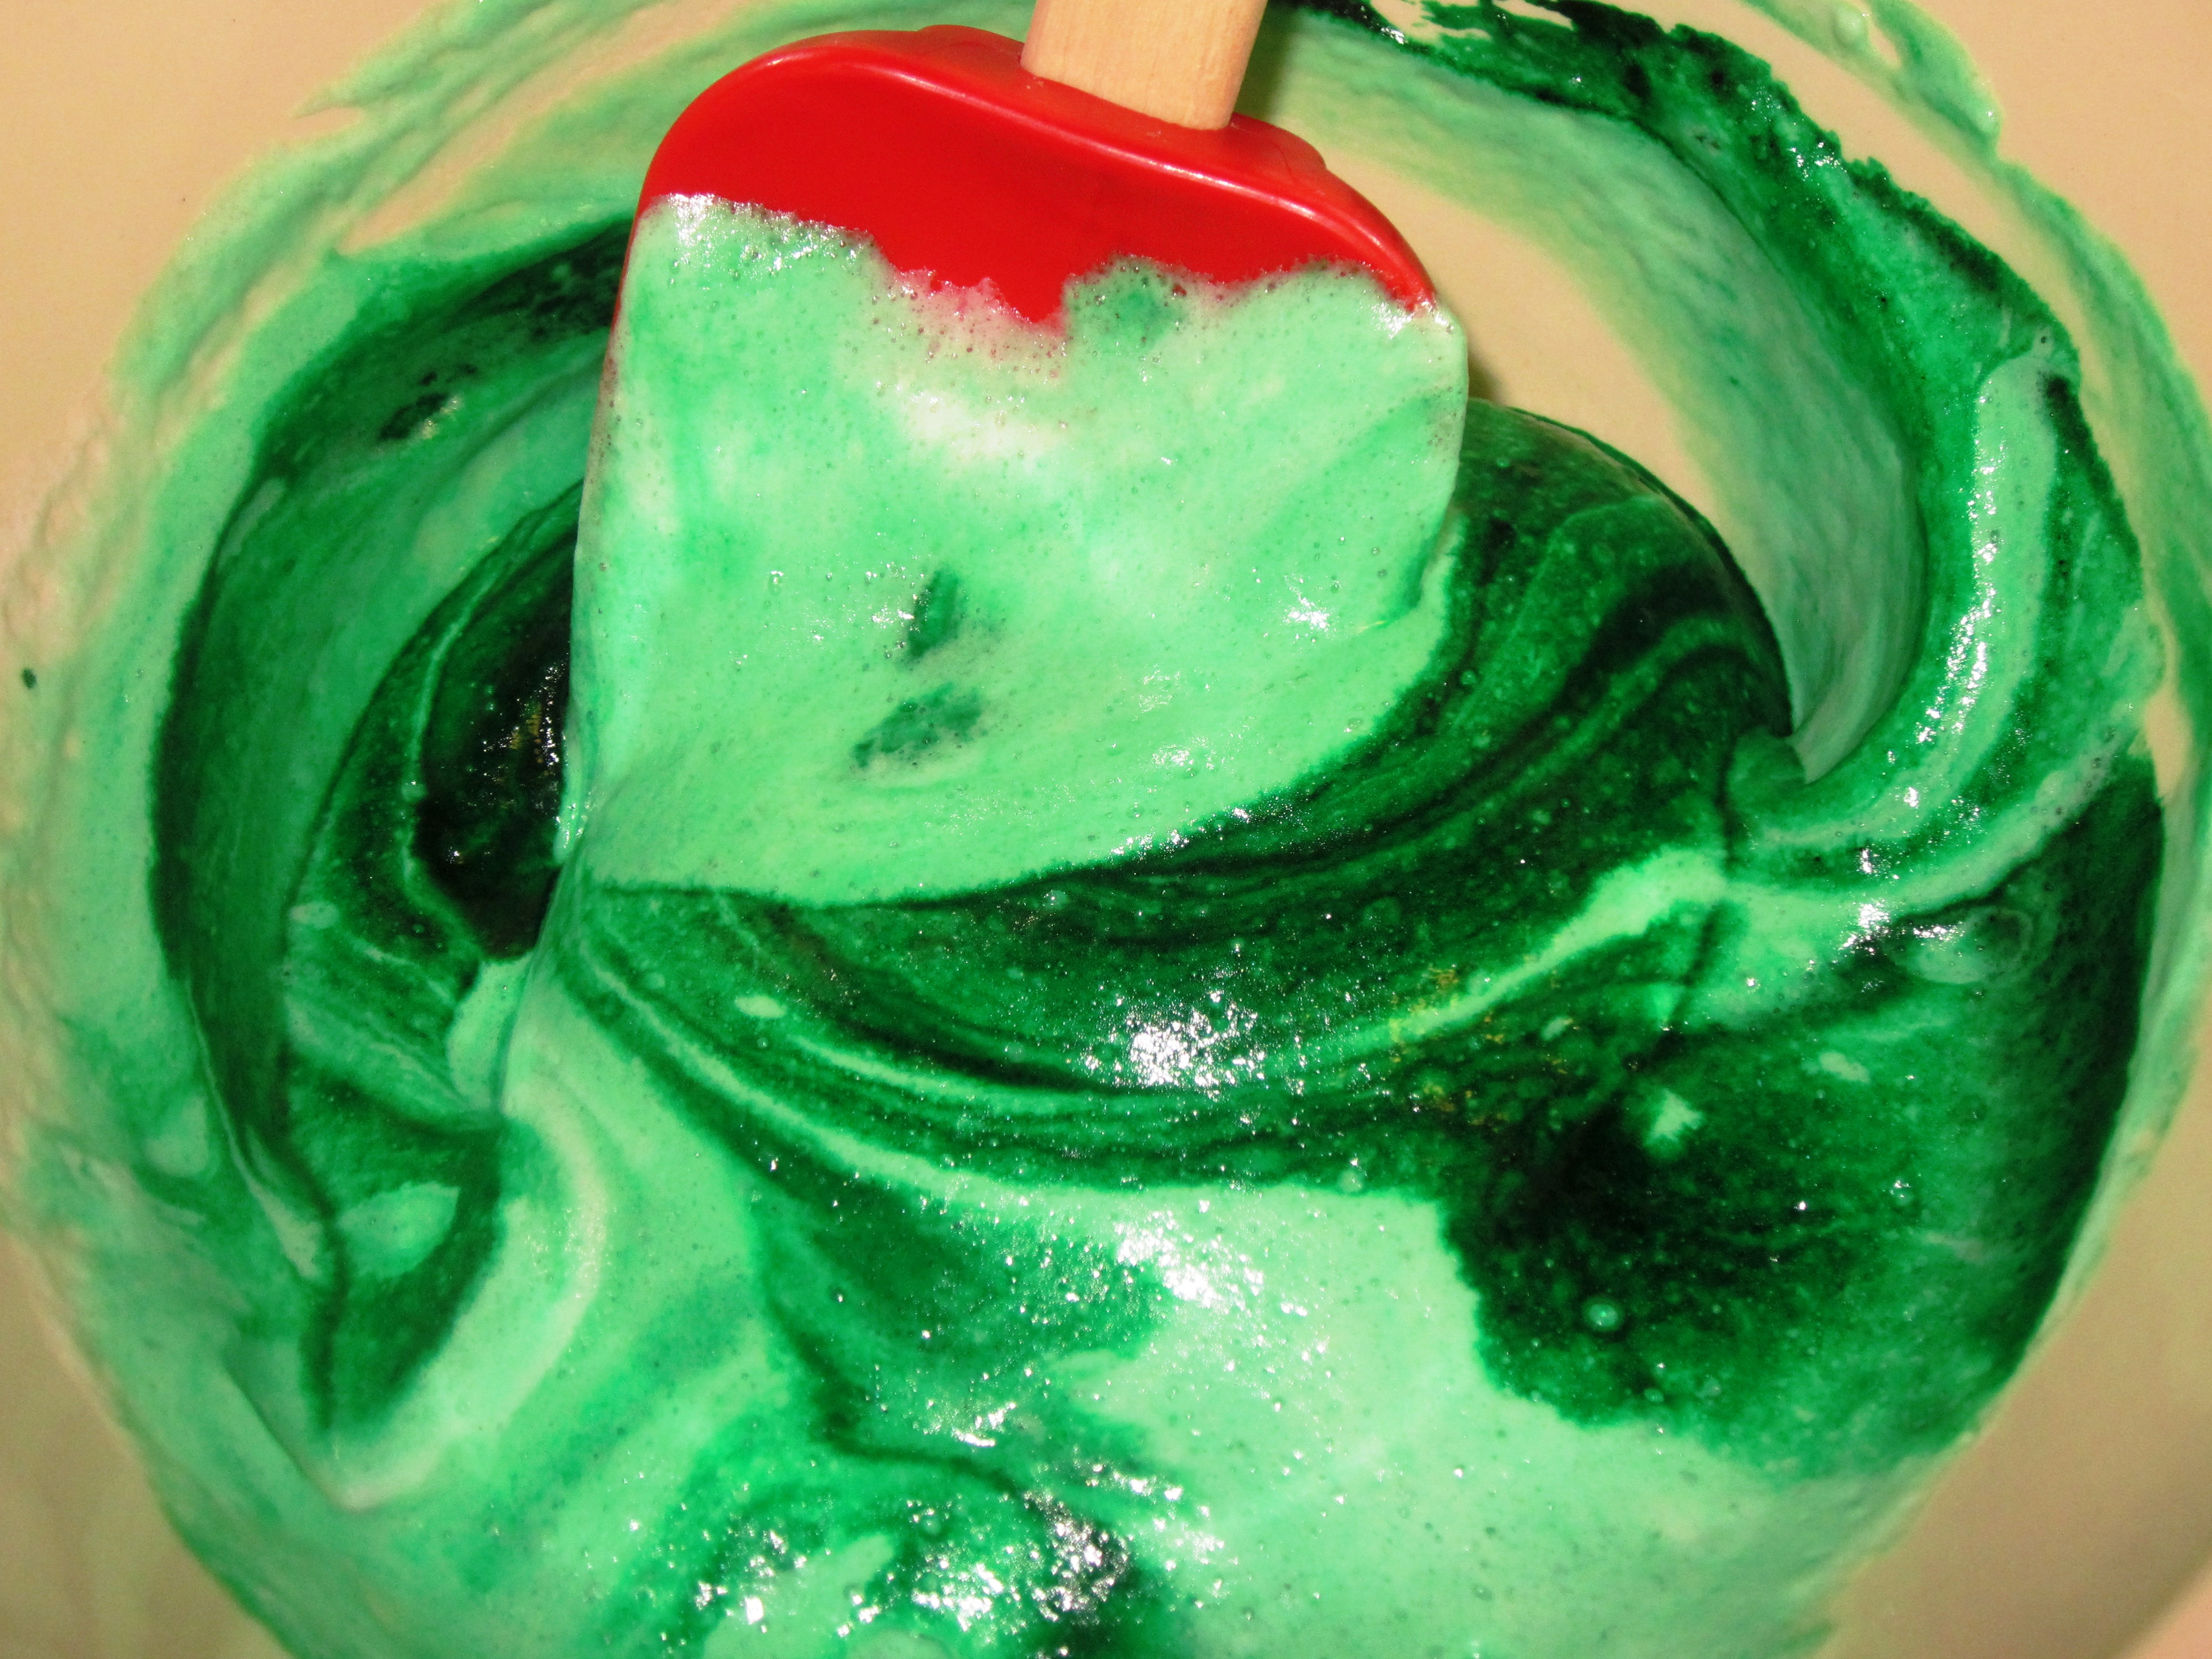
The raison d’être for yesterday’s purple and green cake was a Mardi Gras-themed happy hour. I opted for angel food cake (with a little food coloring folded in for fun), topped with fresh whipped cream. People loved it, and I received more than one request for a pink variation on Valentine’s Day.
Angel food cake is a classic, simple dessert that requires only a few ingredients. I especially love it in the summer with fresh berries.
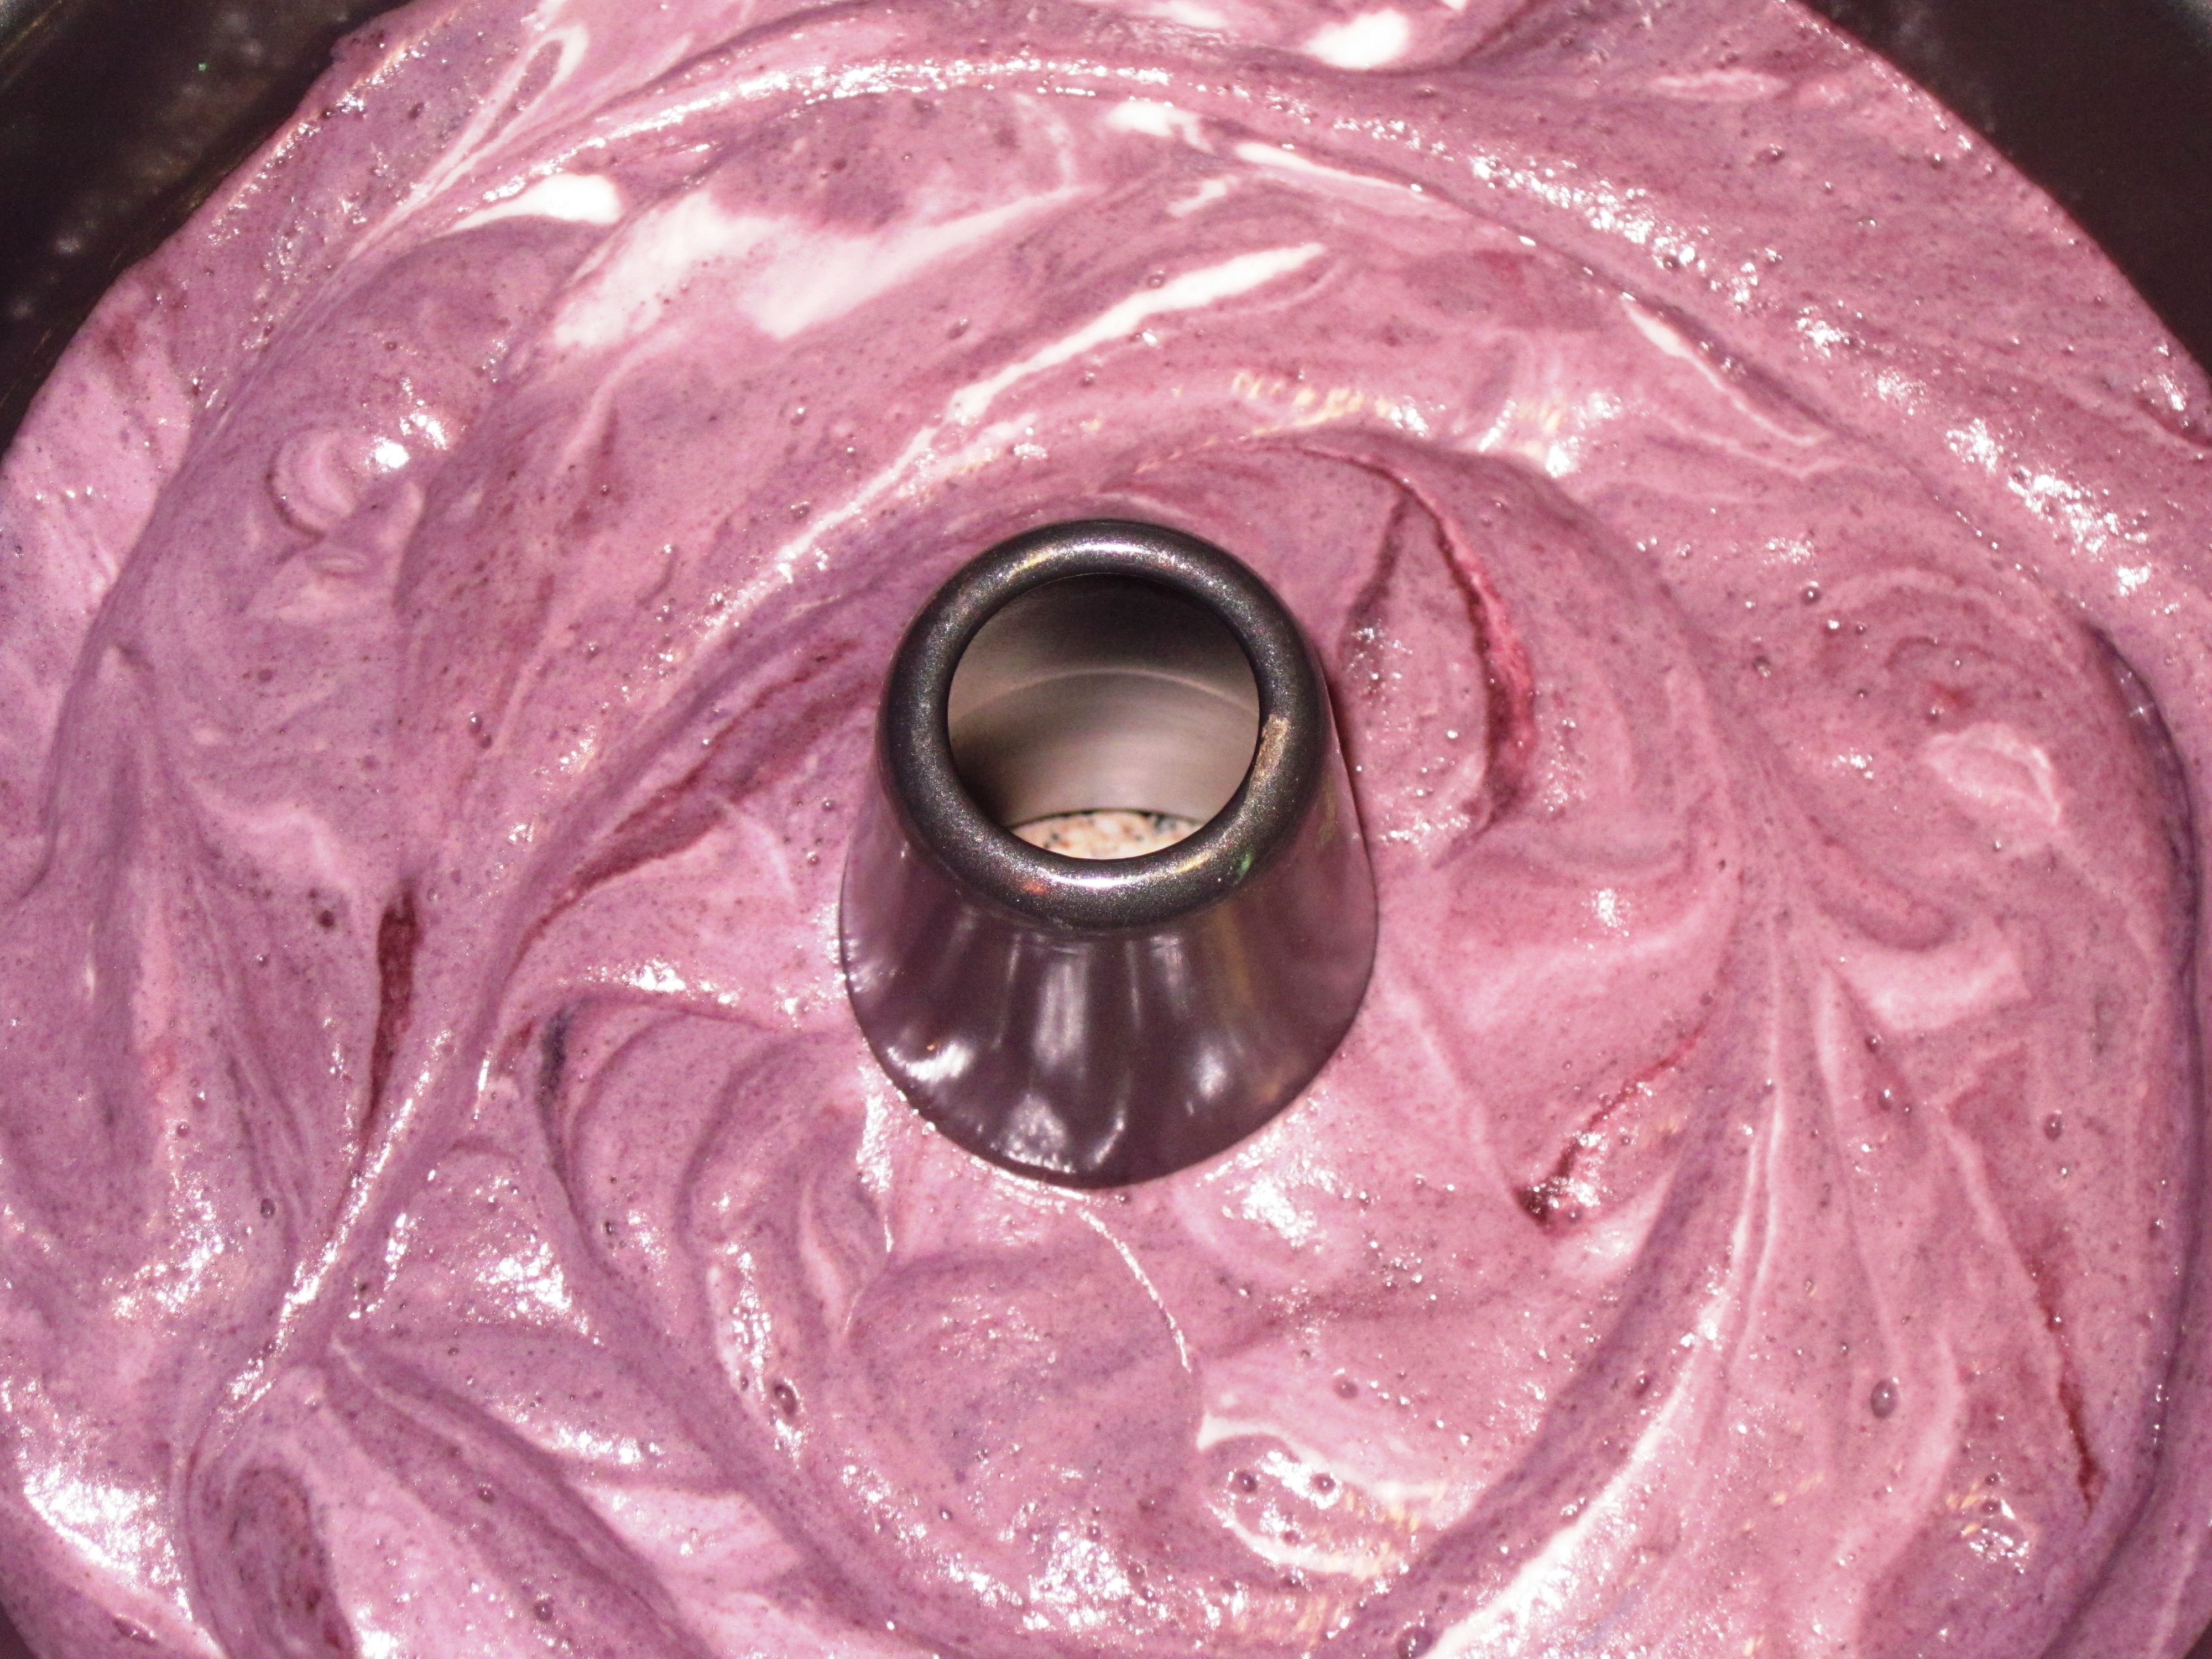
Angel food is essentially meringue with flour folded in. You’ll need an ungreased 9-inch tube pan and a bottle with a narrow neck (beer generally works better than wine) for cooling the cake. If you have it, use a stand mixer, but it can be made with a handheld mixer. The flour is then folded in with a rubber spatula.
Most cakes contain baking soda and/or powder and will rise in the oven; with angel food, the cake is only as high as the batter. The goal, then, is to keep the batter “big.” The more you beat or stir the mix, the more air you will release, causing the batter to shrink. To fold the batter, make a few figure-8’s while keeping the handle of your spatula vertical. Don’t over-mix.
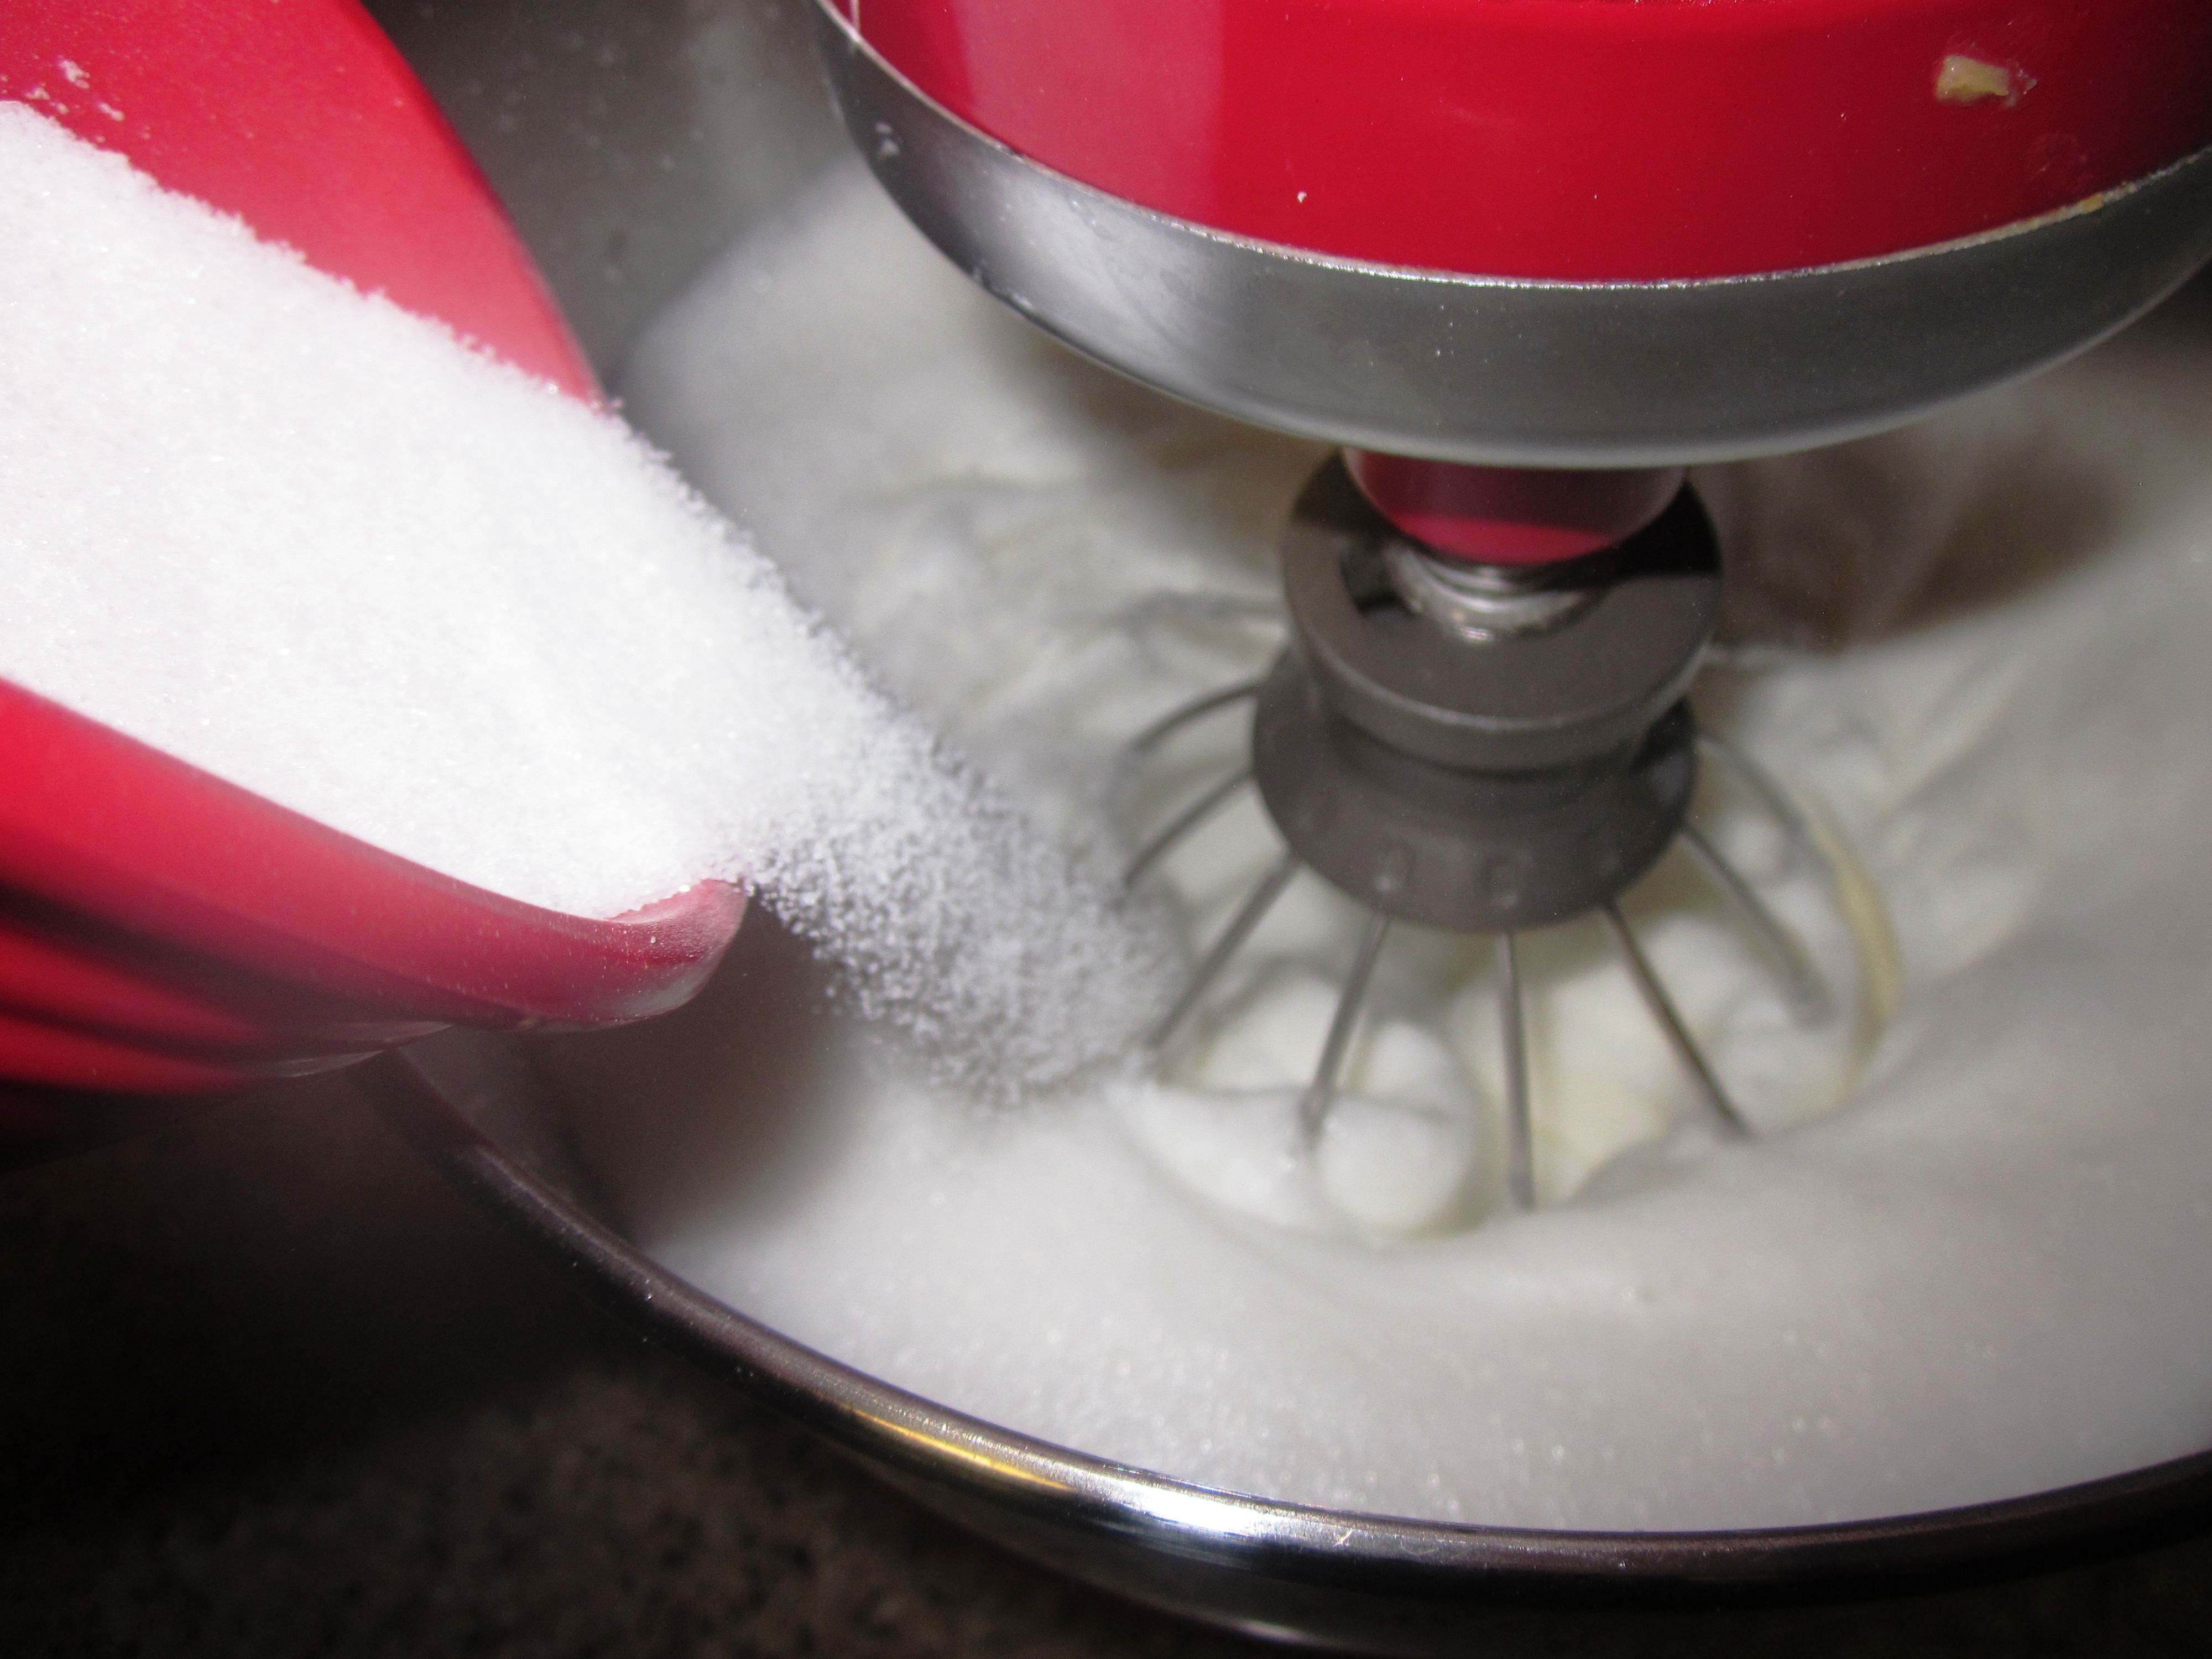
After beating the egg whites, add the sugar in a steady stream.
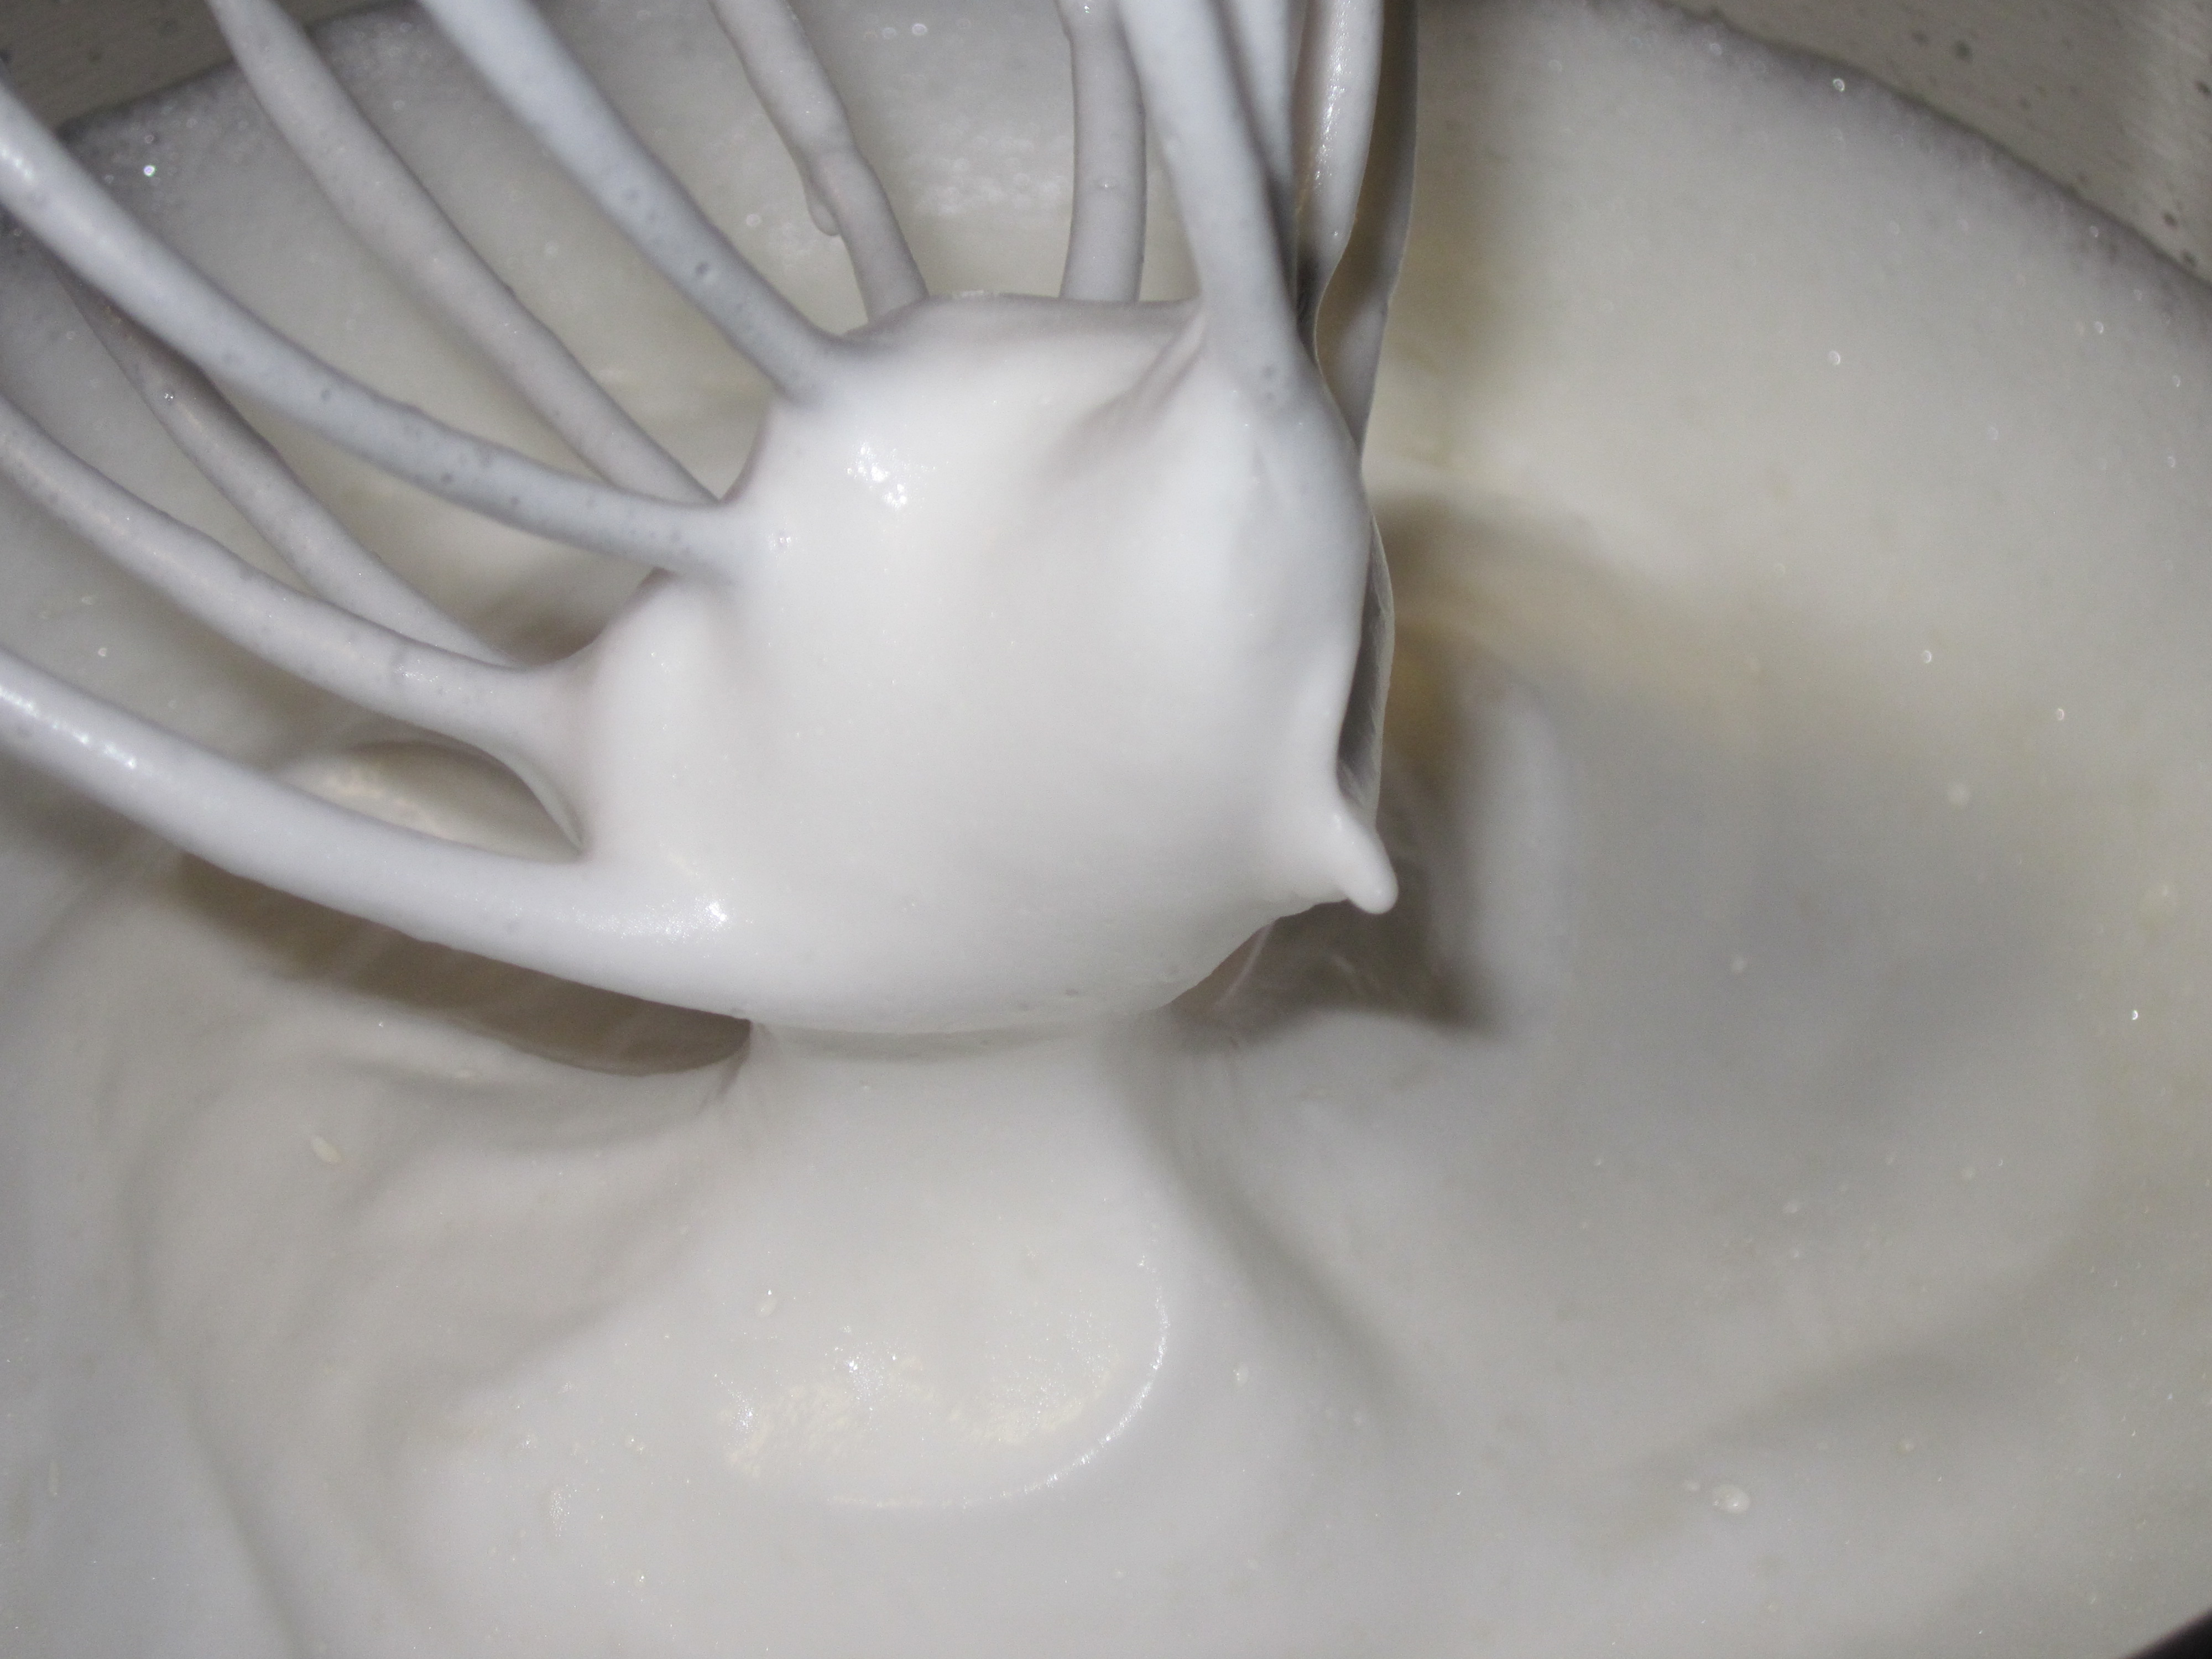
Beat the batter until medium to stiff peaks form.
When folding, keep the spatula vertical, moving in a figure-8 motion, with as few strokes as possible.
Food coloring adds playfulness to a simple dessert.
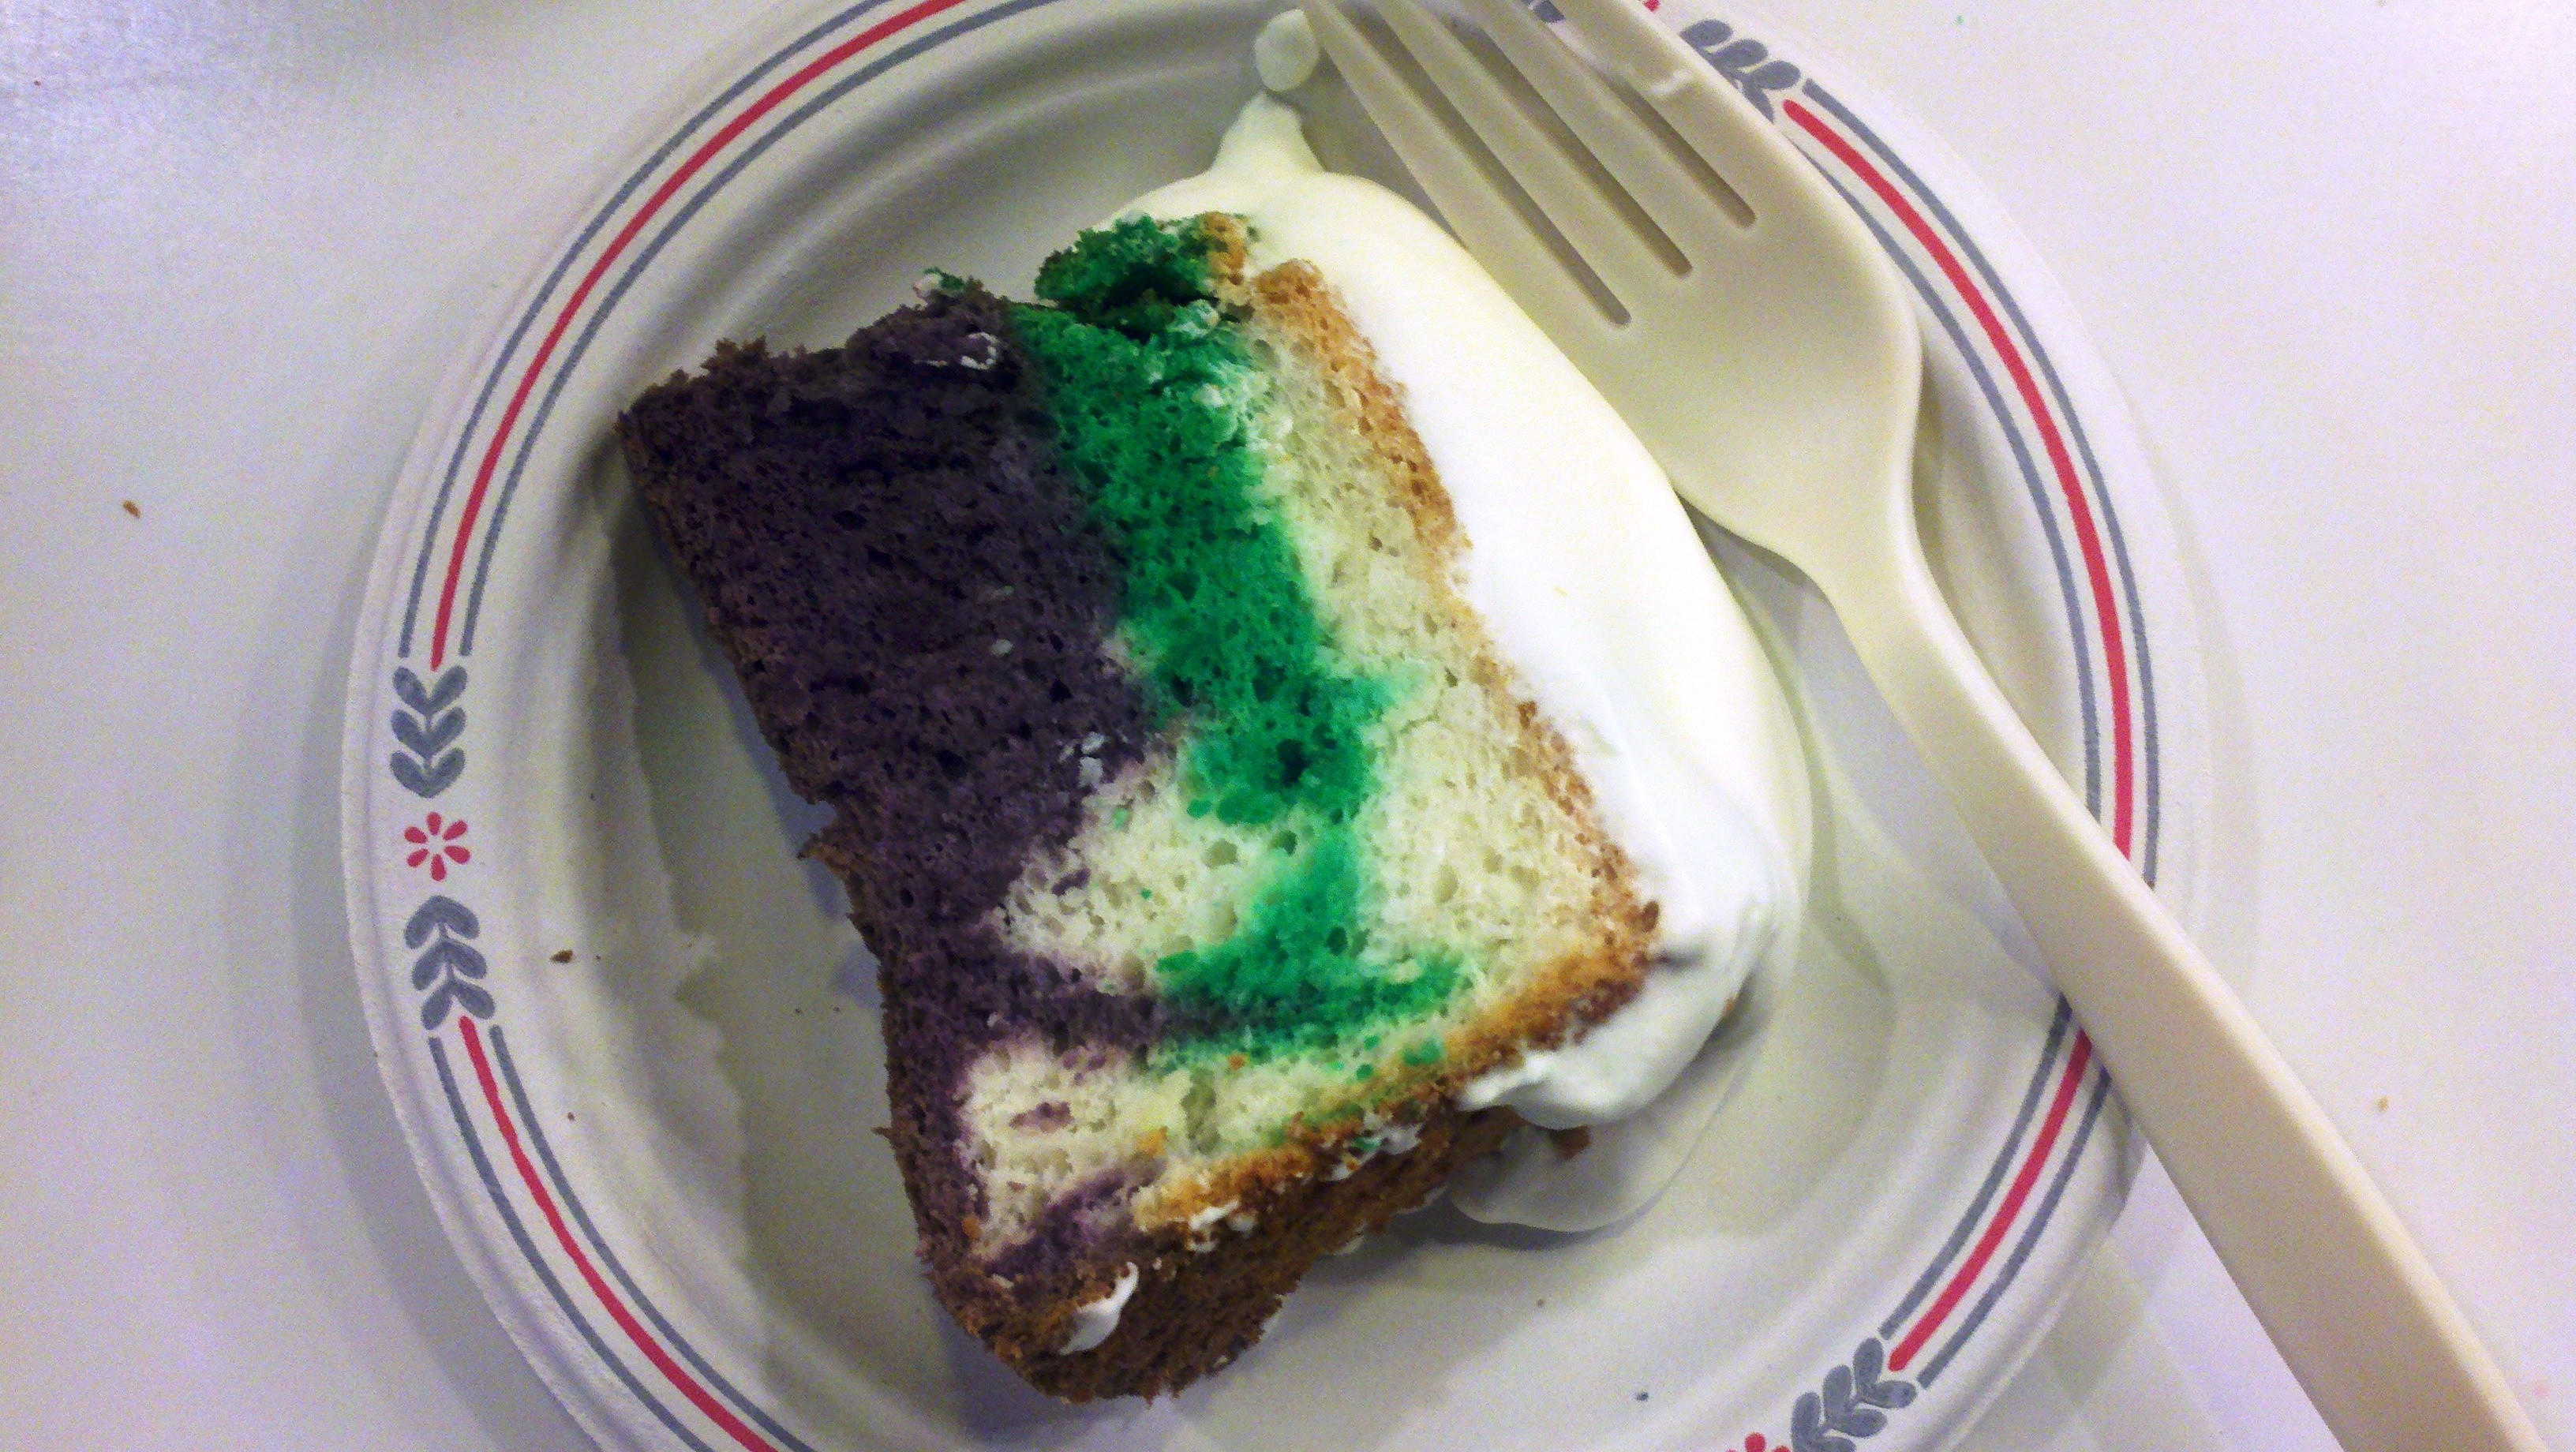
I was told there would be cake… because I volunteered to bring it.
Angel Food Cake
Adapted from Baking, by James Peterson
Makes one 9-inch tube cake
15 egg whites (2 cups)
Pinch of cream of tarter (unless using a copper bowl)
1 cup sugar
1 Tbs lemon juice
1 1/4 cups cake flour
Preheat the oven to 350 degrees. Beat the egg whites and the cream of tartar on medium-high speed n a stand mixer fitted with the whisk attachment for about 3 minutes, or with a handheld mixer on high for about 8 minutes, until medium peaks form. Add the sugar in a steady stream and beat for about 2 minutes more in a stand mixer or 5 minutes more with a handheld mixer, until medium to stiff peaks form. It’s better to underbeat slightly than to overbeat.
Sprinkle the lemon juice over the egg white mixture. Sift the flour over the mixture in about 4 batches, alternating between adding flour and folding the batter until the flour is no longer visible.
Carefully transfer the batter to an ungreased 9-inch tube pan. Cut a knife through the batter to release trapped air. Bake for 40-45 minutes, until a paring knife or skewer comes out clean and the top of the cake feels firm and springs back to the touch.
Turn the tube pan upside down and set over the neck of a bottle to cool for 45 minutes. Slide a knife around the outside rim of the pan and remove the outer piece of the pan. Slide the knife around the bottom of the base and around the tube in the middle. Invert the cake onto a cake rack and lift off the pan. Store any leftovers in an airtight container for up to 3 days.
For whipped cream, beat 1 cup of heavy whipping cream on high with an electric mixer. When soft peaks form, add 2 tablespoons sugar. Continue beating until stiff peaks form. Refrigerate until ready to serve.