Month: August 2014

Figs Preserved in Honey Syrup

Last summer, I made fig jam for the first time, and it’s been a highlight of my picnic spreads and cheese trays ever since. This summer, I was lucky enough to score large batches of figs two weekends in a row. I love fresh figs, but their shelf life is painfully short. I restocked my jam supply, and then turned my attention to other preservation methods.

I liked the idea of keeping the fruits whole, and serving them with yogurt, hot cereal, cheese, or just alone. Fall project: find (or create) a cocktail recipe featuring the syrup! I used black mission figs, the variety I typically see in my area, but green figs would look beautiful for this recipe. Try wide-mouth pint jars for easy access to the fruits.

20140810_193015

Figs Preserved in Honey Syrup

From Put ’em Up, by Sherri Brooks Vinton

Makes about 9 pints

10 pounds figs, stemmed
6 cups water
2 cups honey
1 cup sugar
9 tablespoons bottled lemon juice (1 tablespoon per jar)

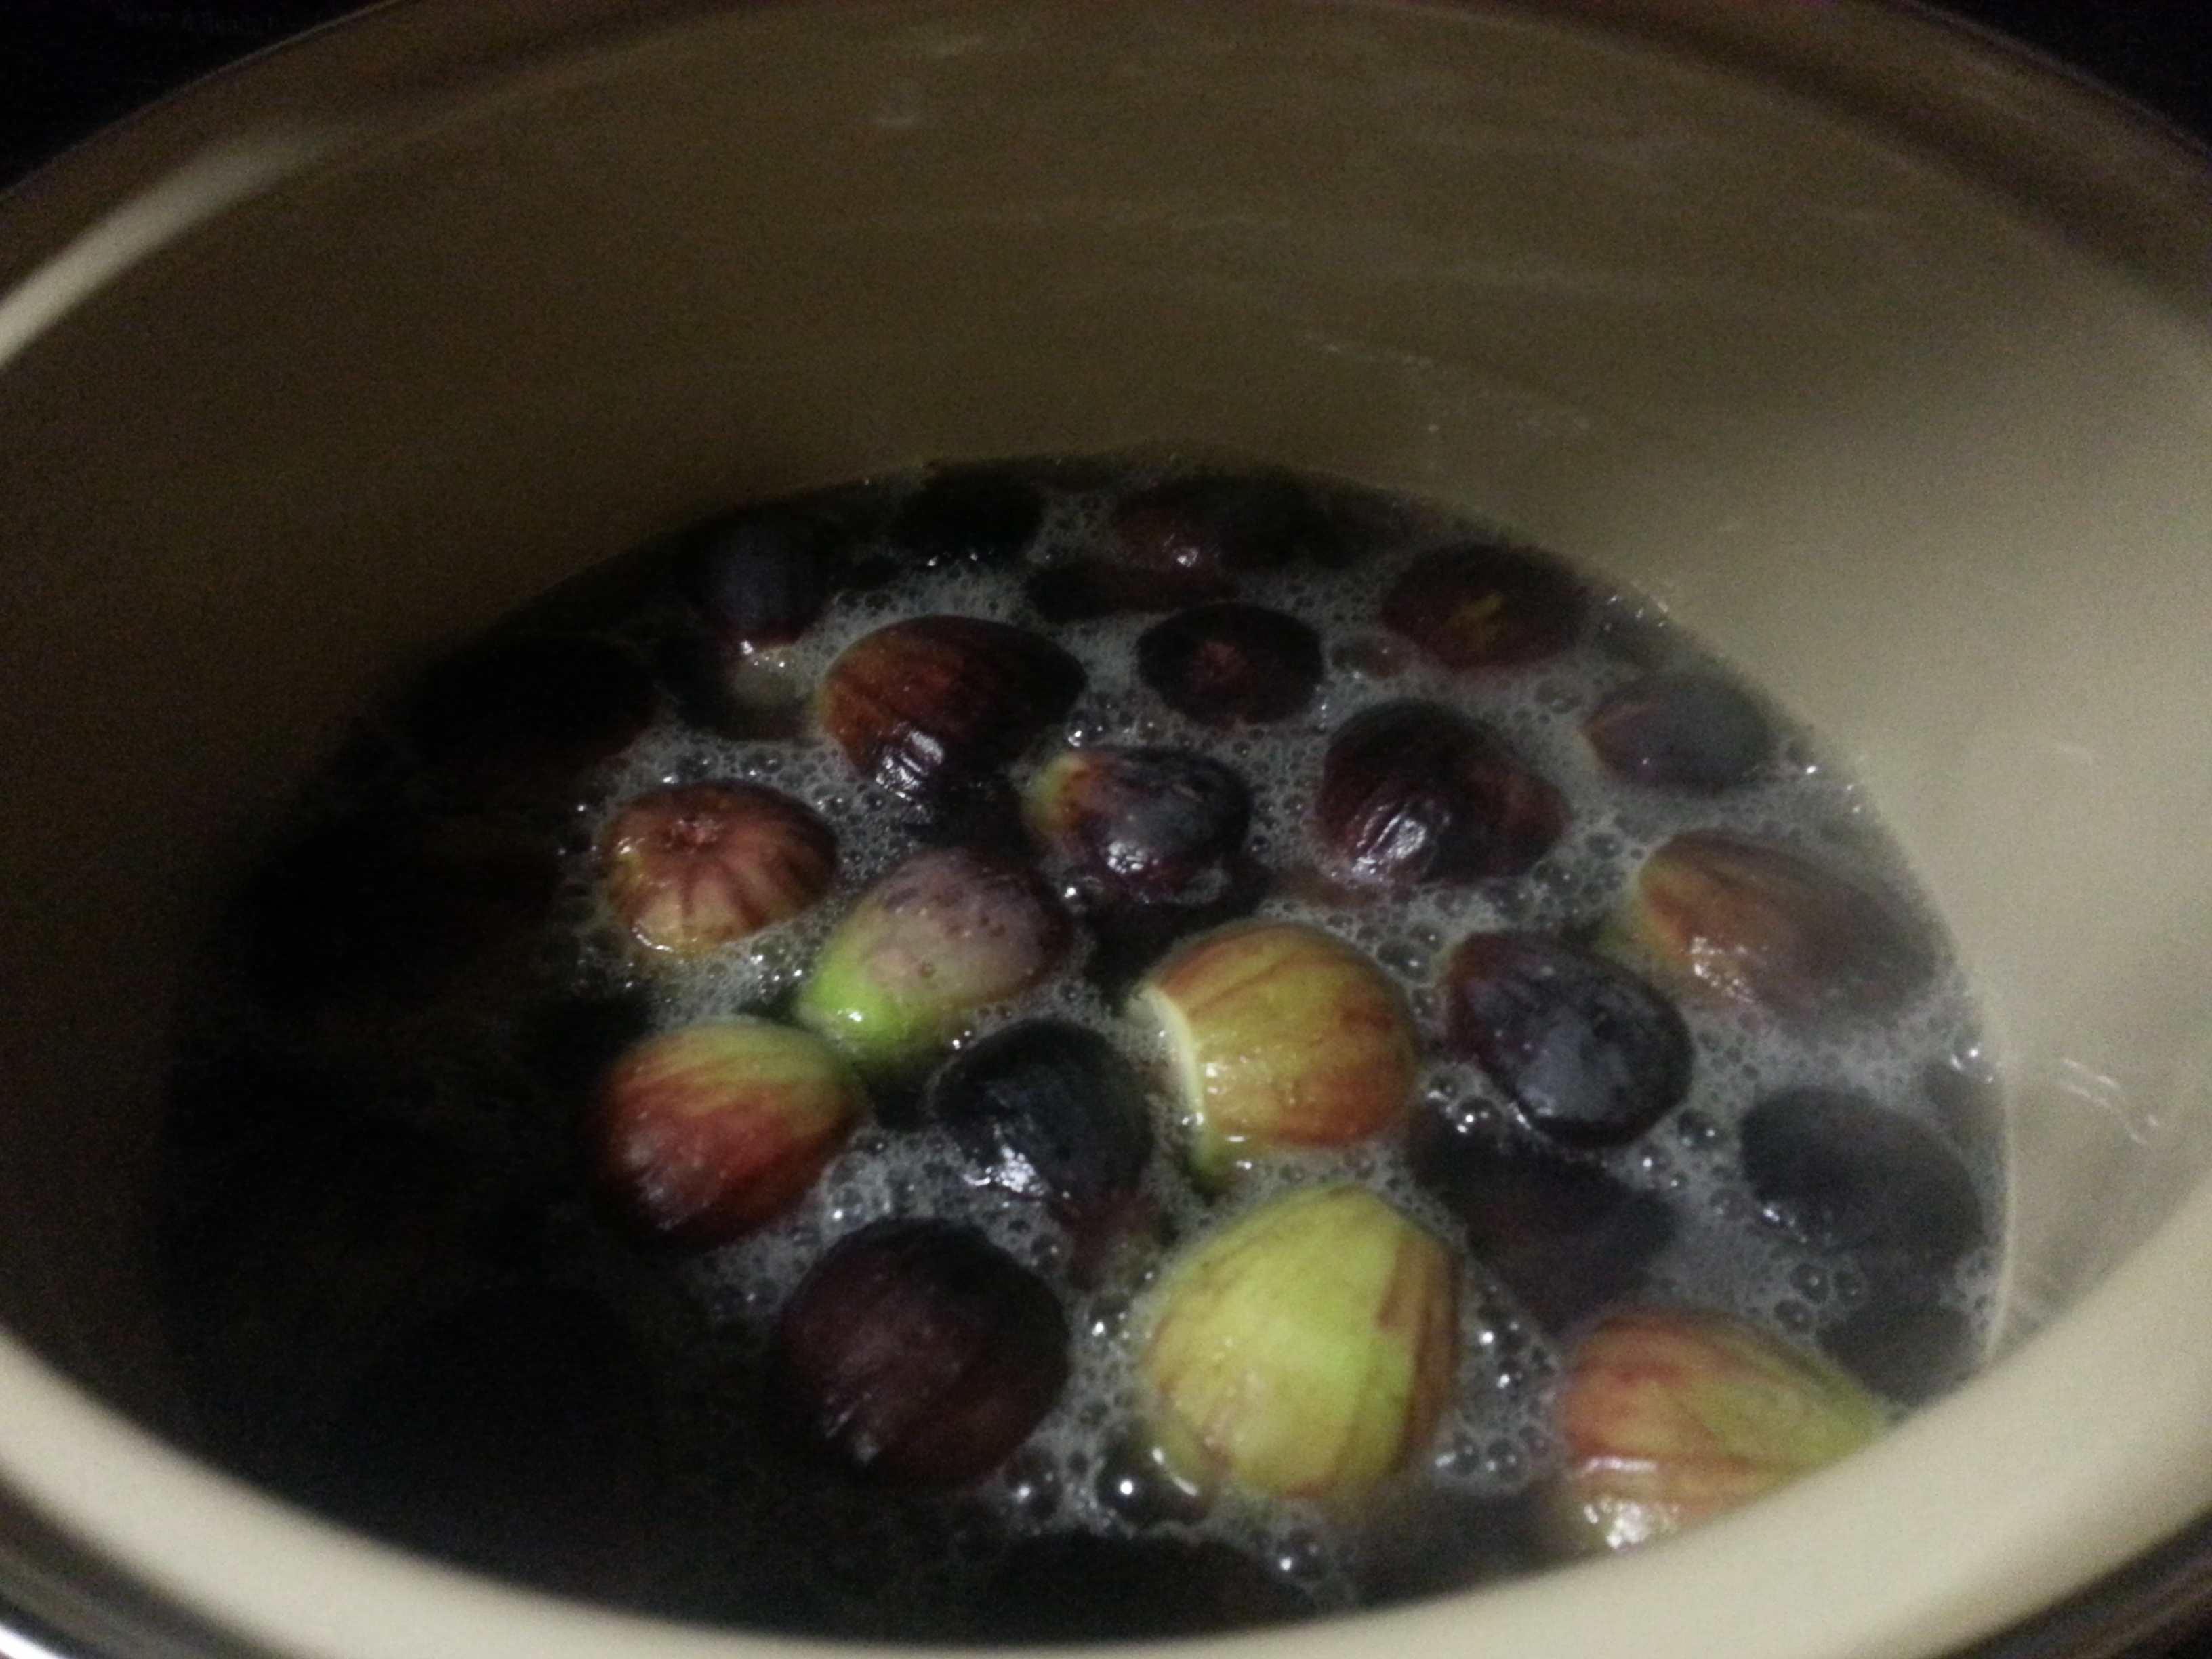
In a large saucepan, cover the figs with water by 2 inches and bring to a boil. Simmer for 2 minutes to soften the fruit. Drain.

Combine 6 cups water, honey, and sugar in another large saucepan, and bring to a boil, stirring to dissolve the sugar. Add the figs and gently boil them in the syrup for 5 minutes.

Pour 1 tablespoon of lemon juice into each clean, hot pint jar. Pack the jars gently but firmly with figs. Ladle hot syrup over the figs to cover by 1/2 inch, leaving 1/ inch headspace between the top of the liquid and the lid. Screw lids on the jars temporarily. Gently swirl each jar to release trapped air bubbles. Remove the lids and add syrup, if necessary, to achieve the proper headspace.

Can: Use the boiling-water method. Release trapped air. Wipe the rims clean; center lids on jars and screw on jar bands. Process for 45 minutes. turn off heat, remove canner lid, and let jars rest in the water for 5 minutes. Remove jars and set aside for 24 hours. Check seals, then store in a cool, dark place for up to 1 year.

Advertisement

Homemade Marshmallows

20140729_161912

100 posts! And what better way to celebrate than to share one of my favorite recipes: homemade marshmallows.

If you’ve never had a homemade marshmallow, it might not occur to you that this is something you can make. I know I had never thought about it until I had one at a neighborhood coffee shop circa 2009 and ohmygawd I had to have them. Once you’ve eaten homemade marshmallows,

I found a few recipes online, but I didn’t own a stationary (stand) mixer. Womp womp. Big problem. It’s dangerous to make this with a hand mixer. You’re mixing boiling sugar at high speed. Plus, using a hand mixer on high speed for this long with hot contents will most likely burn out the motor.

20140727_212247

I saved up my money and bought a Kitchen Aid on a Black Friday sale that year. This was the first thing I made with it. Not even joking.

20140727_212832

Once you’ve mastered the basic technique, play around! Substitute another flavoring, like peppermint, or try cocoa powder or vanilla bean paste. You can also mix in a few drops of food coloring. For fun shapes, generously coat small cookie cutters in powdered sugar. Basic shapes, like circles or hearts, are best. You can even add toasted coconut or nuts, or dip set marshmallows in chocolate. Endless combinations!

20140728_235205

My favorite ways to eat homemade marshmallows are in a cup of hot cocoa, in s’mores (of course), or straight up. I made these for my farewell party at my last job, and they were a hit.  I know you’ll love them.

IMG_20140729_163306004_HDR~2

Happy cooking!

Homemade Marshmallows

3/4 cup cold water
4 envelopes unflavored gelatin (such as Knox)
3 cups sugar
1 1/4 cups light corn syrup
3/4 cup water
1/2 teaspoon salt
2 1/2 teaspoons vanilla
Powdered sugar

Special equipment: stationary electric mixer with whisk attachment; candy/fry thermometer

Line a 9 x 13 pan with parchment paper; grease. (Note: pans with square edges are easier to work with.) Put 3/4 cup cold water into the bowl of the electric mixer; sprinkle gelatin on top. Let soften for 5 minutes.

Meanwhile, affix candy/fry thermometer to a heavy-bottomed saucepan. Heat sugar, corn syrup, remaining 3/4 cup water, and salt in saucepan. Heat to a rolling boil over high heat, stirring to dissolve sugar. Boil for one full minute, until mixture reaches 238 degrees.

Turn the mixer on low speed and carefully pour boiling sugar into the mixing bowl. Gradually raise the speed to high. Beat on high for 6 minutes.

Add vanilla and continue to beat on high for another 5-6 minutes, until very stiff peaks form. Pour and spread into prepared pan. Let sit for 3 hours or overnight to firm up.

Sprinkle powdered sugar onto a work surface. Turn marshmallow slab onto the powdered sugar. Using a chef’s knife (or other non-serrated blade), cut marshmallows into squares. Roll each marshmallow in additional powdered sugar. Store in an air-tight container up to one week.

Turkey Meatloaf Cups

20140810_191849

Meatloaf: the ugly workhorse of the comfort food family. It certainly doesn’t look beautiful, but it gets the job done.

Meatloaf freezes fairly well, but if you freeze all the slices together, it’s not very convenient to remove a single serving later. I adapted my regular meatloaf recipe slightly to make individual servings in meatloaf cups, which I can then reheat as many as I want at a time. Use ground turkey or beef that’s higher in fat content, or it can get really dry.

They’re not going to look beautiful coming out of the oven, but I promise, you’ll like them.

20140810_180721

Turkey Meatloaf Cups

Serves 6

1/2 medium yellow onion,  diced
1 tablespoons olive oil
1 teaspoon kosher salt
1/2 teaspoon black pepper
1/2 teaspoon dried thyme
2 tablespoons Worcestershire sauce
1/2 cup beef stock (or more)
2 tablespoons tomato paste
2 pounds ground turkey (80-85% lean) (or substitute ground beef)
2/3 cup dry breadcrumbs (or more)
2 eggs, lightly beaten
Ketchup

Preheat oven to 350 degrees. Grease or spray 12 muffin cups.

In a small saute pan, cook onions, olive oil, salt, pepper, and thyme over medium-low heat until translucent, about 12-15 minutes. Add Worcestershire, stock, and tomato paste. Mix well. Let cool to room temperature.

In a large bowl, combine meat, bread crumbs, eggs and onion. Mix well. Add more broth or breadcrumbs as needed. Divide into 12 portions and place in muffin tins. Top with ketchup (1-2 teaspoons per meatloaf cup, or as desired).

Place muffin tin on a large baking sheet and put in the center of the oven. Bake until internal temperature reads 160 degrees, about 40 minutes.

Let cool for 10 minutes before removing from tins. Serve with additional ketchup, if desired.