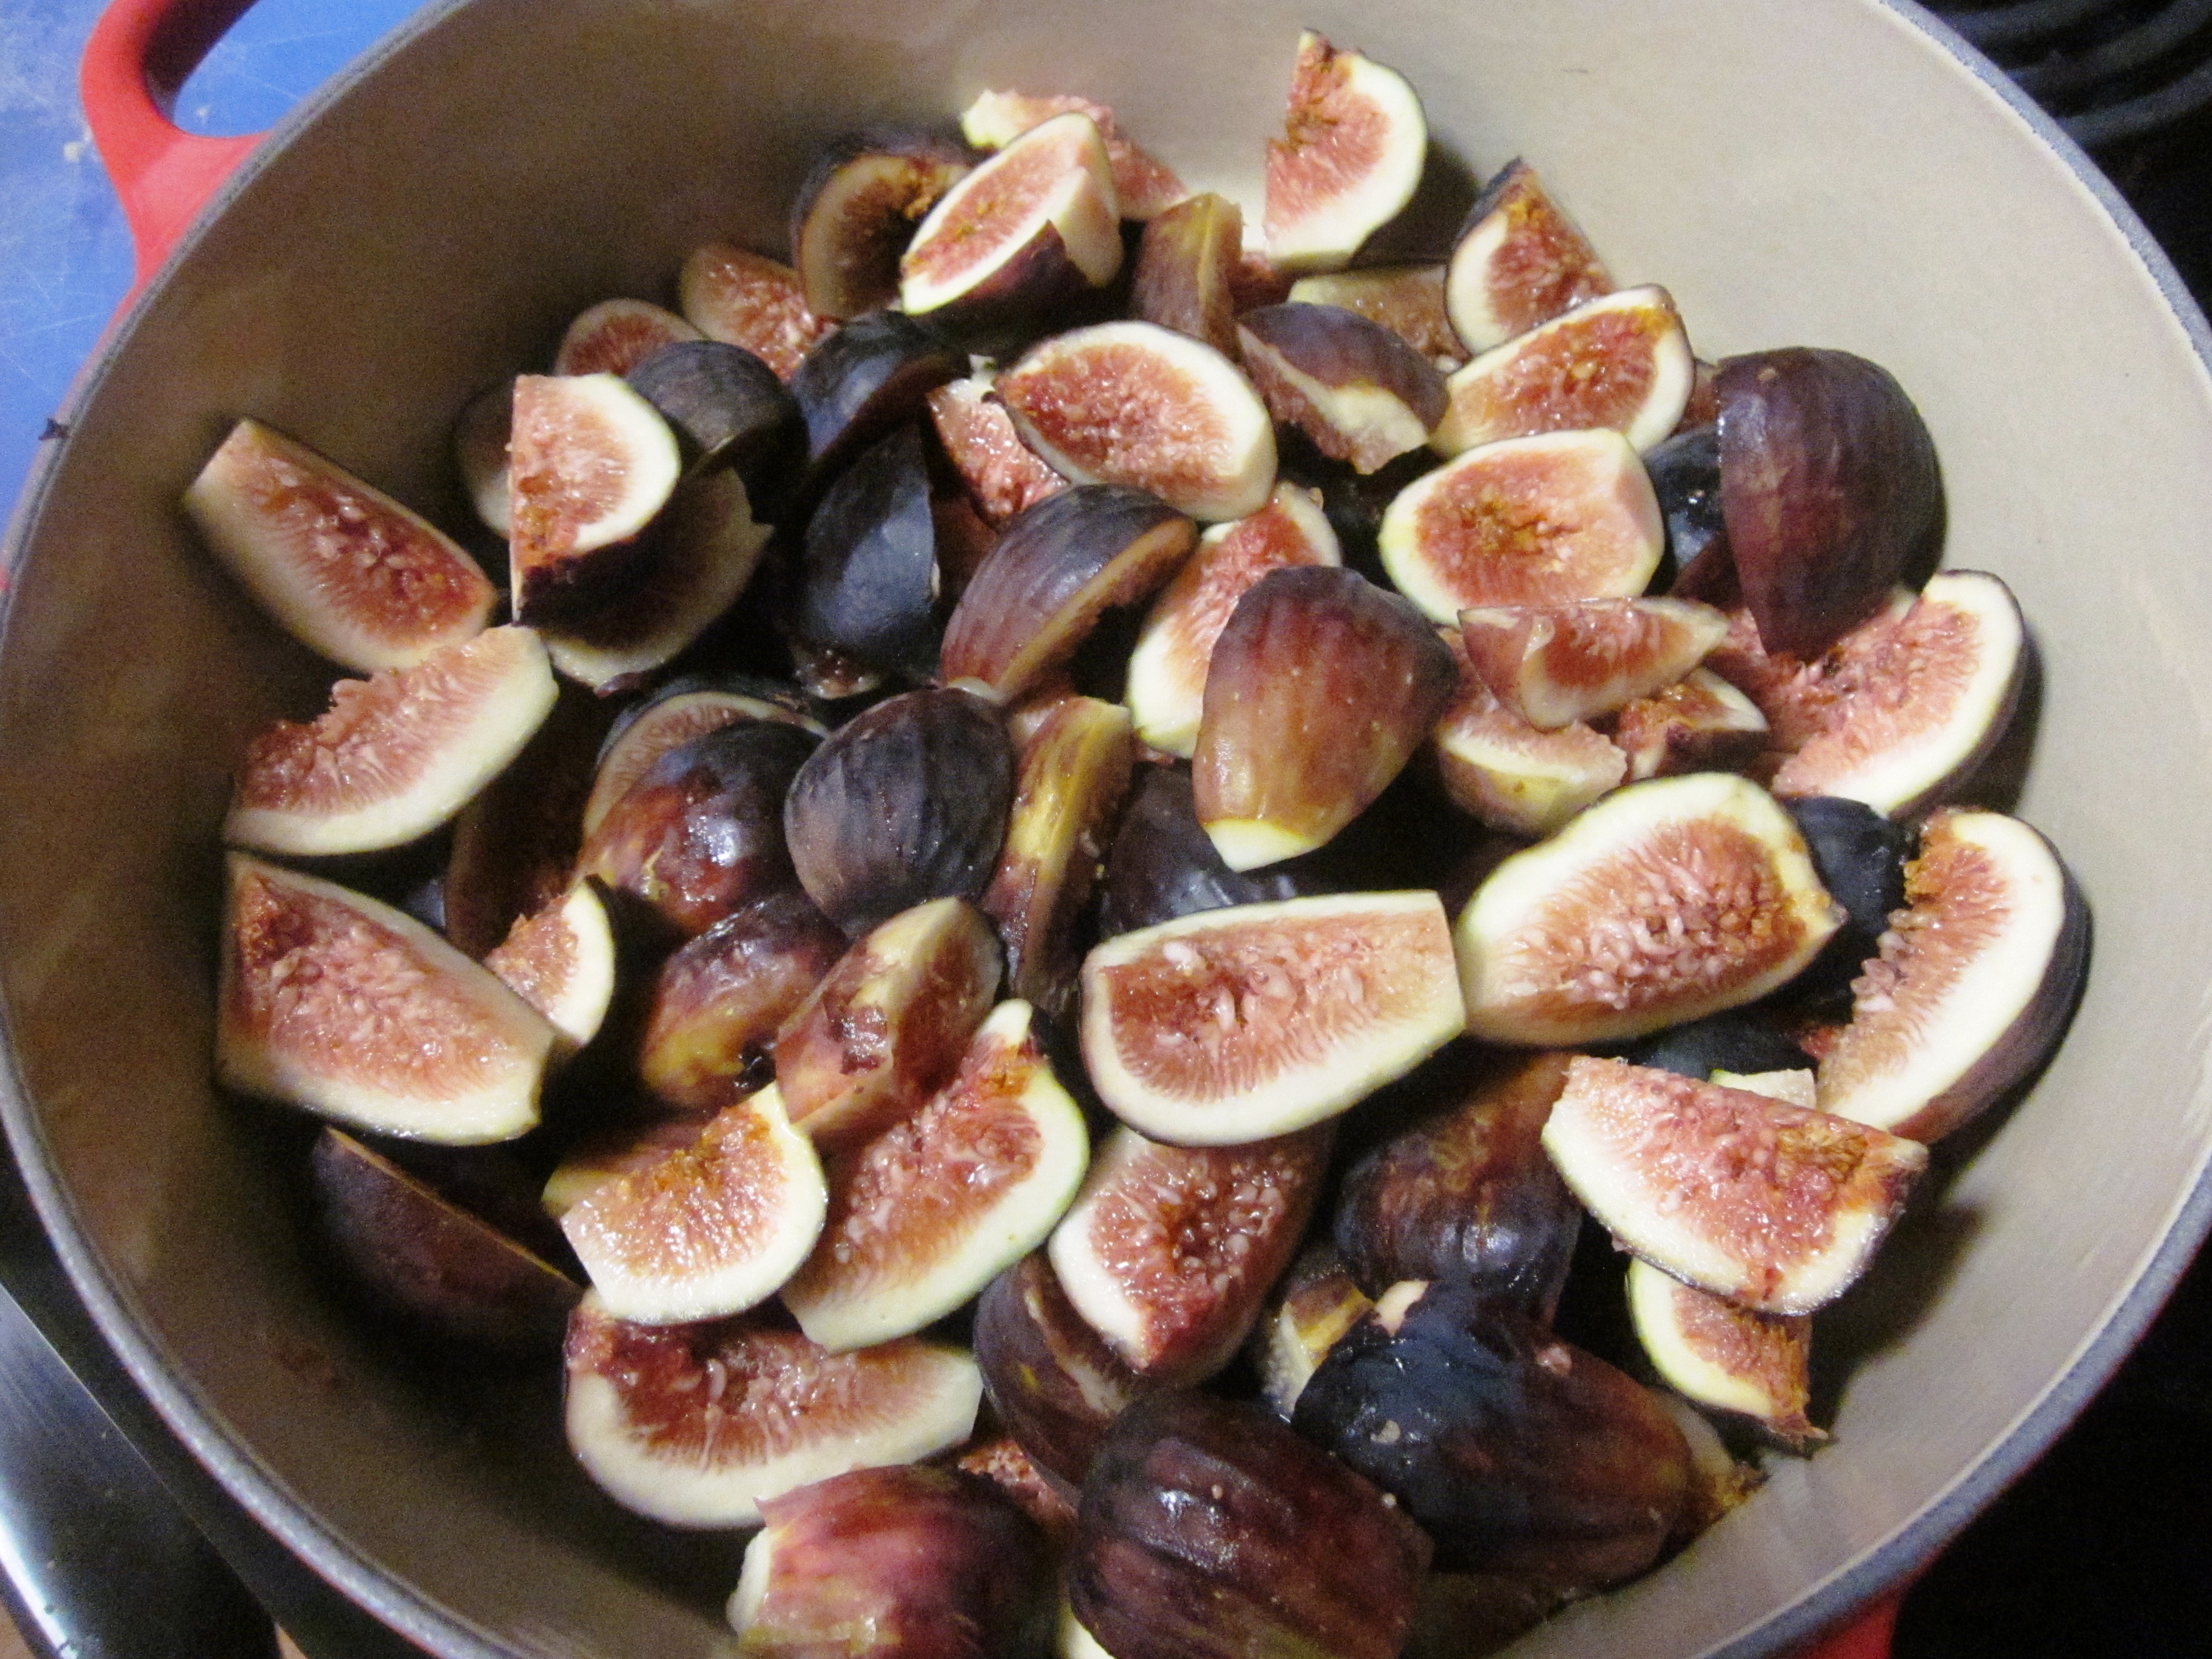
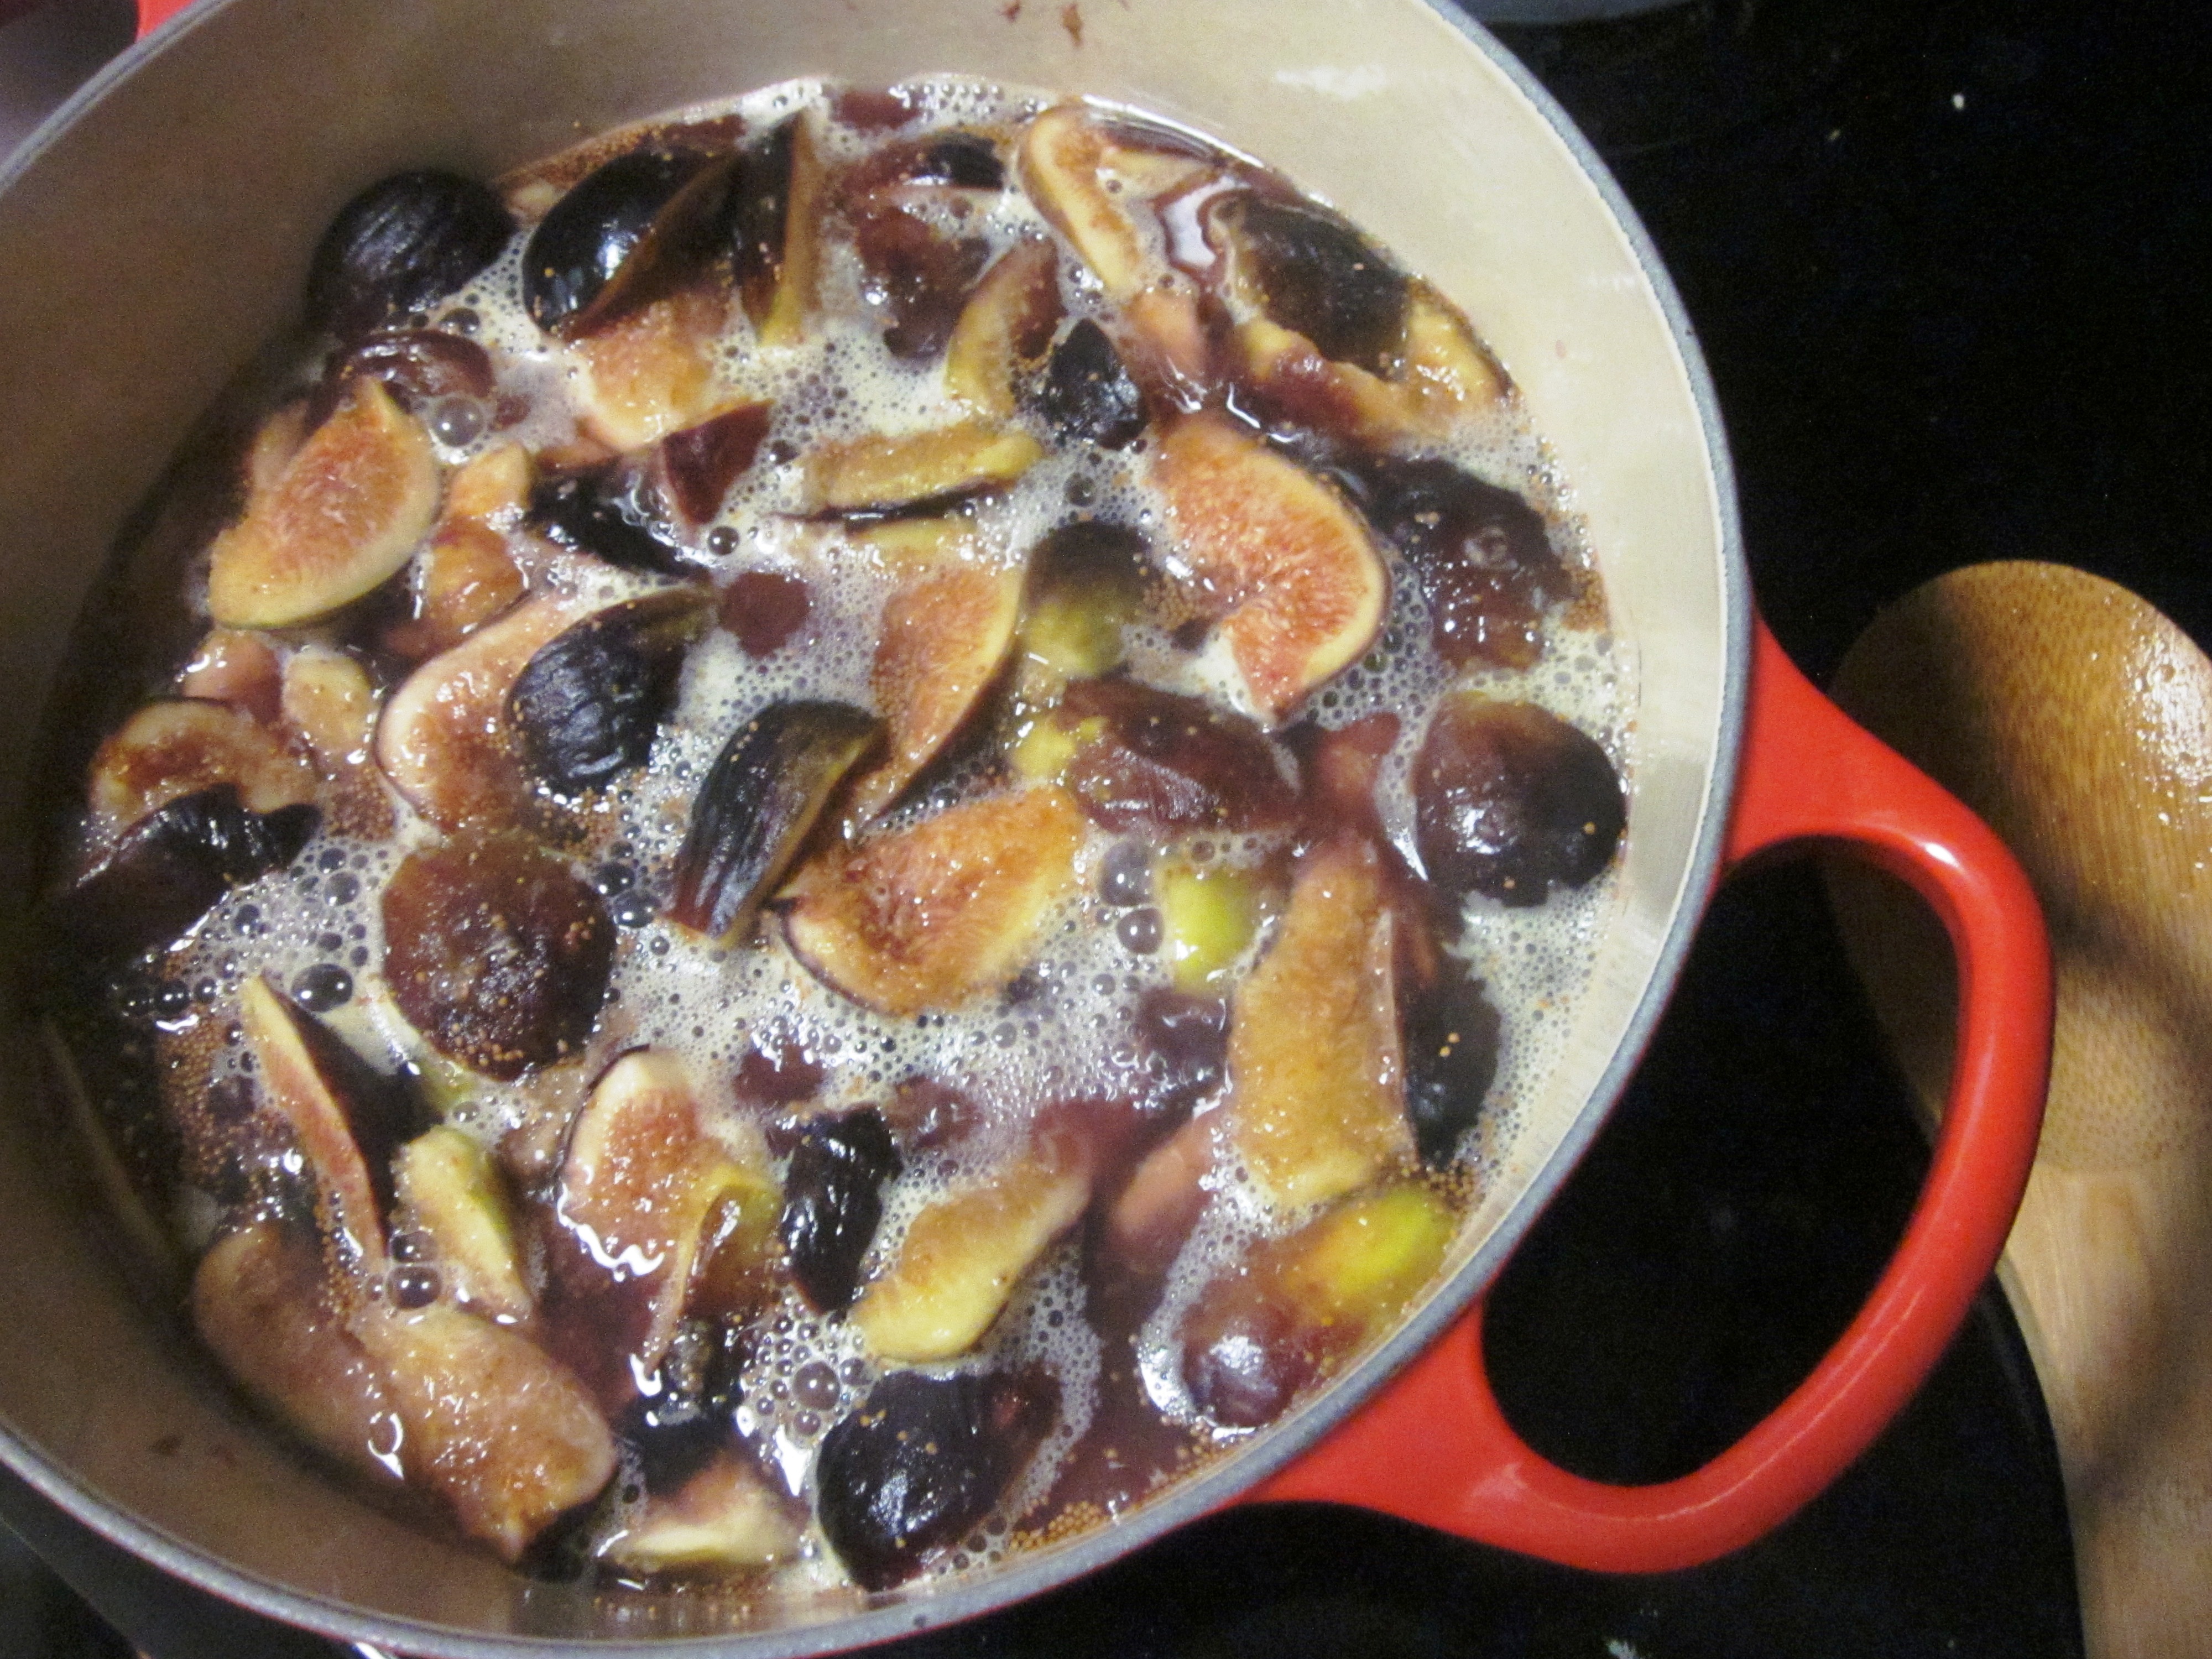
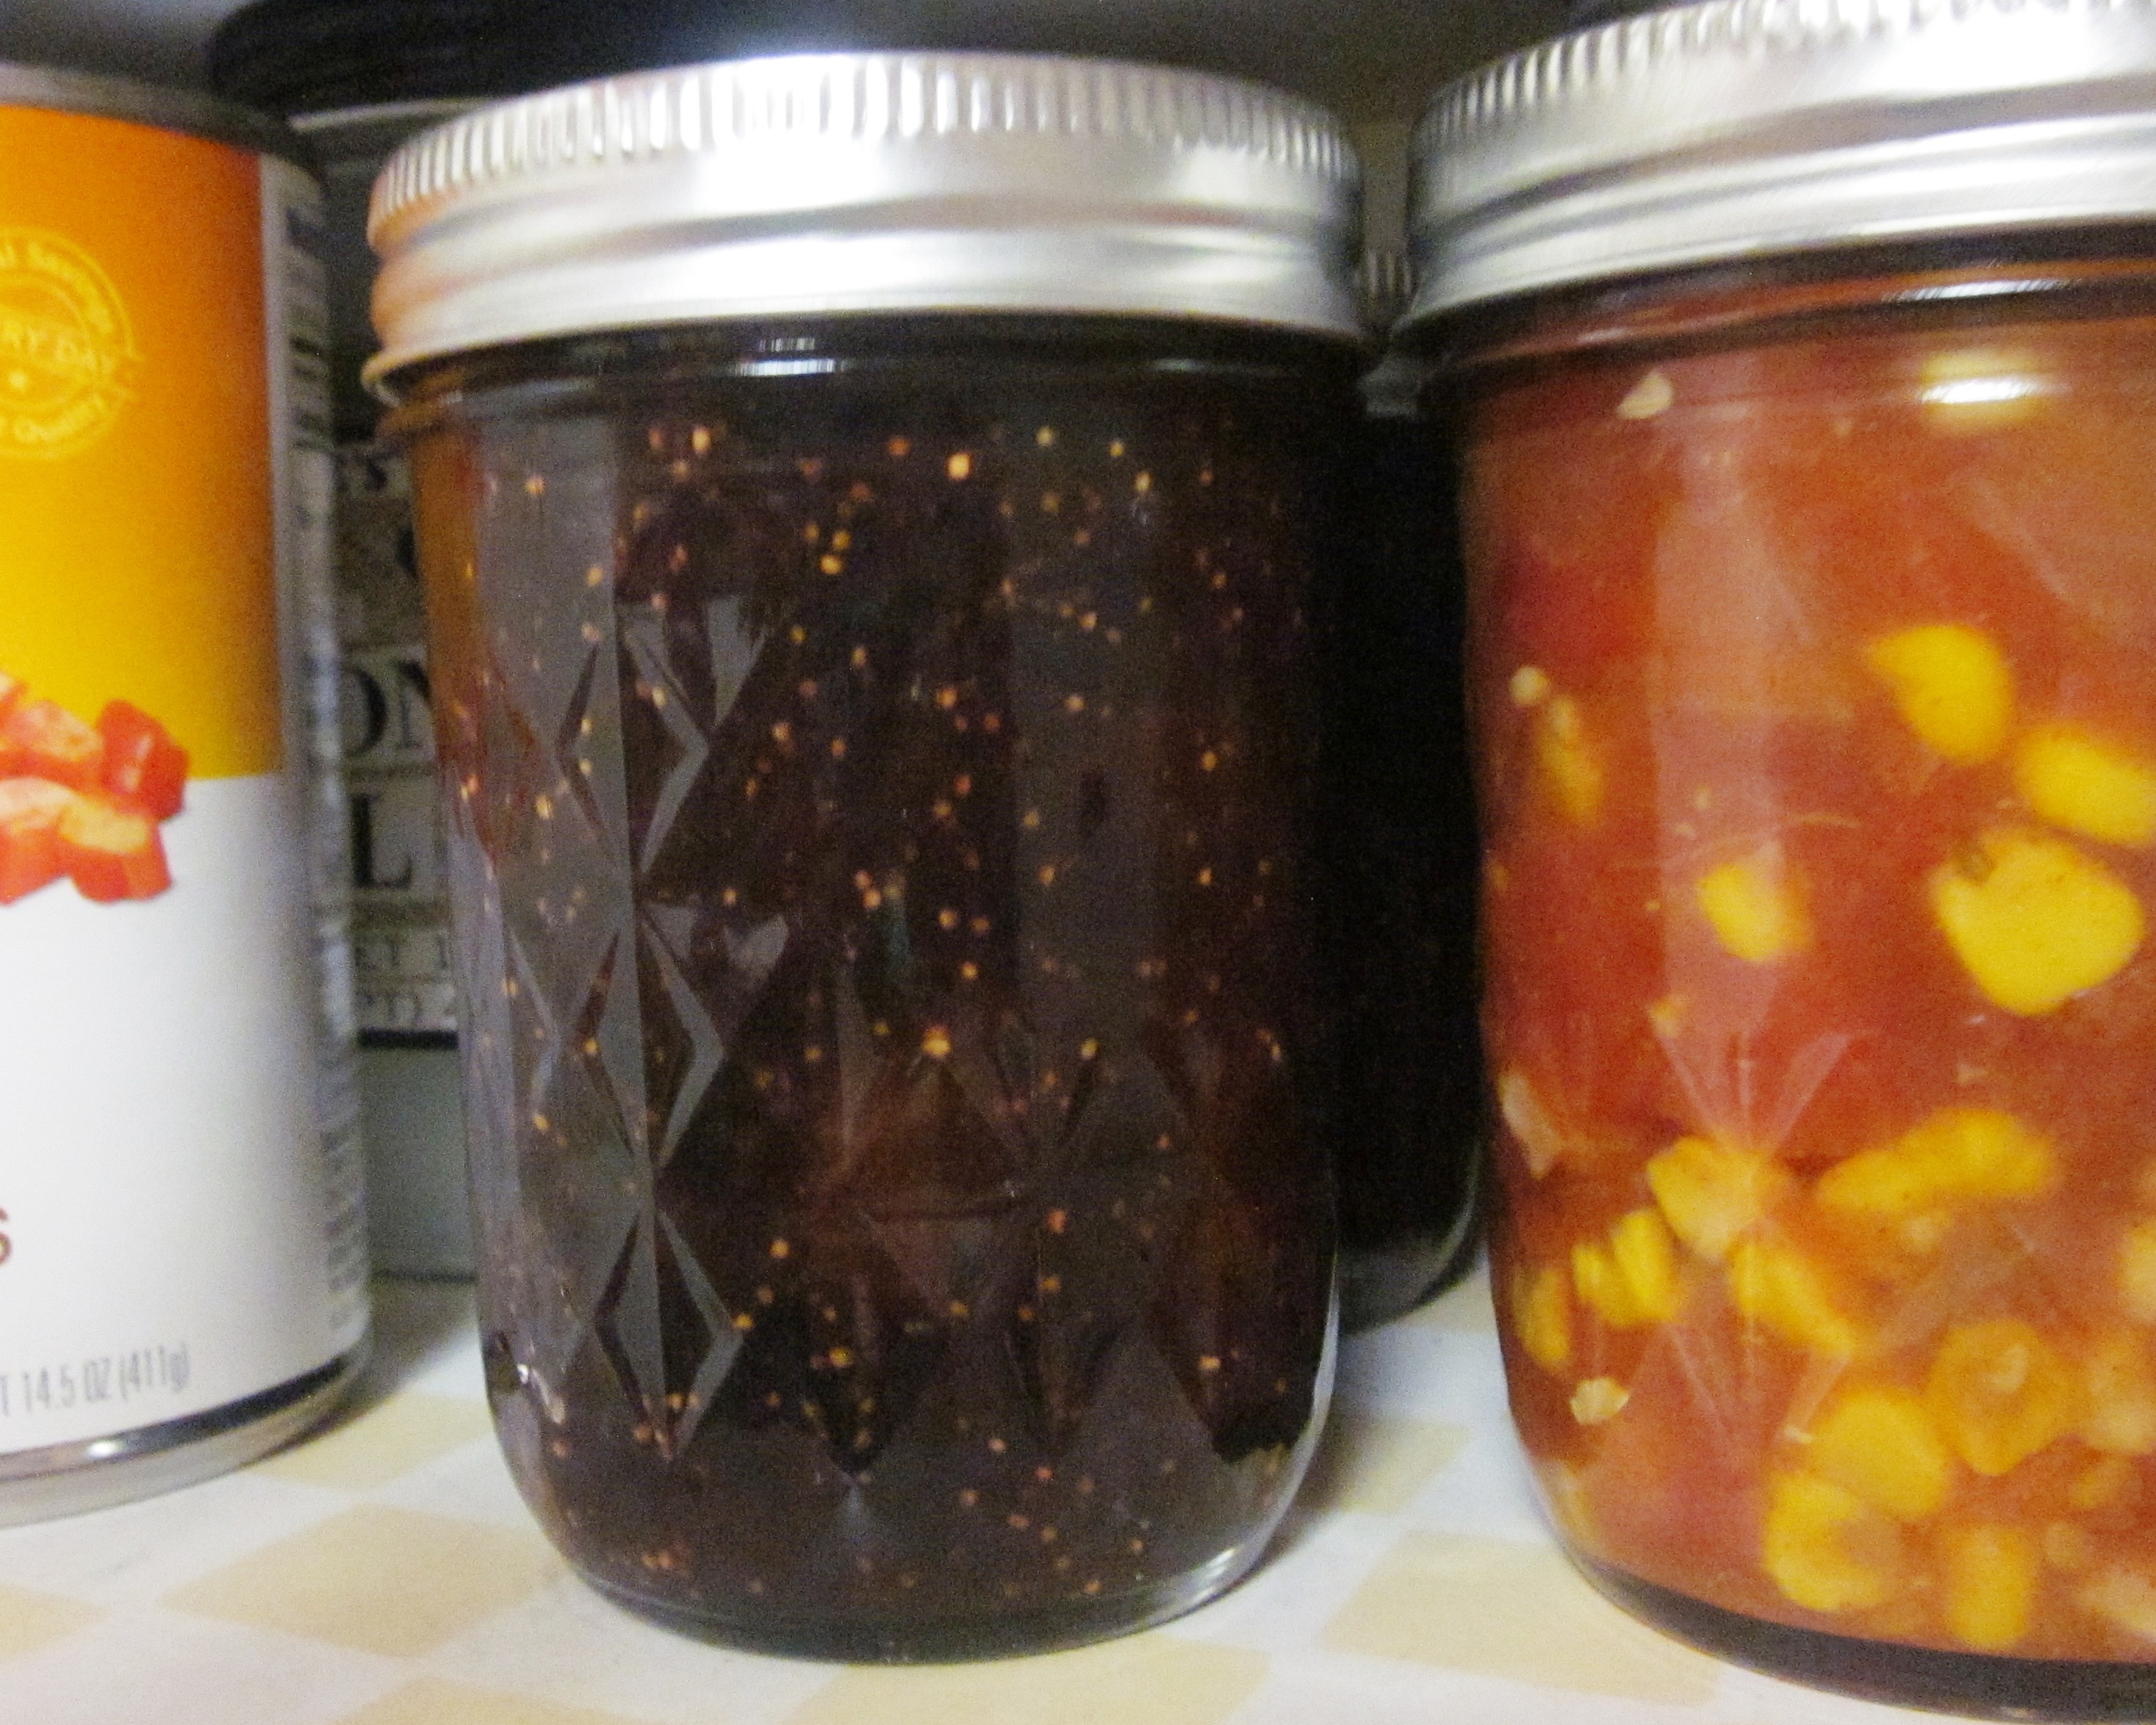
I’ve been a bad blogger the last three weeks. I’d like to say it’s been an especially busy month, but that just isn’t true.

The truth is, I’m no busier than usual, maybe even less busy. And I did continue baking and cooking while on hiatus. But for the last month or so, my focus has been on mind and body restoration.
My life has always been, Go, go, go. I’m a hard-wired, type-A girl. And then a couple months ago, I fell in love.
Or more precisely, I fell back in love. With BODYFLOW, that is.
I should back up a bit. For the better part of the last year, I’ve been in and out of pain in my hip and one side of my lower back. I finally broke down and went to see my ortho, which in turn led to about six weeks with a physical therapist. I discovered that my lower body was out of alignment, and some muscles were out of balance. I spent half the summer trying to realign, rebalance, and most importantly, relearn — how to sit, how to sleep, how to get in a car…
As part of my journey, I started taking Les Mills BODYFLOW, a mind-body class that draws from the disciplines of Tai Chi, yoga, and Pilates, about twice per week. I used to be a regular BODYFLOW participant before becoming a group fitness instructor. As instructors, we’re taught to be member-centric. While I don’t speak for every instructor, I do know that the busier I am, the less time I take for myself.
Anyway, I quickly remembered what the class meant to me as a member — recovery for my body, calm for my mind. We work on strength, but also flexibility, balance, grace, and calm. Aside from strength, none of these comes naturally to me, and that’s exactly why I need it in my life. In other countries, BODYFLOW is called BODYBALANCE, and balance is exactly what it provides.
When I found myself with the opportunity to attend an instructor training for BODYFLOW, I decided to step out of my comfort zone and continue my journey. I spent the last two weeks preparing for the training, which I attended this weekend, and for the next couple of months I’ll work toward finishing my certification.
This has absolutely nothing to do with apple cupcakes, except to say that I just haven’t had time in the last two weeks to post. I promise — there are more recipes in the queue!
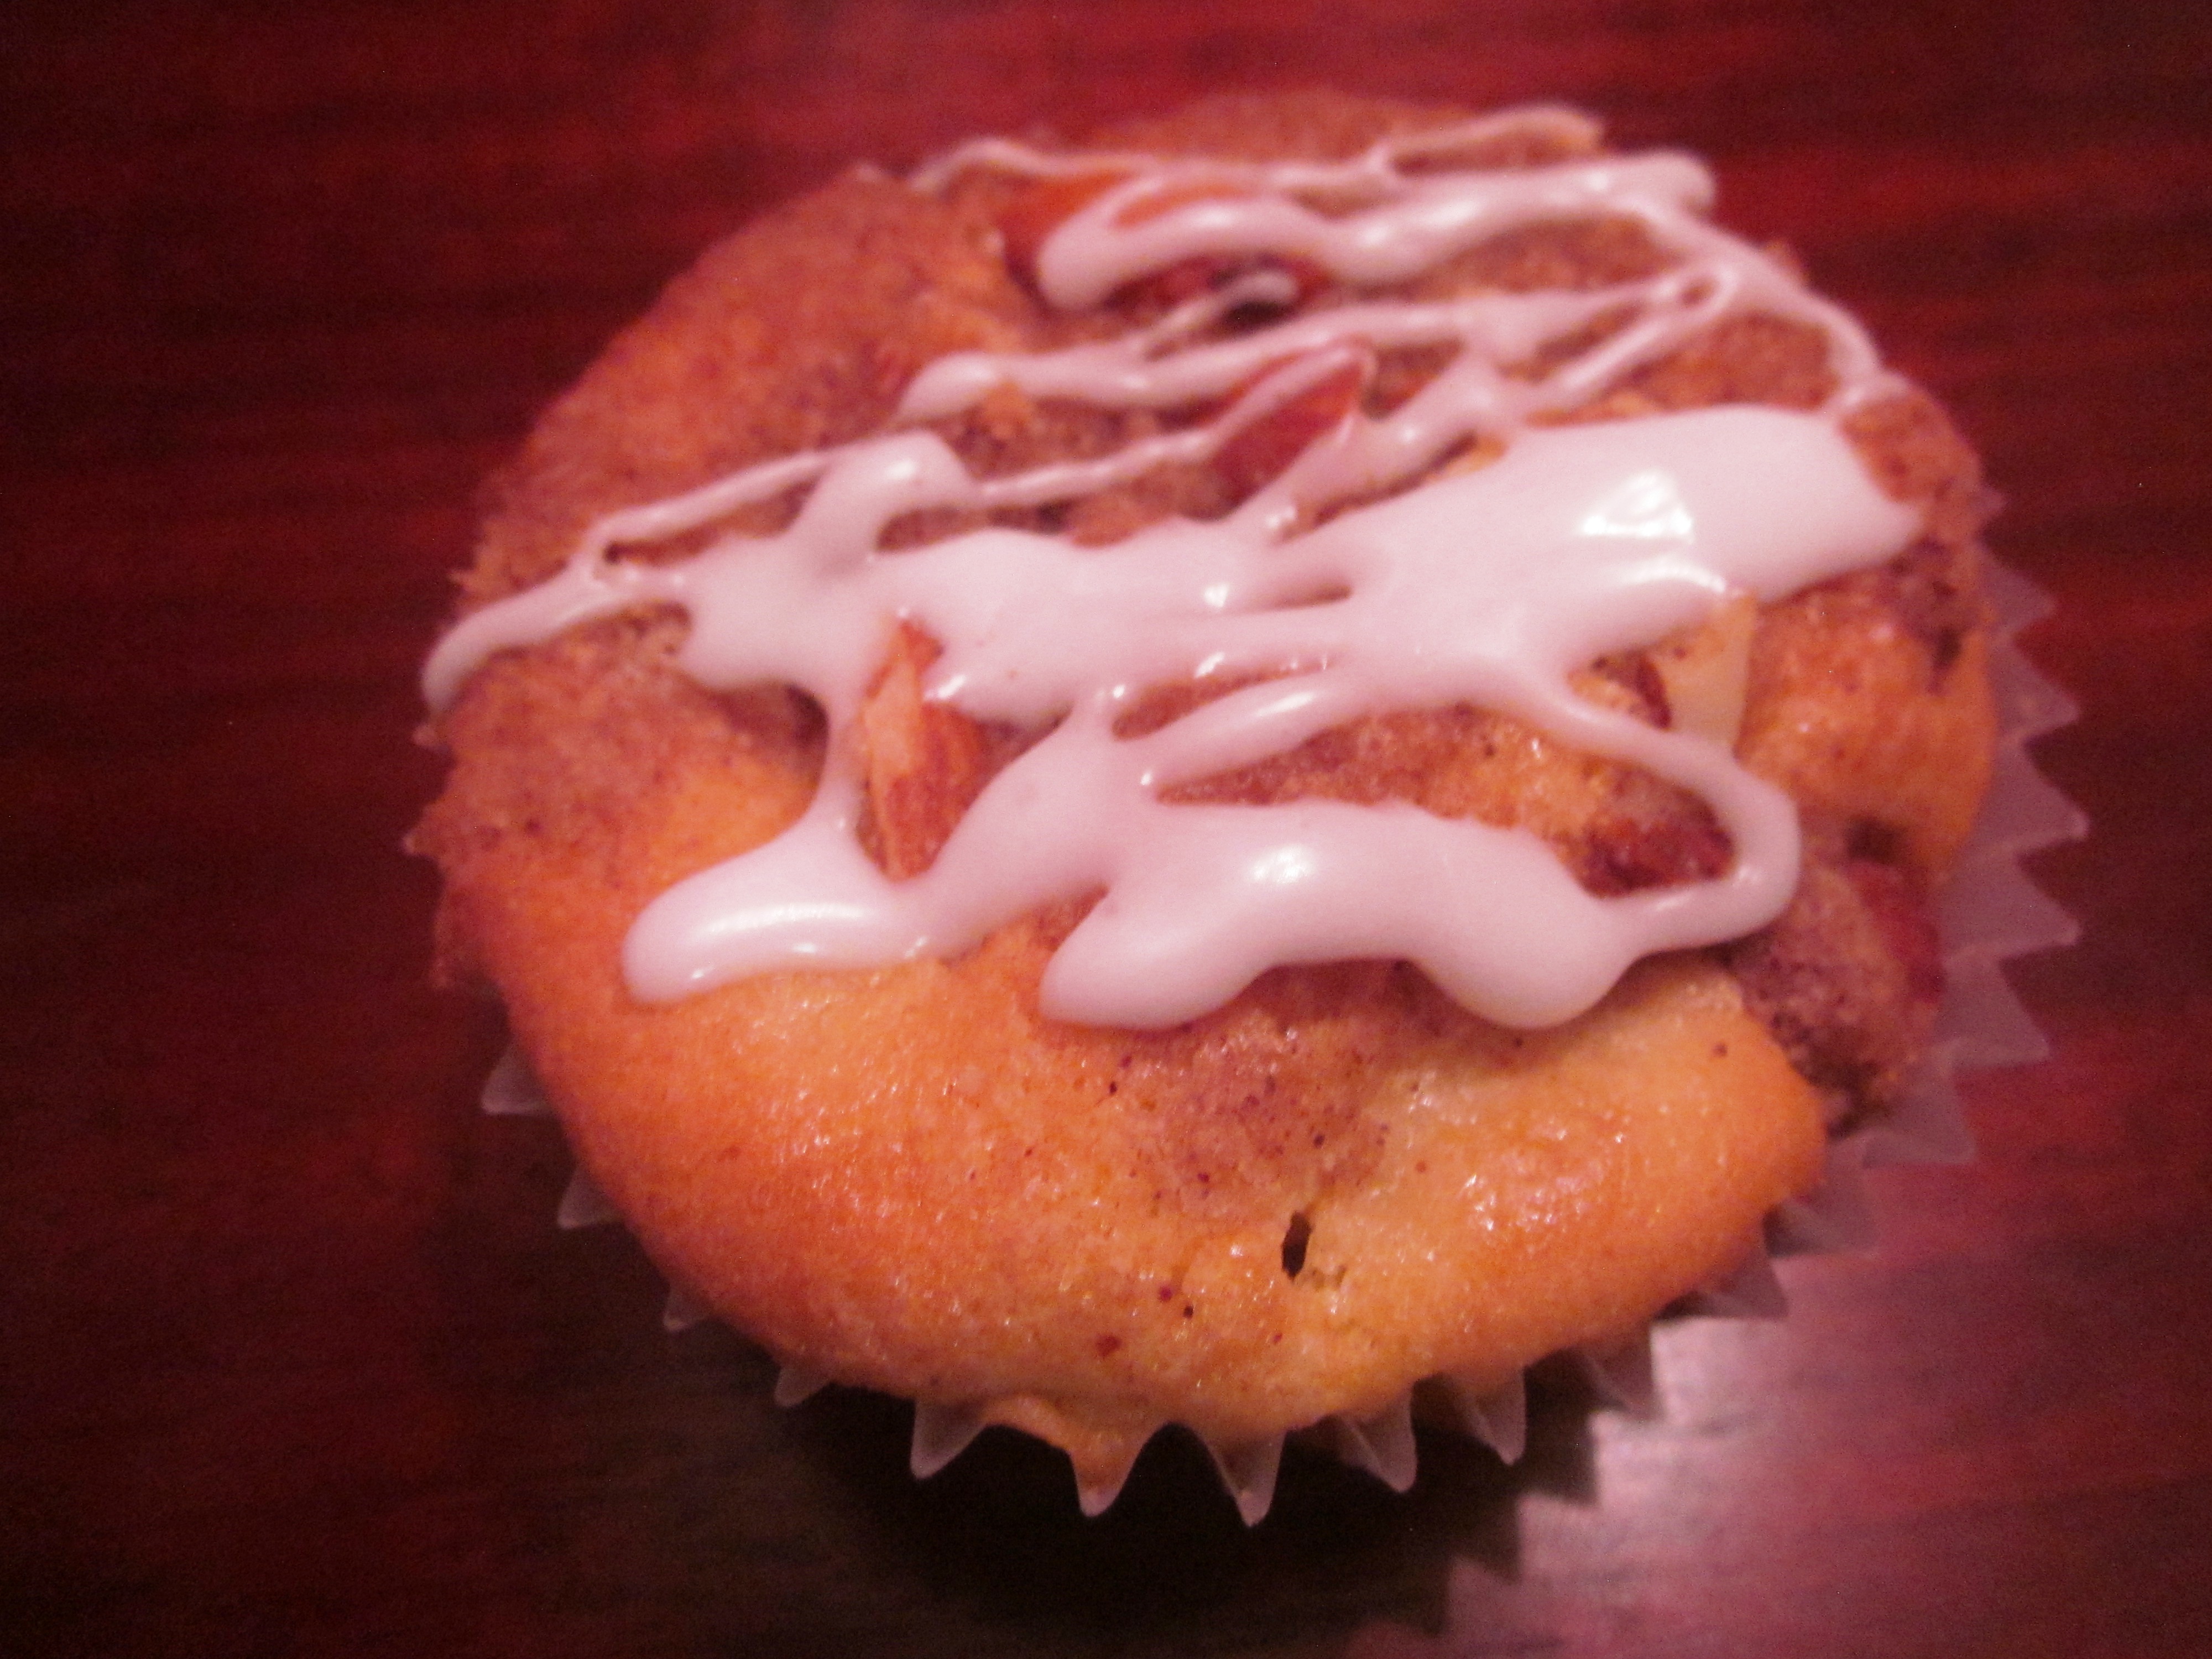
Anyway, you are going to love these cupcakes. It’s almost like coffee cake, and I’d venture to say it would make an awesome breakfast or brunch cupcake, perhaps without the galze. If you’re going for true cupcake, keep the glaze — just know that it’s going to make the cupcakes a lot sweeter.

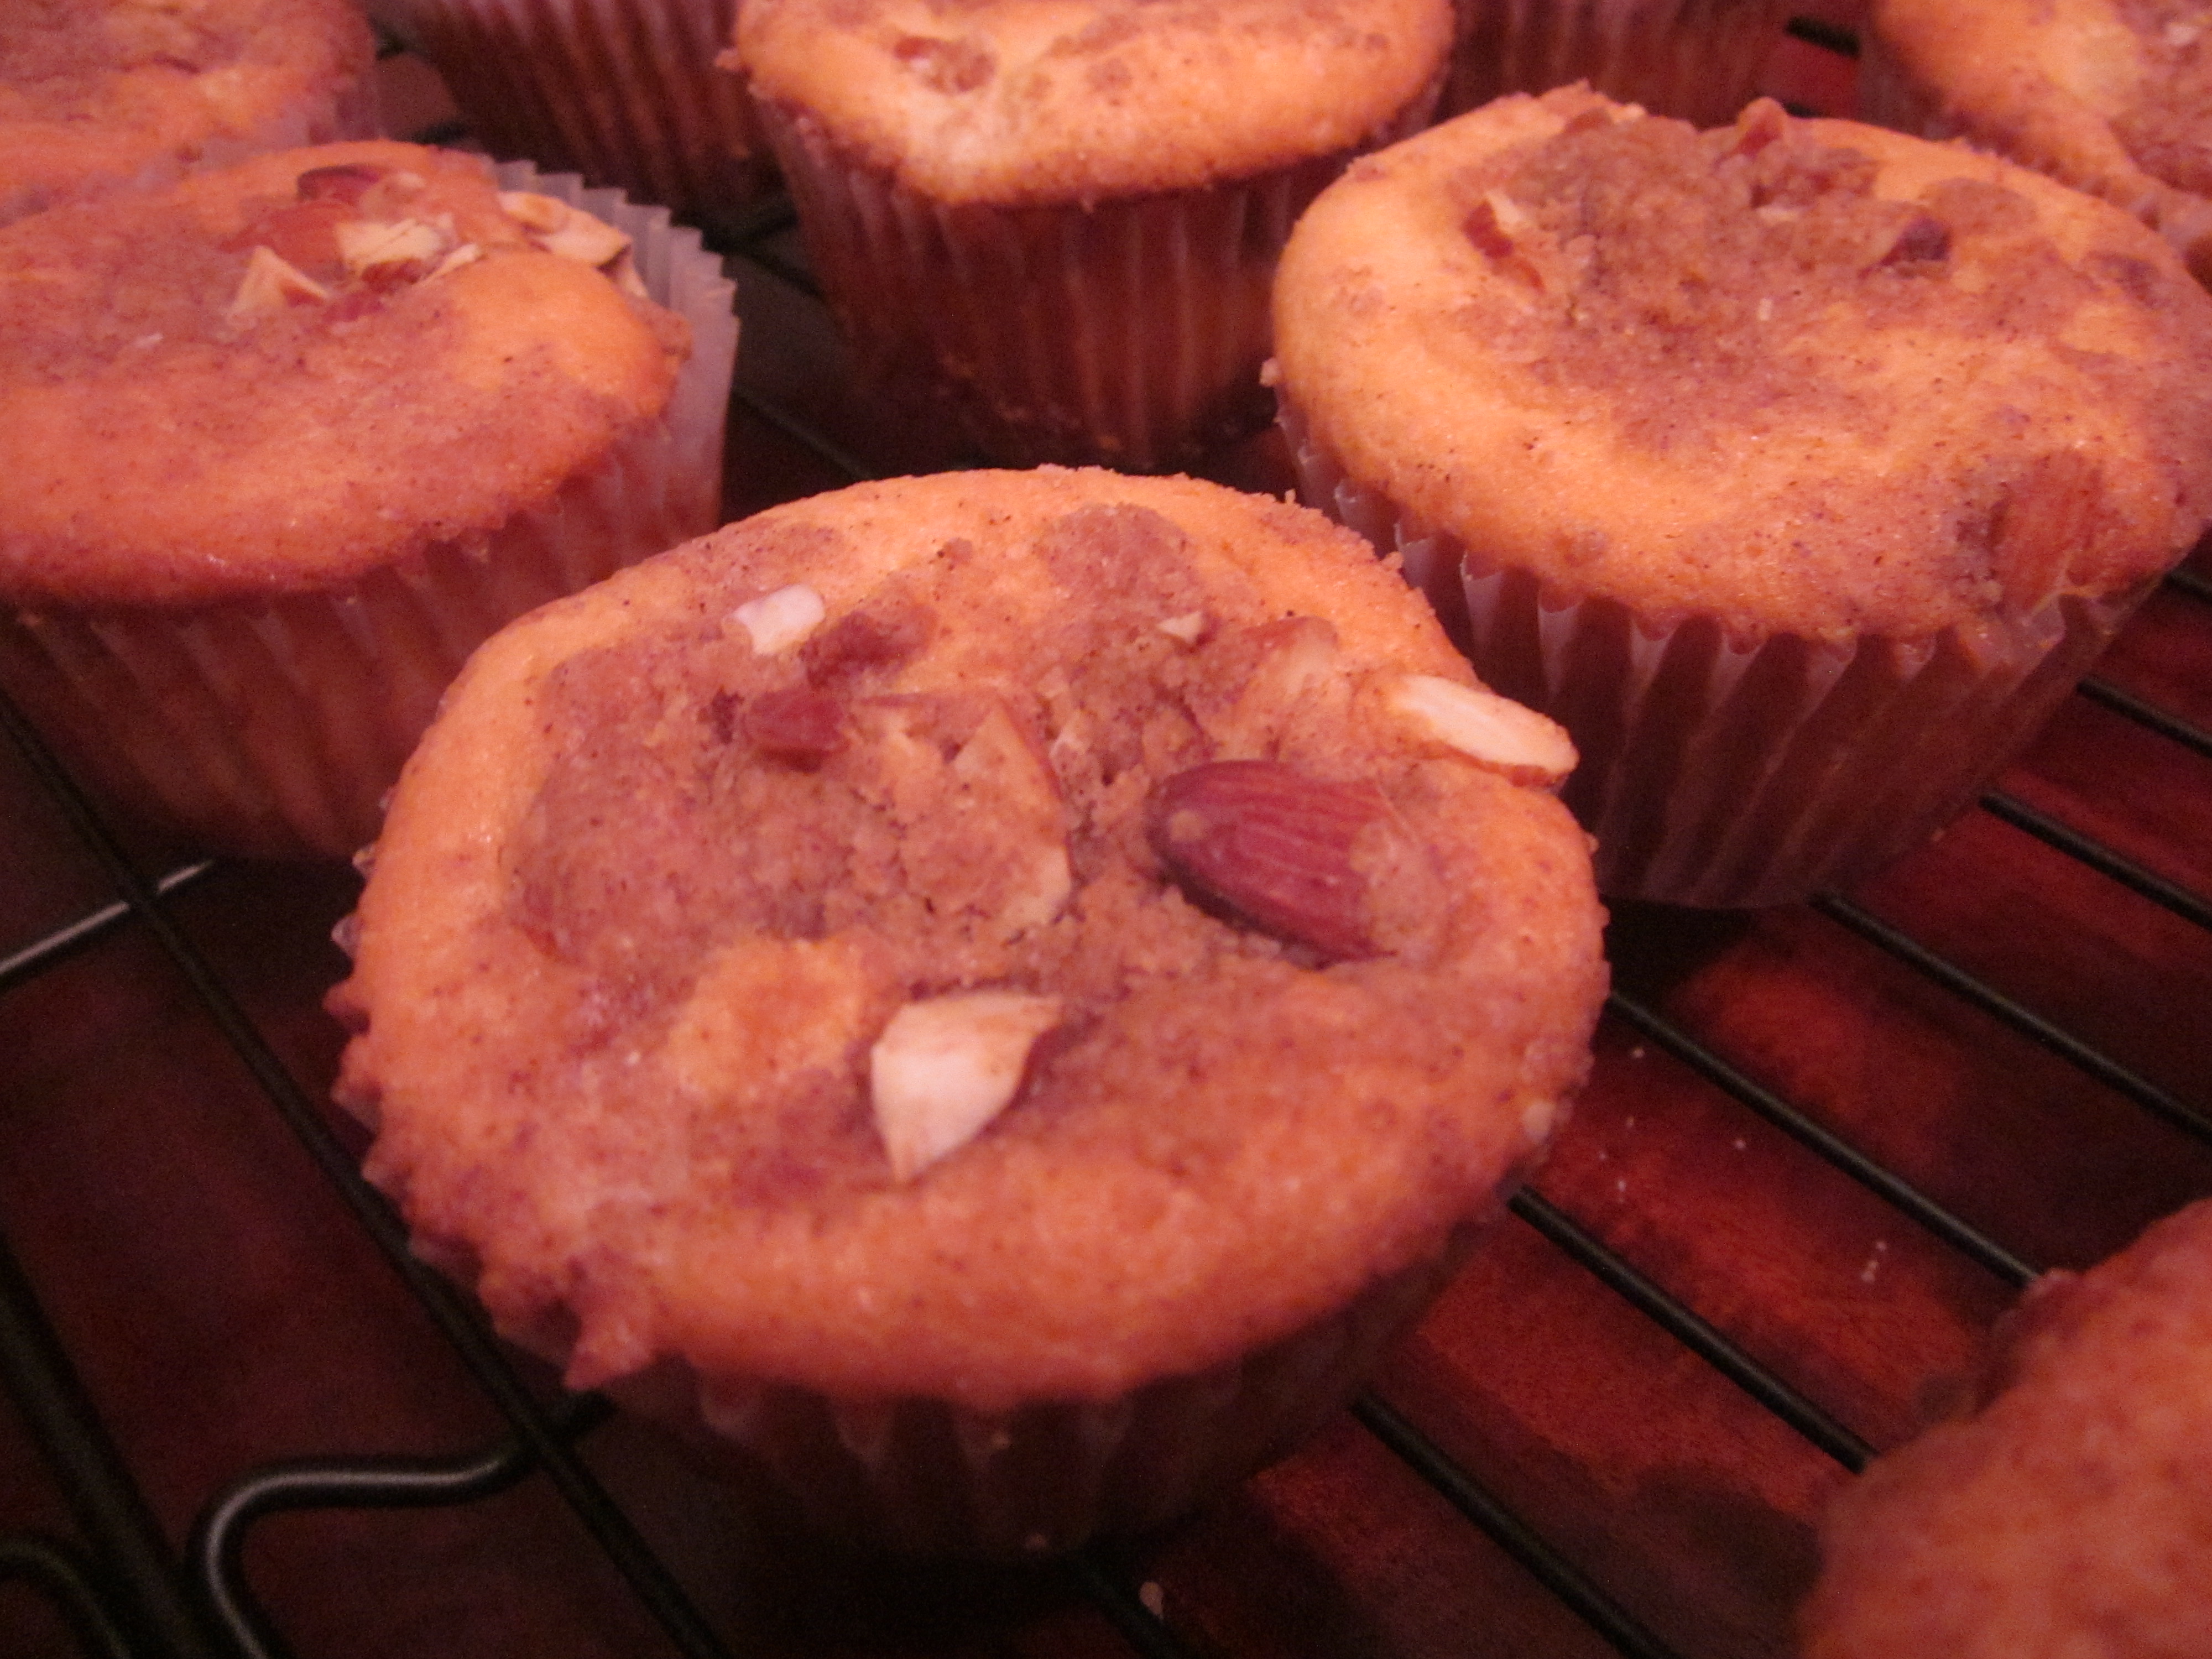
Apple Streusel Cupcakes
Adapted from Cooking Light
Makes 1 dozen cupcakes
6.75 ounces all-purpose flour (about 1 1/2 cups)
1/2 teaspoon baking powder
1/4 teaspoon salt
1/4 teaspoon baking soda
3/4 cup granulated sugar
1/4 cup (2 ounces) 1/3-less-fat cream cheese, softened
1/4 cup butter, softened
3 tablespoons amaretto, or 1/2 teaspoon almond extract
1 teaspoon vanilla extract
1 large egg
1/2 cup reduced-fat sour cream
1/4 cup 2% reduced-fat milk
3/4 cup finely chopped apple
Streusel:
2 tablespoons all-purpose flour
2 tablespoons brown sugar
1/4 teaspoon ground cinnamon
2 tablespoons butter, chilled
2 tablespoons sliced almonds
Optional Glaze:
1/2 cup powdered sugar
2 teaspoons (or more) 2% reduced-fat milk
1 teaspoon almond liqueur
Preheat oven to 350°. Place muffin cup liners in 12 muffin cups.
Reserve one tablespoon of flour. In a small bowl, whisk together remaining flour, baking powder, salt, and baking soda. In a large bowl beat together sugar, cream cheese, and butter with an electric mixer until well-blended. Add liqueur, vanilla, and egg; beat at medium speed until well-blended. In a small bowl, combine sour cream and milk, stirring until well-blended. In a measuring cup or bowl, toss together apple and remaining 1 tablespoon flour.
Add flour mixture and sour cream mixture alternately to sugar mixture, beginning and ending with flour mixture. Beat just until blended. Fold in apple mixture. Divide batter evenly among muffin cups. (Note: you’ll think you have too much batter, but these don’t really rise like regular cupcakes or muffins.)
For streusel: Combine 2 tablespoons flour, brown sugar, and ground cinnamon in a small bowl. Cut in 2 tablespoons butter with a pastry blender or 2 knives until mixture resembles coarse meal; stir in almonds. Sprinkle streusel evenly over cupcakes. Bake at 350° for 27 minutes or until a wooden pick inserted in center comes out clean. Cool in pan for 15 minutes on a wire rack, and remove the cupcakes from pan.
For glaze: Combine powdered sugar, milk, and liqueur in a small bowl, stirring with a whisk. Stir in additional milk if necessary. Drizzle glaze over cupcakes.