Happy 2013, friends!

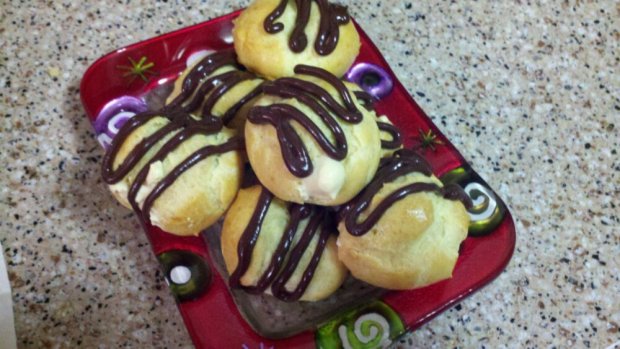
Bite-sized, salty-sweet treats, with just the right amount of chocolate
With New Year’s Eve fresh in my mind, and Super Bowl parties just around the corner, I have party food on the brain. Cream puffs are basically the perfect party dessert. If you make them 1″ or smaller, they’re a one-bit dessert and don’t need silverware. You can play with the flavors, and they look sophisticated and difficult but are actually pretty simple.
Cream puffs are made from pâte à choux, or cream puffy pastry dough. It’s also used to make éclairs, profiteroles, and cheese puffs — which all cover the same basic techniques, just with different shapes and fillings. An eggy dough is
cooked on the stove and then beaten with a mixer, and put in a hot oven to “puff.”
For the filling, sweetened whipped cream is a classic, no-fail choice. If you’re looking for a little more sass (and let’s face it, when is this redhead NOT looking for more sass?), folding something fun into the cream adds an unexpected twist. I used salted caramel sauce, but I think fruit or chocolate would great too.
For a small group, I think it would be fun to turn this into a hands-on, make-your-own dessert — just set out a couple bottles of filling and chocolate, and let guests fill and top their own treats.
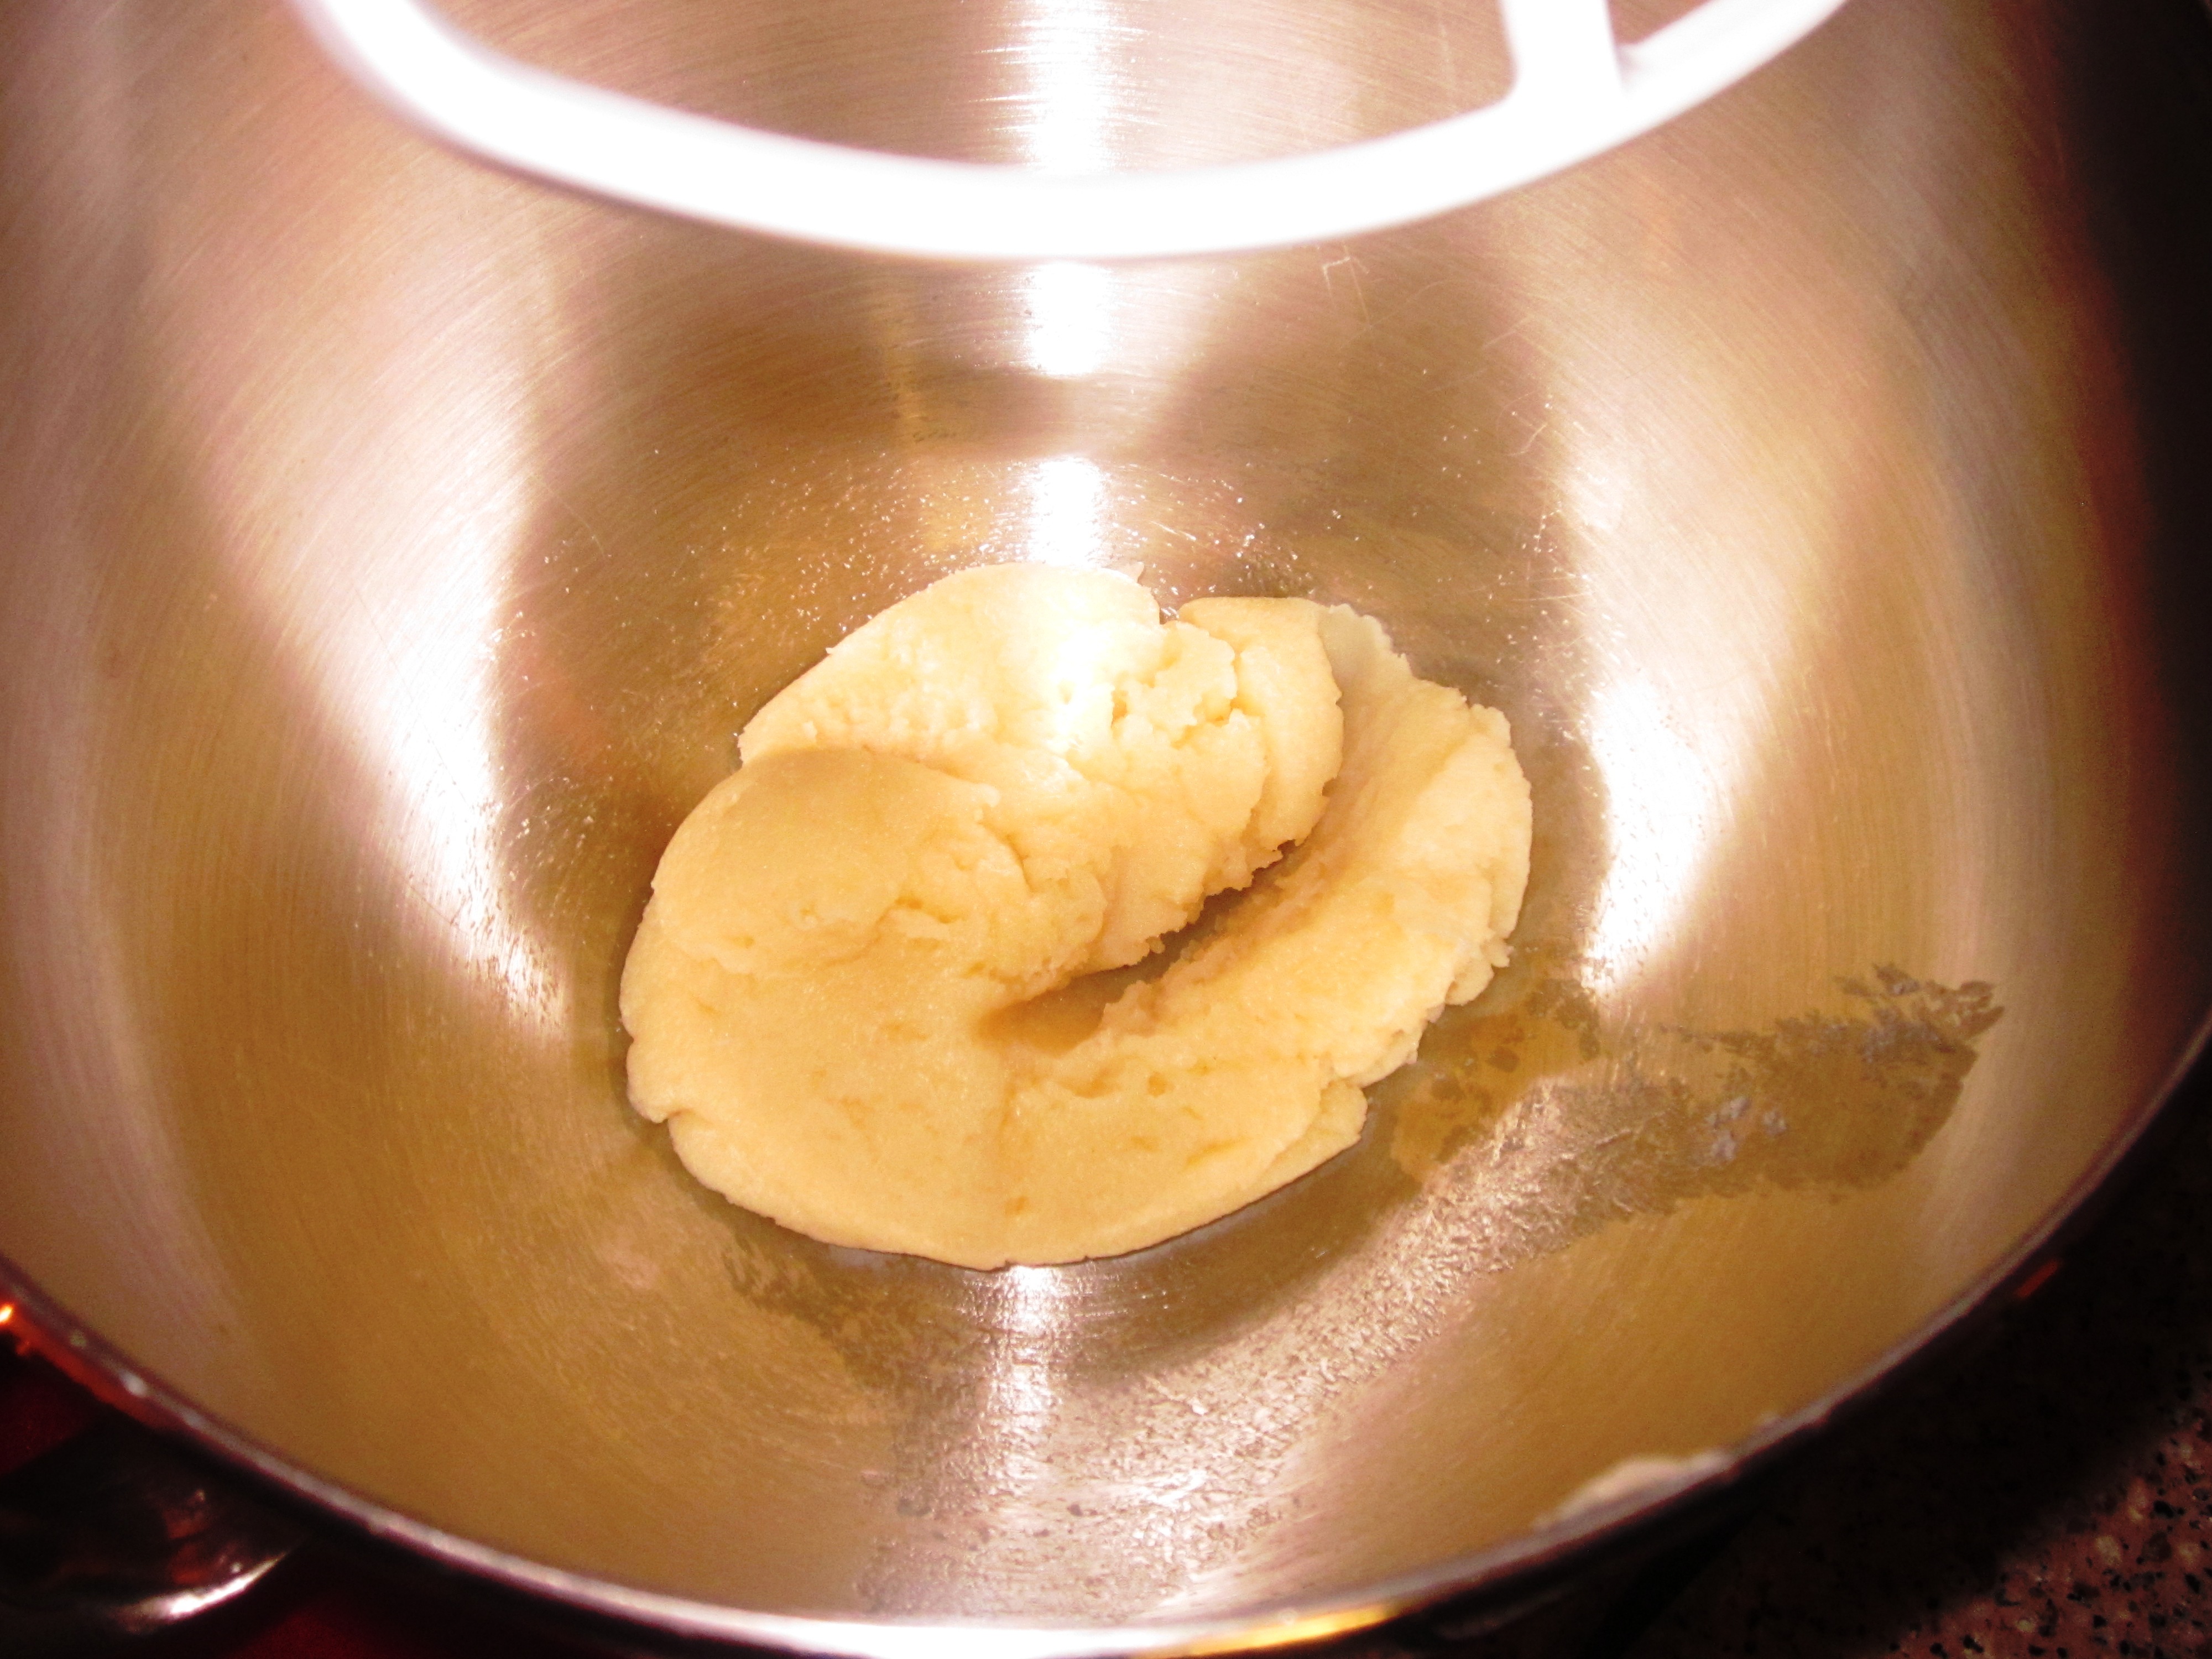
Push out as much of the water as possible on the stove, then transfer to a mixer.
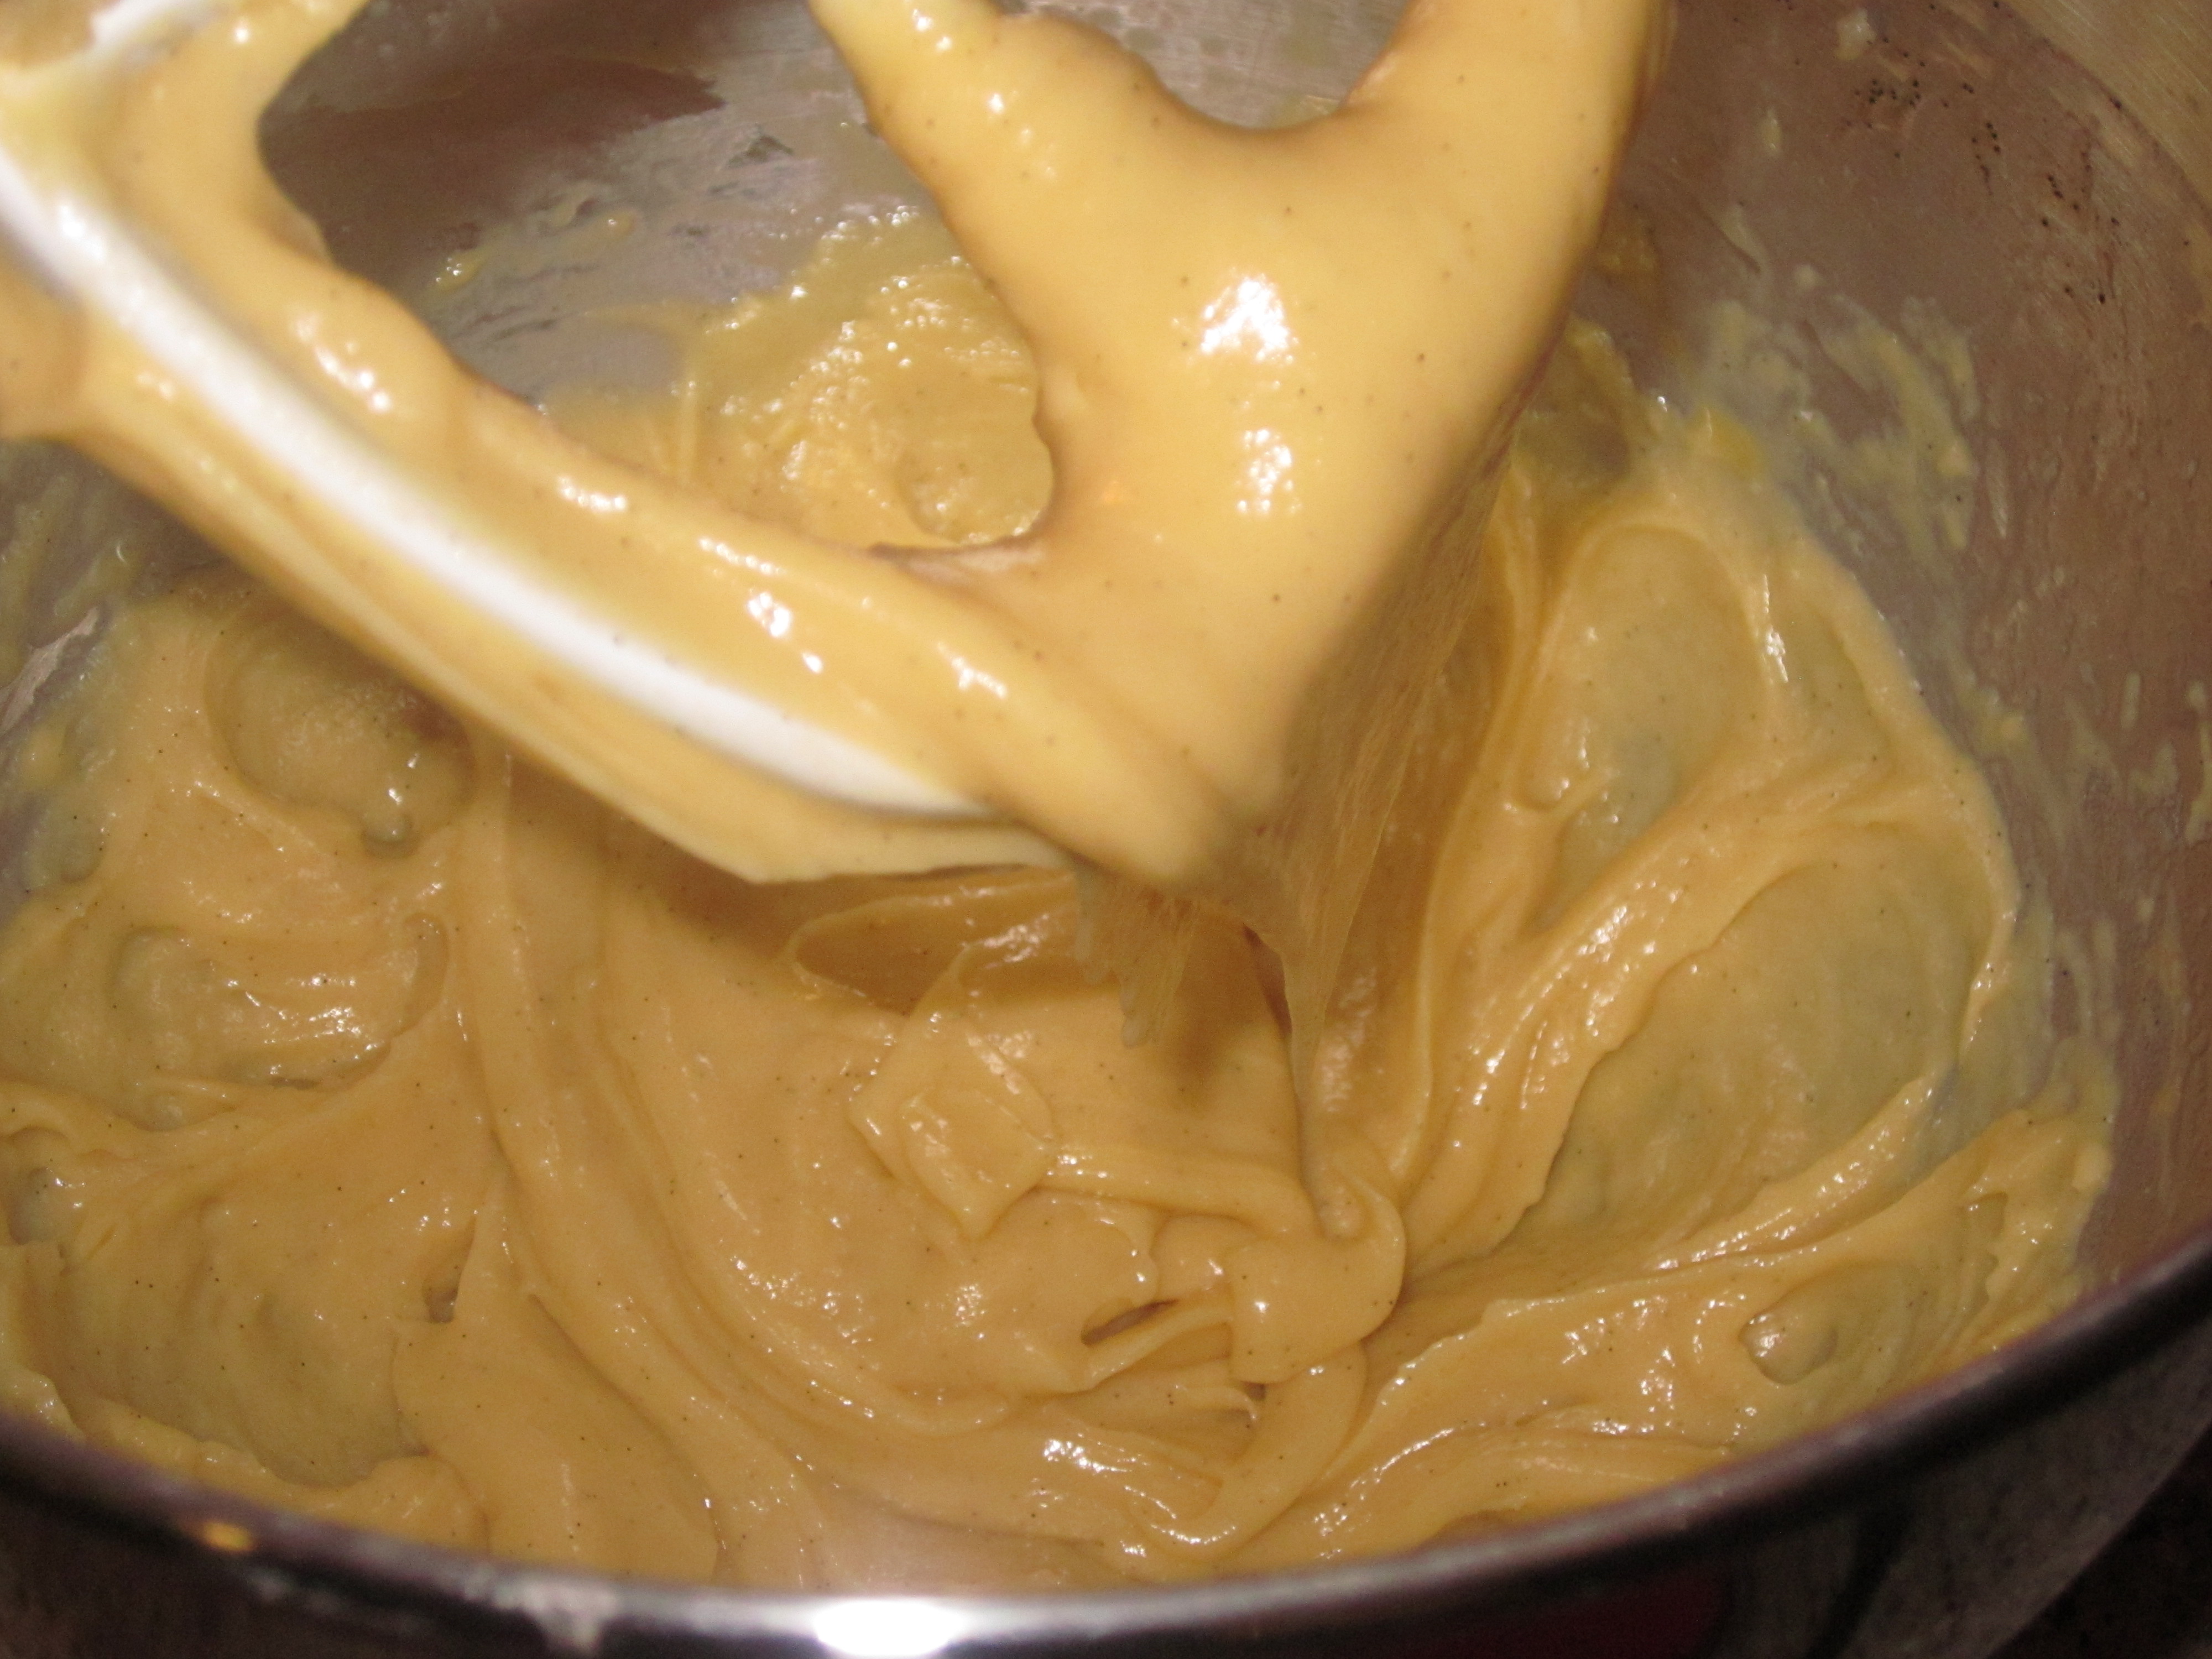
The dough is ready when it’s shiny and creates ribbons.

Gently fold caramel into whipped cream, then spoon into a pastry bag or squeeze bottle.

A squeeze bottle makes easy work of filling the puffs.

Drizzle or pipe chocolate on top.
Salted-Caramel Cream Puffs with Chocolate Sauce
Adapted from multiple sources
Yield: about 24 bite-sized puffs
Choux pastry:
1/2 cup + 1 Tbs water
1/4 cup (4 Tbs) unsalted butter, cut into small pieces
1/2 tsp sugar
1/4 tsp salt
1/2 cup + 2 Tbs all-purpose flour
1/4 tsp vanilla extract
3-4 large eggs, divided
Salted caramel filling:
1 1/4 cups heavy cream
3/4 cup salted caramel sauce, room temperature or slightly cooler
Chocolate sauce:
4 oz. dark chocolate, roughly chopped
1/4 cup heavy cream
1 Tbs unsalted butter
To make the pastry: Preheat oven to 400 degrees. In a 2-quart saucepan over medium heat, combine water, butter, sugar, and salt. Bring to a boil. Remove from heat, and using a wooden spoon, quickly stir in the flour. Return the saucepan to the stove. Continue cooking and stirring so the dough holds together in a single mass and leaves a film of cooked flour adhering to the bottom and sides of the pan. The process takes only about 3 minutes and forces out as much water as possible.
Transfer the dough to a stand mixer fitted with a paddle attachment. Mix on low speed until slightly cooled, about 1 minute. Raise the speed to medium. Add the vanilla. The exact number of eggs will vary, but start with two. Add eggs, one at a time, until well-incorporated. The dough should have a shiny, smooth appearance, and pull away from the paddle. If necessary, add an egg white or full egg.
Transfer the mixture to a piping bag fitted with a 1/2” round tip, or use a 3/4” or 1” cookie scoop. Pipe or scoop rounds up to 1” onto baking sheets lined with parchment paper. Lightly smooth out the surface with a finger dipped in water; this will prevent burning.
Make an egg wash by mixing together 1 egg and 1 tablespoon water. Lightly brush the top of each puff with the egg wash. Bake the puffs for 12 minutes. Reduce the oven temperature to 375 degrees. Rotate the pans and continue baking until the puffs are lightly golden brown, about 12-14 minutes more. The puffs should feel light and fluffy. Immediately transfer from the baking sheets to wire racks to cool completely.
To make the salted caramel filling: in a stand mixture fitted with a whip attachment, add cream and whip until soft peaks form. Fold in the salted caramel sauce. Chill for 10 minutes. Transfer to a piping bag fitted with a 1/8” plain tip, or a squeeze bottle.
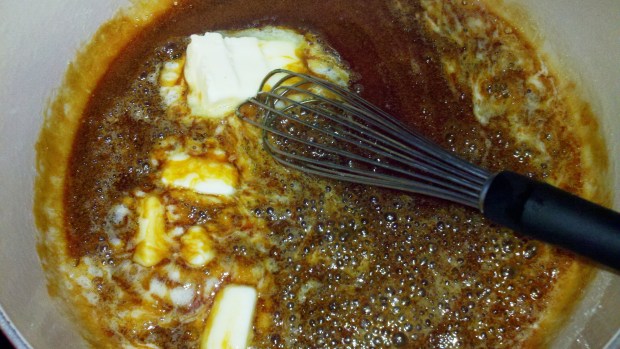
To make the chocolate sauce: Place the chocolate in a medium-sized mixing bowl. Heat the cream in a small saucepan over medium heat, bringing just to a boil. Pour over the chocolate. Add butter. Let the mixture sit for 2-3 minutes, then stir until smooth.
To assemble, poke the pastry bag or squeeze bottle into each pastry puff and pipe in the filling. Drizzle with chocolate. Cream puffs are at their best when baked and filled just before serving, but can be stored in the refrigerator for up to 1 day.