Desserts

Ultimate Fudgy Brownies

image

One of my dear friends is convinced she is a lost cause in the kitchen. “I burn water!” she insists, and she is only half kidding.

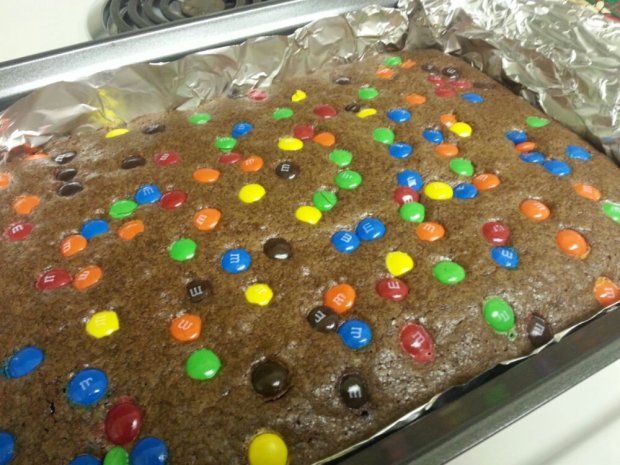
A few days ago, she asked if I could help her make brownies with M&Ms for her brother’s Independence Day party.

image

Brownies are actually pretty foolproof as long as you remember the golden rule: don’t overbake.

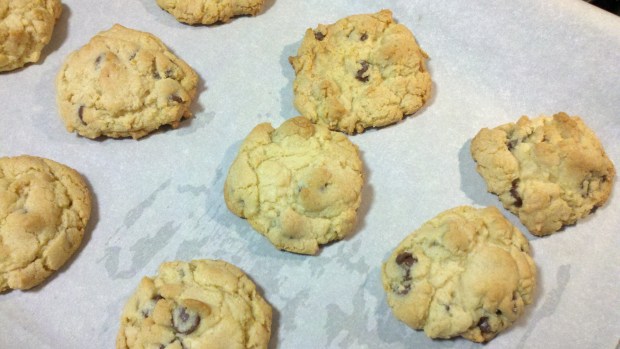
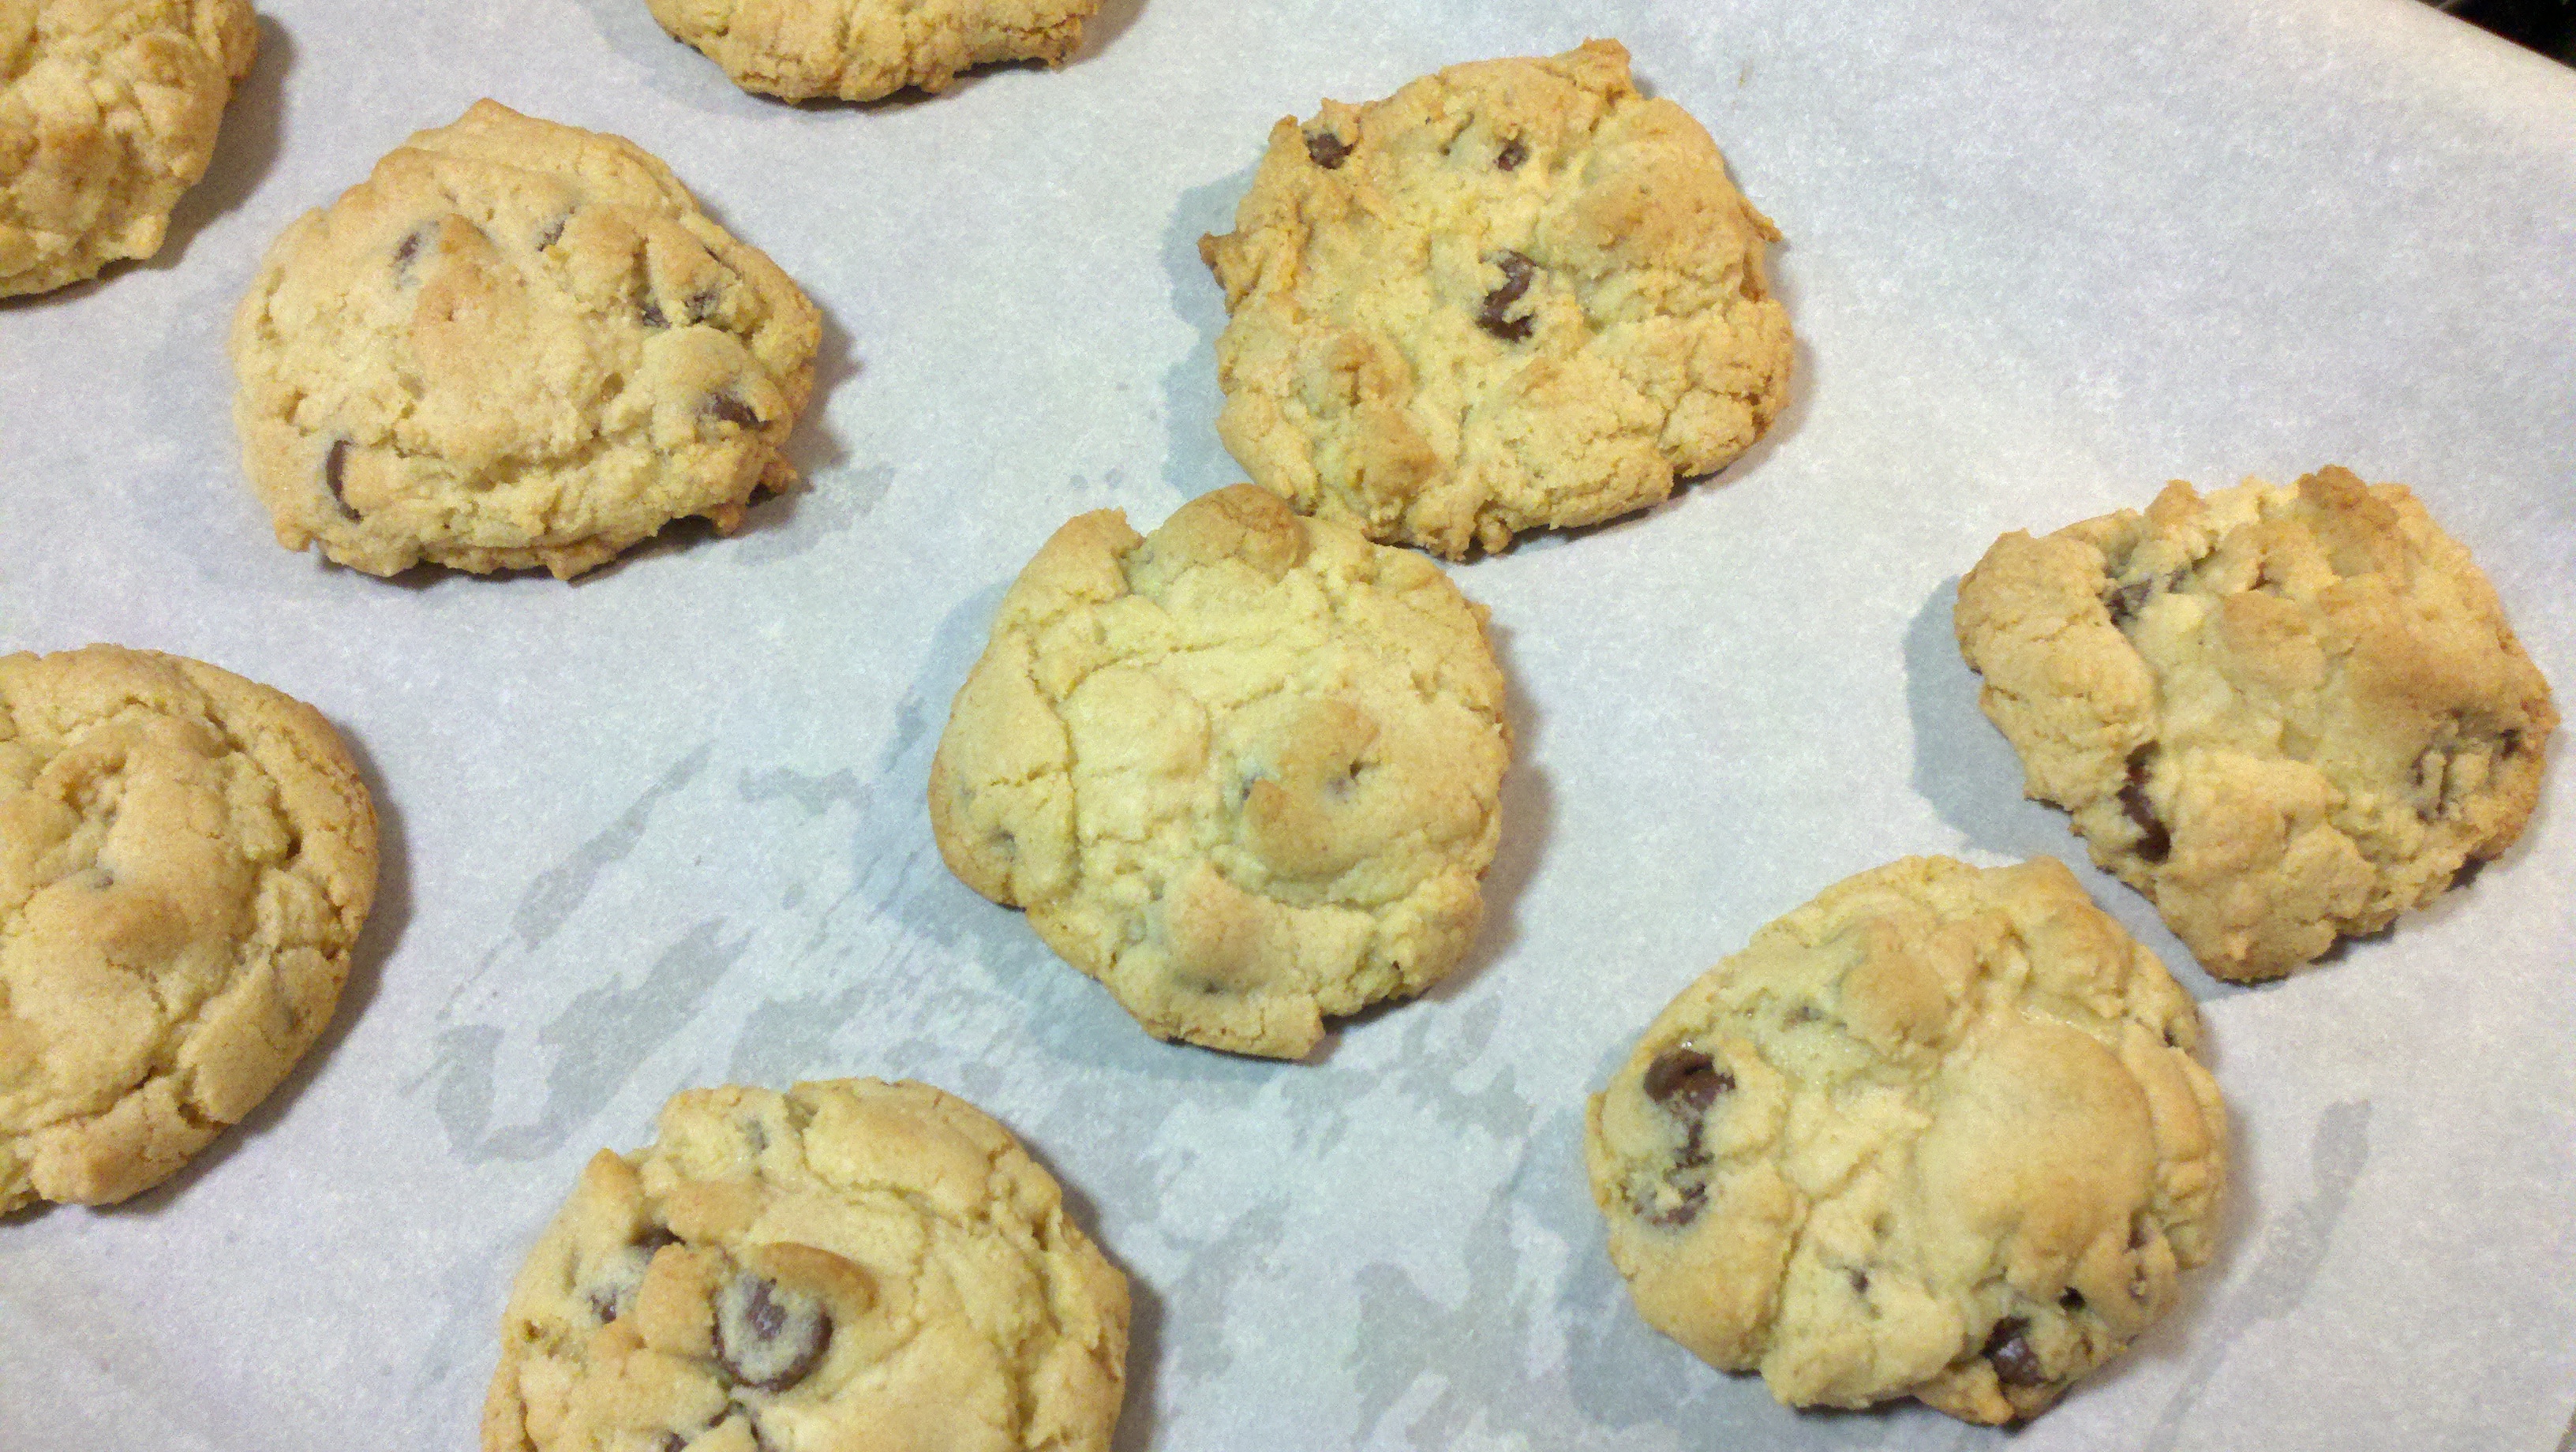
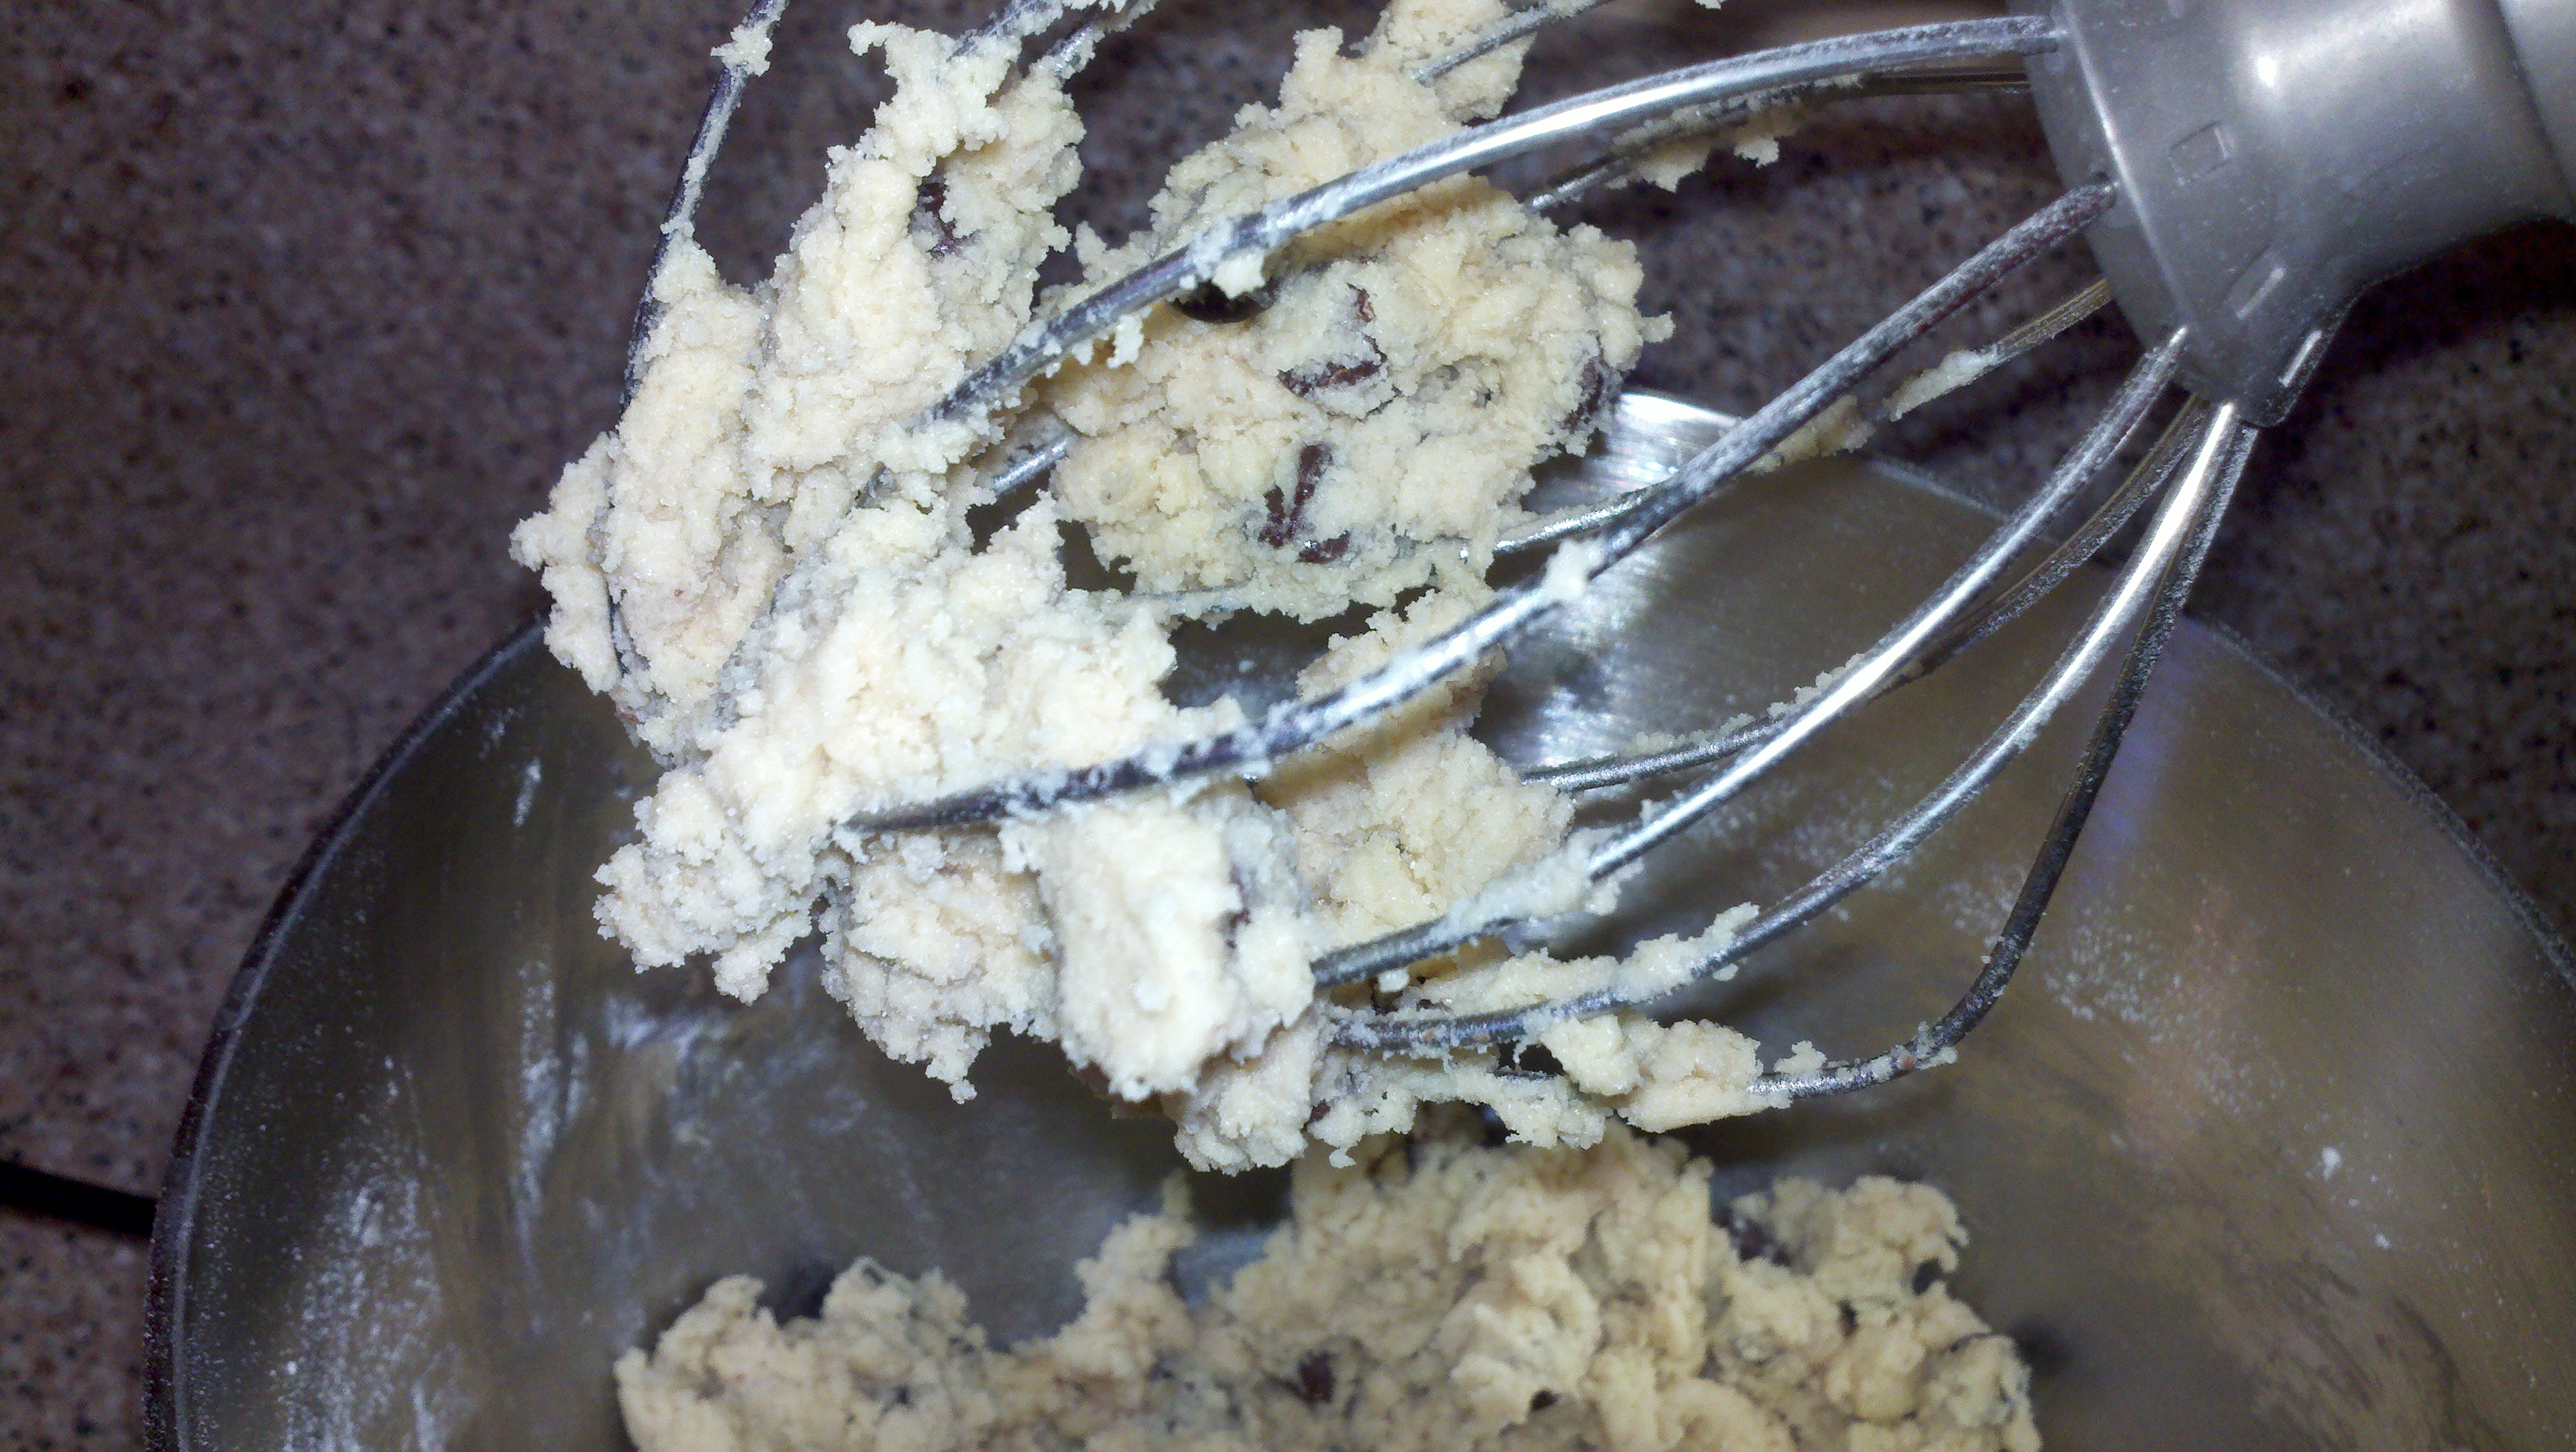
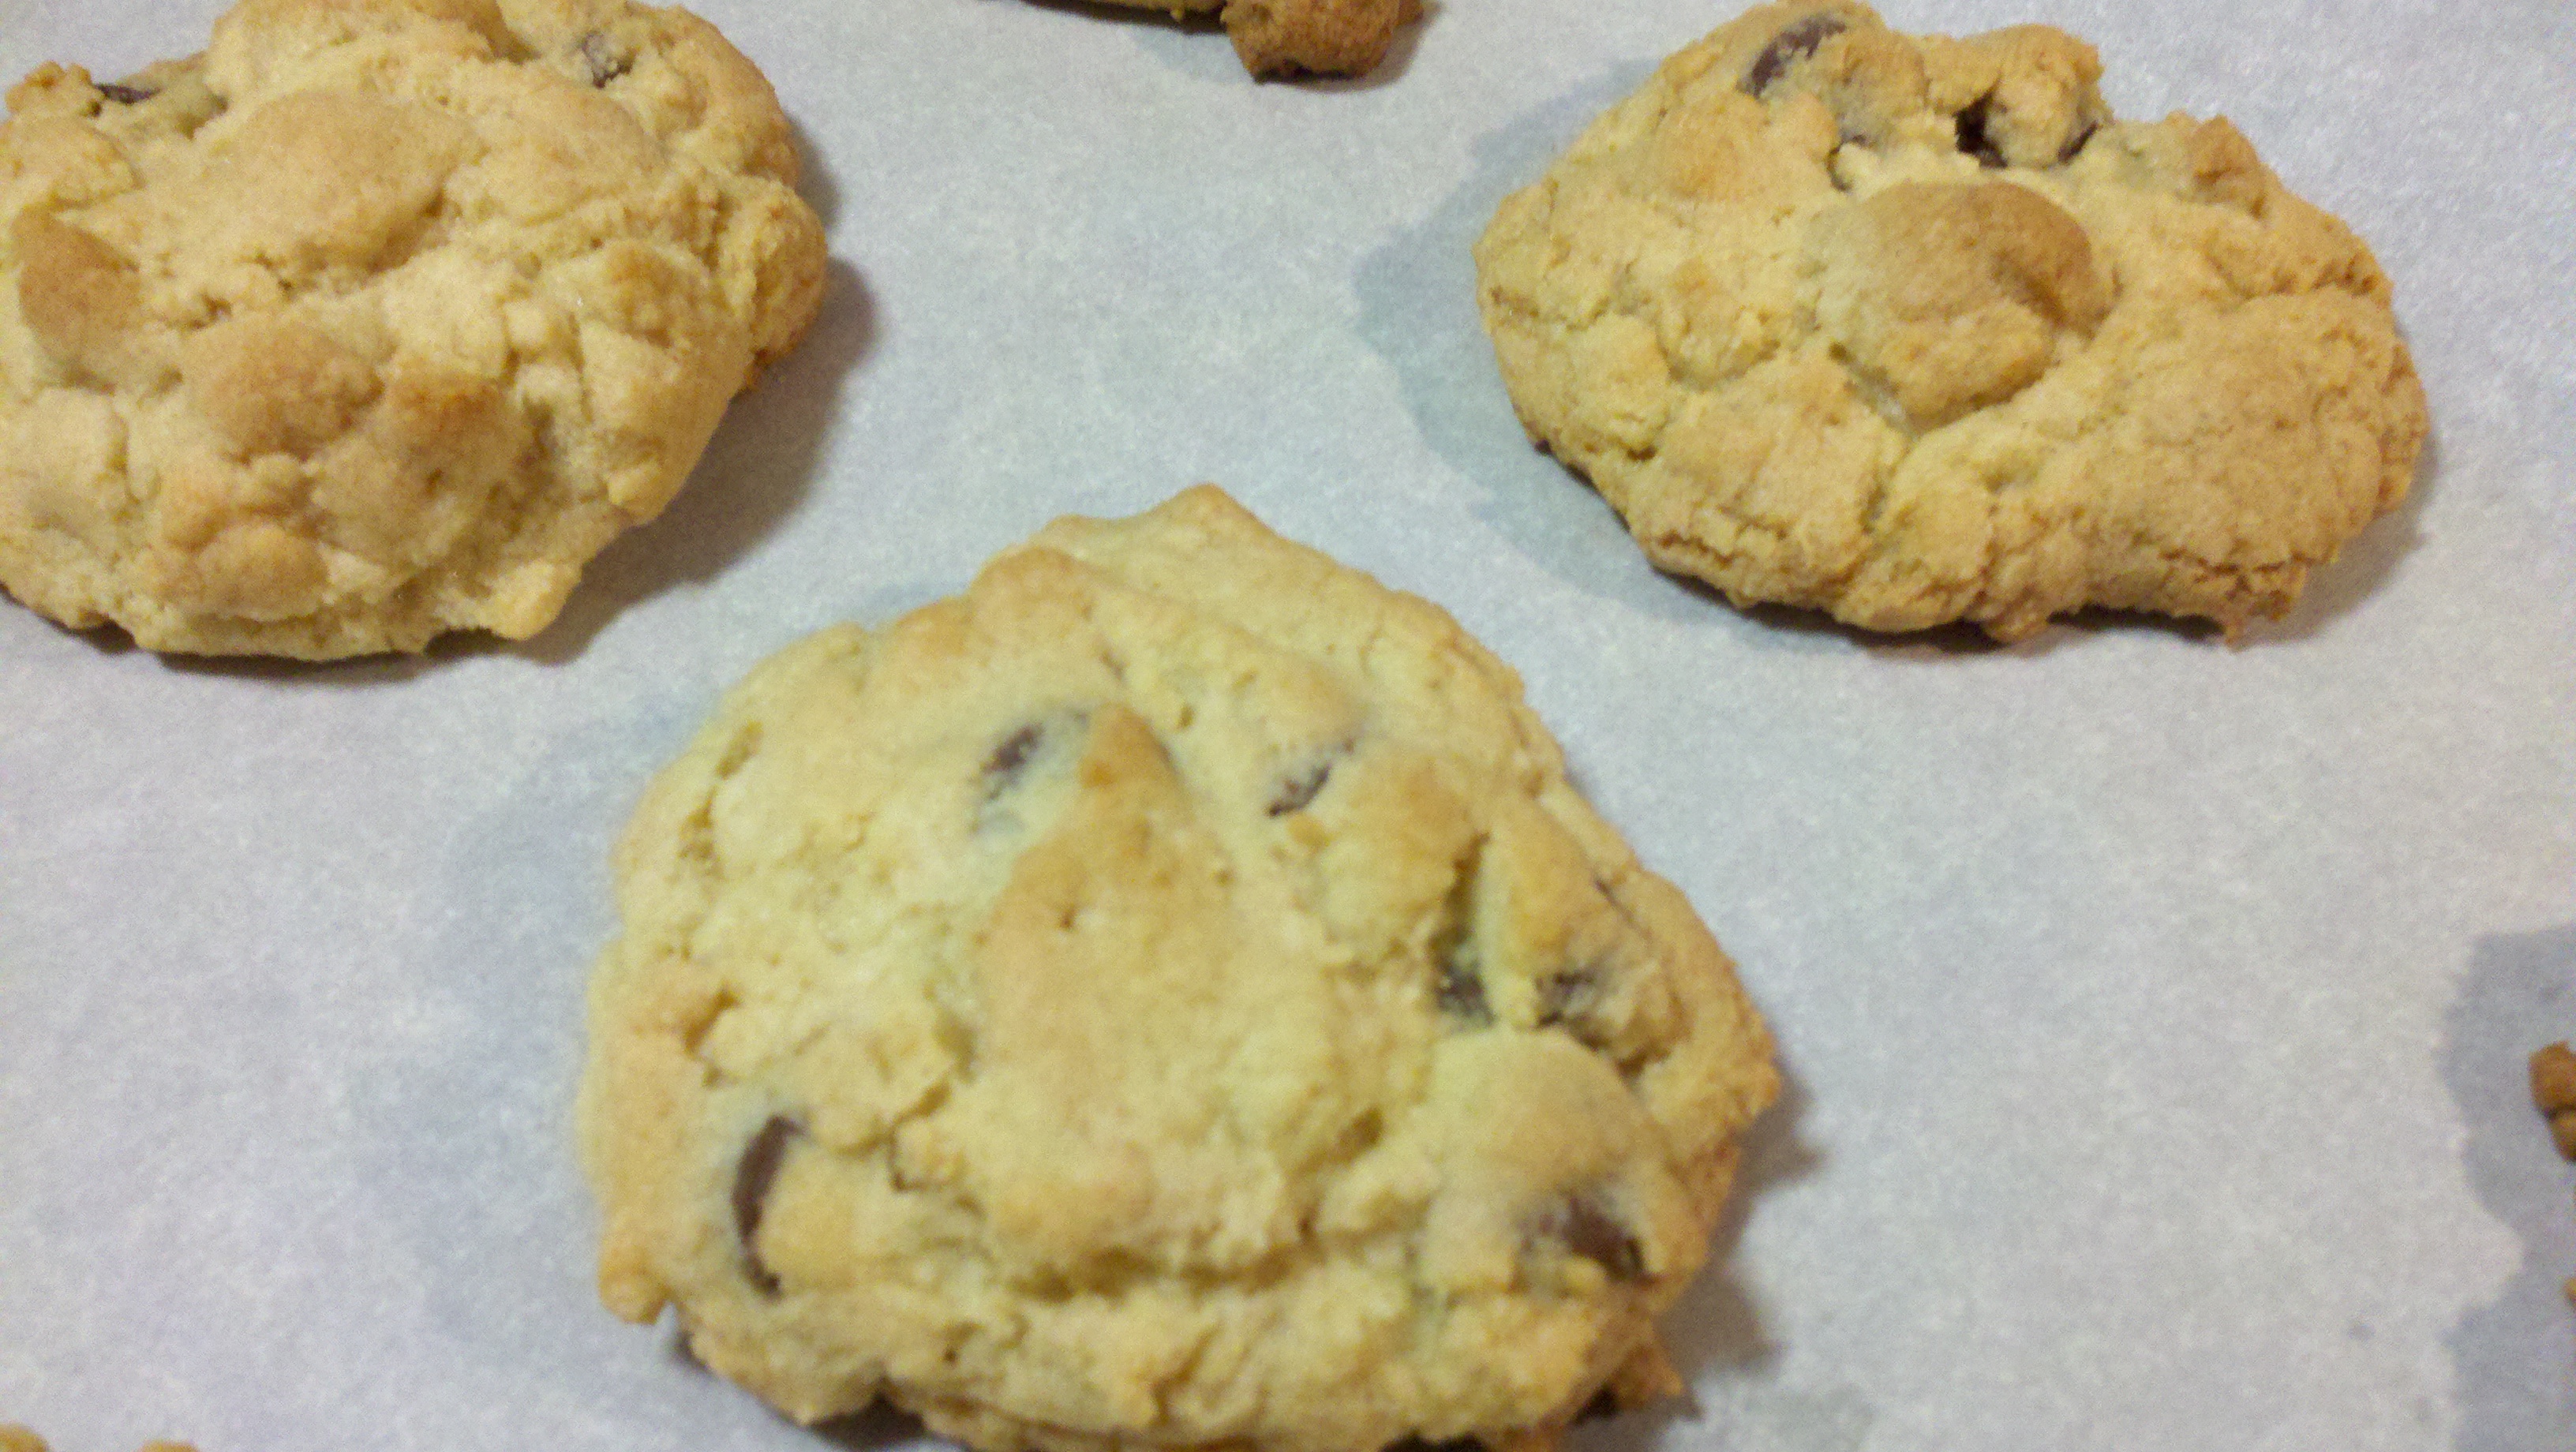
We threw in some M&Ms, but other add-ins might include nuts, chocolate chips, maybe even caramel.

Happy Independence Day!

Ultimate Fudgy Brownies

From Fine Cooking

1 1/2 cups unsalted butter, cut into 9 pieces; more softened for the pan
1 1/4 cups (3 3/4 oz.) unsweetened natural cocoa powder, sifted if lumpy
2 3/4 cups granulated sugar
1/2 tsp. table salt
5 large eggs
2 tsp. pure vanilla extract
1 2/3 cups (7 3/4 oz.) all-purpose flour

Position a rack in the center of the oven and heat the oven to 325°. Line the bottom and sides of a 9×13-inch straight-sided metal baking pan with heavy-duty aluminum foil, leaving about a 2-inch overhang on the short sides. Lightly butter the foil.

Put the butter in a 4-quart saucepan over medium-low heat and stir occasionally until melted, about 2 minutes. Off the heat, whisk in the cocoa powder until smooth, 1 minute. Add the sugar and salt, and whisk until well blended. Use your fingertip to check the temperature of the batter—it should be warm, not hot. If it’s hot, set the pan aside for a minute or two before continuing.

Whisk in the eggs, two and then three at a time, until just blended. Whisk in the vanilla until the batter is well blended. Sprinkle the flour over the batter and stir with a rubber spatula until just blended.

Scrape the batter into the prepared pan and spread evenly. Bake until a toothpick inserted in the center comes out with small bits of brownie sticking to it, 35 to 45 minutes. For fudgy brownies, do not overbake. Cool the brownies completely in the pan on a rack, about 3 hours.

When the brownies are cool, use the foil overhang to lift them from the pan. Invert onto a cutting board and carefully peel away the foil. Flip again and cut into 24 squares. (RHRW tip: use a plastic knife) Serve immediately or wrap in plastic and store at room temperature for up to 3 days. They can also be frozen in an airtight container or freezer bag for up to 1 month.

Chocolate Chip Cookies

I can’t say for certain, but I think the first from-scratch baked good I learned to make was chocolate chip cookies. If it wasn’t the first, it was certainly the most frequent recipes of my childhood. Naturally, my mom’s 1976 edition Betty Crocker cookbook automatically opens right to the page. We probably made them at least every other month.

2012-05-20_18-54-07_671

I don’t know what it is about chocolate chip cookies that makes them appropriate for pretty much any occasion. It doesn’t matter if I’m headed to the beach with friends, playing Chocolate Chip Cookie Fairy at the office, or packing a road trip kit for my best friend headed to a new job 700 miles away… they just work.

What I haven’t broken to dear Betty is that I switched recipes six years ago and have never looked back. The original appeal of the recipe was that they’re only 88 calories apiece (provided you follow the suggested cookie size). I stay with it because it’s a damn good cookie.

2012-05-20_18-38-59_824

A couple weeks ago, I made a batch and brought them to the office, just because. As always, the reaction was delightful. Sample email: “When I tell you that your chocolate chip cookie was THE BEST CHOCOLATE CHIP COOKIE I have ever had, you need to trust that I am not just exaggerating with glee in some sugar high state of mind.”

I’m not saying that to brag — I’m just saying, it really is that good.

When your cookie isn’t overloaded with butter and Crisco, the brown sugar and salt really come out.  The dough will be very crumbly, but the texture of the baked cookie is perfect. There’s no extra butter to disguise sloppy measuring — so measure carefully, and use parchment paper.

Whatever you’re celebrating or trying to forget this week, I promise these cookies will make you smile.

2012-05-20_18-54-16_163

Chocolate Chip Cookies

From Cooking Light
Yield: 4 dozen

2 1/4 cups all-purpose flour (about 10 ounces)
1 teaspoon baking soda
1/4 teaspoon salt
1 cup packed brown sugar
3/4 cup granulated sugar
1/2 cup butter, softened
1 teaspoon vanilla extract
2 large egg whites
3/4 cup semisweet chocolate chips
Parchment paper or cooking spray

Preheat oven to 350°. Lightly spoon flour into dry measuring cups; level with a knife. Combine flour, baking soda, and salt, stirring with a whisk.

Combine sugars and butter in a large bowl; beat with a mixer at medium speed until well blended. Add vanilla and egg whites; beat 1 minute. Add flour mixture and chips; beat until blended.

Drop dough by level tablespoons 2 inches apart onto baking sheets lined with parchment paper or coated with cooking spray. Bake at 350° for 10 minutes or until lightly browned. Cool on pans for 2 minutes. Remove from pans; cool completely on wire racks.

Strawberry Fool

A few days ago, I read a great column in Buzzfeed about food blogging become a victim of its own success.

As food blogs have become more popular and more competitive, the author writes, successful food blogging “doesn’t have much to do with cooking food that tastes good, or writing a recipe that works. Instead, it’s about cute plates, perfect lighting, photography, and social media networking. In other words, as they say on the internet: It’s about building a brand.”

Well, s***.

That’s never going to be me.

Look, I get it. I really do. I don’t just accept or tolerate marketing, social media, or branding. I work in freaking market research for a public relations company. Part of my job is helping clients understand perceptions of their brand and how to improve them.

But let’s be real for a minute. I leave home between 7 and 8am and am pleased when I make it home before 8pm more nights than not — and that’s a slow week. I’m an amateur cook and a sub-amateur photographer. I own one set of dishes, plain white. My kitchen window is too small and faces the wrong direction to get the right natural lighting for food photography (d’oh! what was I thinking, buying this place?). I don’t own an SLR camera, and if I had an extra $700 sitting around, I certainly wouldn’t spend it on a food styling course.

(Sidebar: Seven HUNDRED dollars? Seriously?)

And even that is not the point. I love the fellowship of cooking and eating as much as the food itself. My dear friend Danielle and I, 800 miles apart, use Facebook to share everything from which Bon Appetit recipe we’re cooking first this month to what to a discussion about the best use for two extra stalks of rhubarb. My husband-wife friends Mike and Lisa not only are willing guinea pigs any time I’m looking to cook, I thought I might die from Mexi-Korean fusion food bliss at the Cinco de Mayo party I talked them into throwing. Then there’s the time my brother, around 23 at the time, called me and proudly declared that for the first time, he had eaten the piece of leaf lettuce on his cheeseburger. (When asked how it tasted, he replied, “Crunchy.” This was not a compliment.)

I started a blog because for me, food is about community — creating and sharing experiences together.

There aren’t enough hours in the day to do everything I’d like; I’m not going to go out of my way to make a pot roast at 6am so the lighting is just right, or find the perfect piece of parsley to garnish my plate. My pictures aren’t magazine-worthy. I don’t have hundreds of readers, let alone thousands. I’m okay with that.

I’m not digging on any food bloggers who do those things. To the contrary, I have a deep admiration for them — as artists, photographers, marketers, and especially as chefs, cooks and bakers. I draw as much inspiration from fellow bloggers as traditional food magazines and cookbooks.

And that’s also not to say I don’t hope to improve my skills. I’m just saying, that’s not my primary focus here. Yes, I want to share beautiful food accompanied by heartfelt and well-written prose. But choosing between getting a better picture of a cake or diving in and spending more time with the person I made it for? That’s not even a question.

Tonight, I’m not dwelling over an imperfect photograph. I’m capping off a near-perfect holiday weekend by savoring every last bite of a simple, delicious dessert: strawberries, whipped cream, and Ladyfingers. Pull up a bowl and join me.

???????????????????????????????

Strawberry Fool

From Bon Appetit

Yield: 6 Servings

2 cups chopped, hulled fresh strawberries (about 8 oz.) plus 6 whole berries for garnish
1 tablespoon sugar
2 cups chilled heavy whipping cream
Seeds scraped from 1/2 vanilla bean or 1 teaspoon vanilla bean paste
3/4 cup homemade Strawberry Conserve (if using store-bought, use 1/2 cup, stirred to loosen)
3 crisp ladyfingers (savoiardi, Boudoirs, or Champagne biscuits), crushed (or substitute graham crackers)

Place chopped strawberries in a small bowl. Sprinkle sugar over; let sit, tossing occasionally, until juices are released and sugar is dissolved, about 20 minutes.

Beat cream and vanilla seeds in a large bowl until soft peaks form. Add conserve; fold to blend. Add berries with juices; fold almost to blend. Divide among bowls. Sprinkle crushed ladyfingers over. Garnish with whole berries.